When embarking on a DIY project to paint your porch, selecting the appropriate paint and tools is crucial to achieving a long-lasting, beautiful finish. A well-informed choice not only enhances the appearance of your porch but also ensures the durability and protection against the elements. Here’s an in-depth guide to help you make the best selections for this task.
Choosing the right type of paint is the first step. Porches are exposed to varying weather conditions, and therefore, require paints that can withstand these challenges. Consider the following types of paint:
- Latex Paint: Known for its quick-drying properties and ease of cleaning, latex paint is a popular choice for porch surfaces. It is resistant to peeling and chipping, providing a durable finish.
- Oil-Based Paint: Offering excellent adhesion and surface coverage, oil-based paints create a tough, protective layer. They are typically more resistant to wear and tear but take longer to dry and require mineral spirits for cleanup.
- Epoxy Paint: Ideal for high-traffic areas, epoxy paint provides a hard, durable finish that can withstand heavy foot traffic and is resistant to moisture and chemicals.
| Paint Type | Durability | Drying Time | Ease of Cleaning |
| Latex | Moderate | Fast | Easy |
| Oil-Based | High | Slow | Difficult |
| Epoxy | Very High | Moderate | Moderate |
In addition to selecting the appropriate paint, gathering the right tools is essential for a successful painting project. Below is a list of tools you should consider:
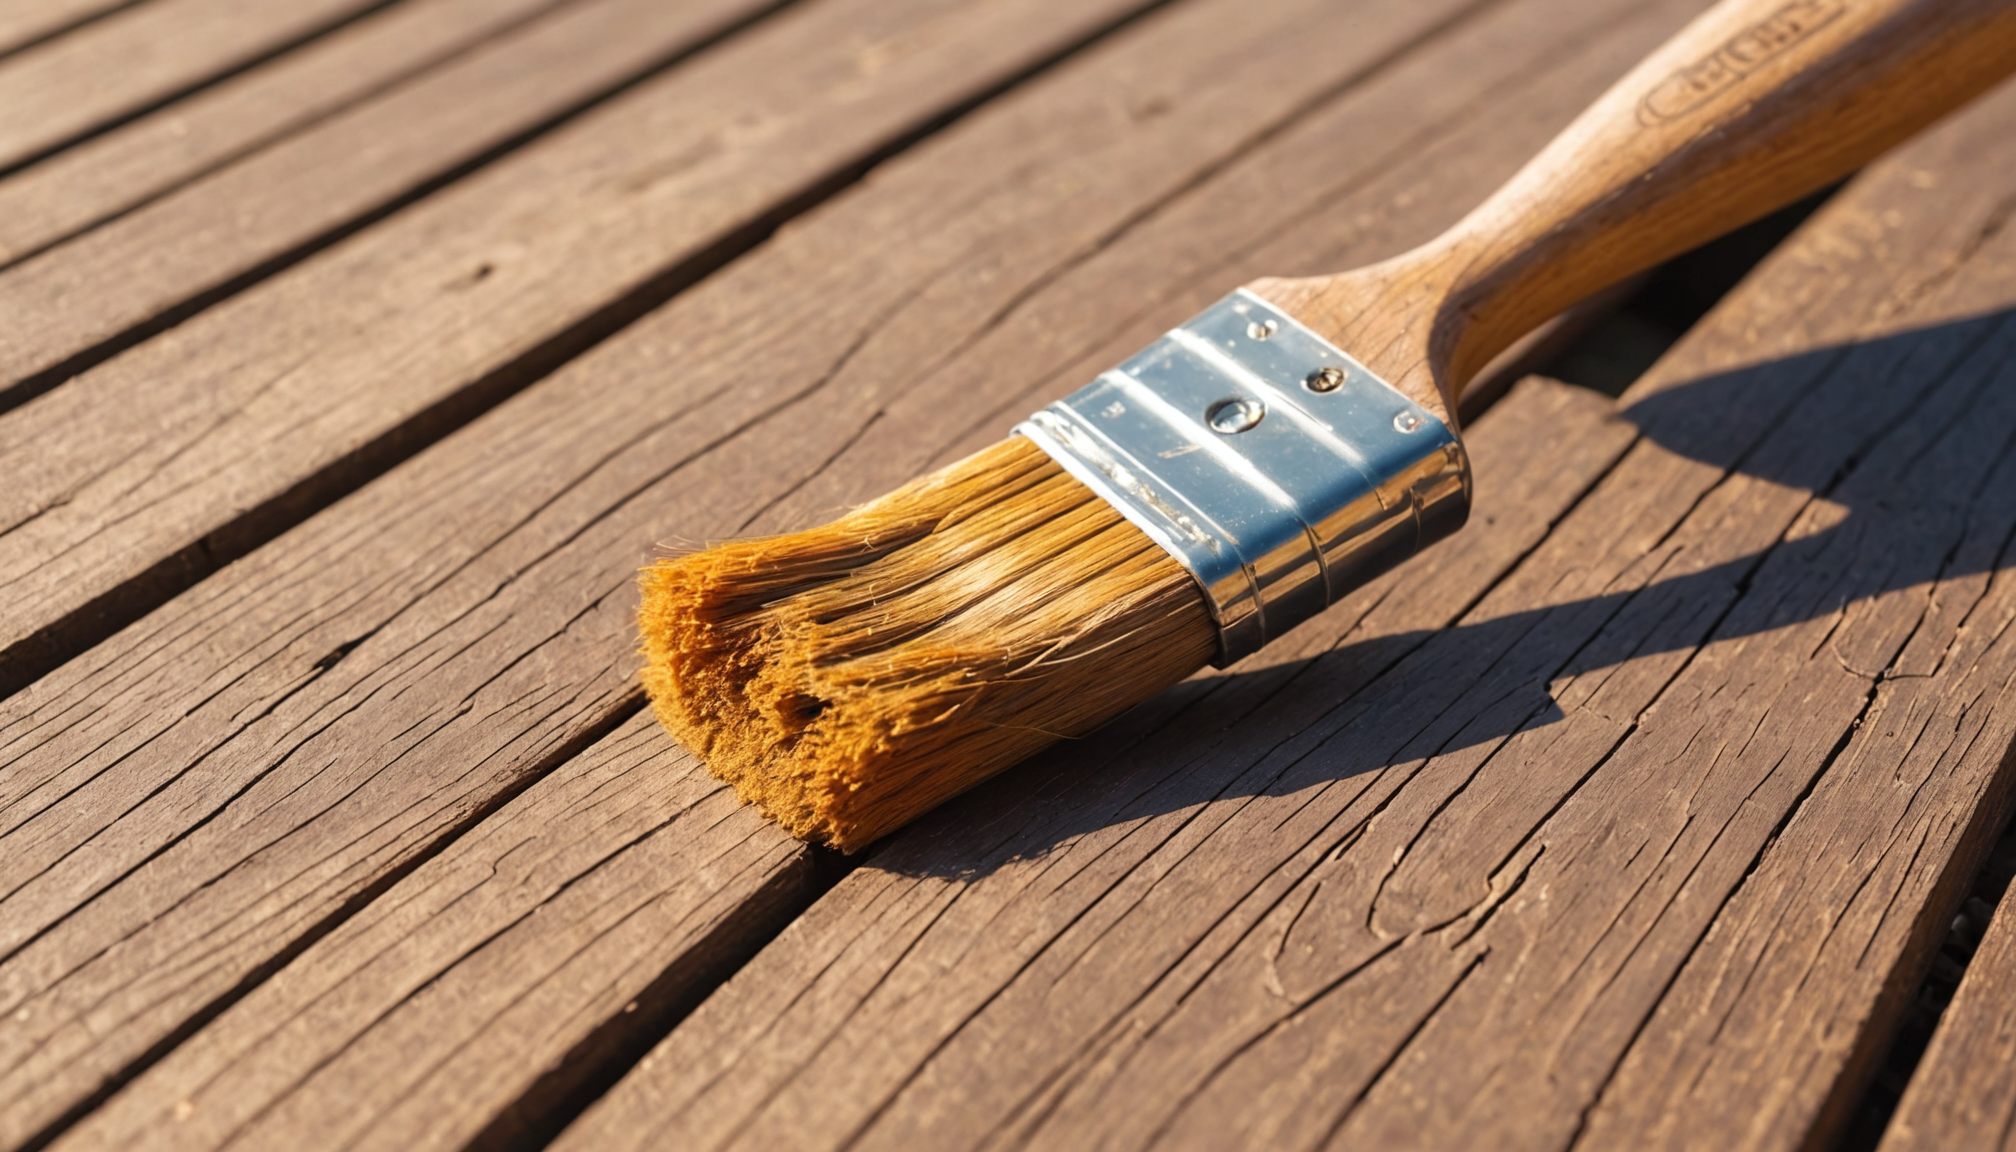
- Brushes and Rollers: Choose a high-quality paintbrush or roller suited for the type of paint you are using. Brushes are great for cutting in edges, while rollers help cover larger areas efficiently.
- Painter’s Tape: Essential for protecting areas around trims and ensuring clean lines, painter’s tape helps achieve a professional-looking finish.
- Drop Cloths: To protect your porch and surrounding areas from paint drips and spills, use durable drop cloths that can absorb excess paint.
- Sandpaper: Necessary for smoothing out the porch surface before applying paint. Adequately sanding ensures proper paint adhesion.
- Paint Tray: Allows for easy loading of paint onto rollers, enhancing efficiency and reducing waste during application.
Investing in quality paint and the right tools is key to minimizing future maintenance. By choosing durable options, you ensure that your painted porch not only enhances your home’s curb appeal but also stands the test of time, reducing the need for frequent touch-ups. Remember, preparation and the right materials lay the foundation for a seamless painting experience and a porch that’s as functional as it is aesthetically pleasing.
Preparing your porch for painting
 Before you begin painting your porch, it’s crucial to prepare the surface properly to ensure the best results and prolong the longevity of your work. Follow these steps to get your porch ready for a fresh coat of paint:
1. Clear the Area:
– Begin by removing all furniture, plants, and decorative items from your porch. This will not only give you ample space to work but also protect your belongings from paint splatters.
2. Clean the Surface:
– Sweep the floor thoroughly to remove dirt and debris. Pay special attention to corners and any hard-to-reach areas where dirt tends to accumulate.
– Use a power washer or a garden hose with a high-pressure nozzle to wash away grime, mold, and mildew. Cleaning solutions specifically made for decks and porches can be employed for stubborn areas, always following the manufacturer’s instructions.
– Allow the porch to dry completely before proceeding. Moisture trapped under paint can lead to bubbling and peeling.
3. Repair and Patch:
– Inspect the porch for damaged wood, such as cracks, splits, or rotting areas. Replace any severely damaged boards to maintain integrity and safety.
– Use wood filler to patch small cracks and holes. Once the filler is dry, sand the patched areas to ensure they are flush with the rest of the surface.
4. Sand the Surface:
– Use sandpaper or a power sander to smooth the entire surface of the porch. Sanding removes any old paint, rough spots, and splinters to allow the new paint to adhere better.
– Pay extra attention to areas that have been repaired or patched to ensure seamless blending.
5. Remove Old Paint:
– If the existing paint is peeling or chipping, it’s essential to remove it. Use a paint scraper or a chemical paint remover if necessary. This preparation step is critical for ensuring that the new paint layer adheres well without any flaking.
6. Protect Surrounding Areas:
– Apply painter’s tape to protect edges, trim, and areas you do not wish to paint. Use drop cloths to cover any adjacent surfaces like walls or gardening beds to prevent unwanted paint drips.
7. Prime the Surface:
– If you are painting over bare wood or significantly different colored paint, applying a primer is advisable. The primer provides a solid base, enhances paint adhesion, and can prevent stains from bleeding through.
By meticulously preparing your porch, you lay the groundwork for a durable paint job that will endure the stresses of weather and foot traffic. Each of these steps ensures that the surface is optimal for painting, helping you achieve a professional-looking result that you’ll be proud to showcase.
Techniques for applying paint
To achieve a flawless finish on your porch project, understanding proper paint application techniques is essential. Begin by ensuring the porch is completely dry and all preparation steps, like sanding and priming, are thoroughly completed. This foundation is crucial not only for adhesion but also for longevity and aesthetics.
Start by cutting in around the edges with a high-quality angled brush. This process involves carefully painting the corners and edges where a roller cannot reach. A steady hand ensures clean lines and prevents paint from bleeding onto areas that are not meant to be painted. This step is particularly important because it lays the groundwork for a seamless transition when using larger tools.
After addressing the edges, it’s time to move on to the main surfaces. Using a roller is one of the most efficient ways to cover large areas. Opt for a roller with a medium to long nap based on the texture of your porch—smoother surfaces require shorter naps, while textured ones benefit from longer naps that can adequately cover nooks and crannies. Apply the paint in even, consistent strokes, typically using a ‘W’ pattern. This technique ensures even distribution and prevents lap marks, which can occur when paint overlaps and dries inconsistently.
When working on horizontal surfaces, gravity can cause streaks or runs. To avoid this, maintain a wet edge by working in small sections and blending them together before the paint starts to dry. If you’re tackling vertical surfaces, such as porch steps or railings, use a smaller roller or brush for precision. Take advantage of gravity in these areas by painting from top to bottom.
Multiple thin coats tend to yield the best results. While it may be tempting to apply a thicker layer to save time, this can lead to issues like peeling or uneven drying. Allow sufficient drying time between coats as per the paint manufacturer’s instructions. This aspect of the project might test your patience, but it is vital for a durable and attractive finish.
For those hidden or intricate areas, use smaller detail brushes. They allow you to reach tight spaces or complex designs that larger tools might miss. Their inclusion in your painting process is a small investment of time that can significantly enhance the overall appearance, especially in visible spots like balusters or detailed trims.
In addition to technique, consider environmental factors when executing your project. Paint your porch on a day when temperatures are mild and humidity is low. High humidity can slow drying times and cause paint to bubble or blister. Conversely, painting under direct sunlight or in excessively hot conditions might result in the paint drying too quickly, compromising the smoothness and adhesion.
By employing these painting techniques, you’ll not only enhance the aesthetic appeal of your porch but also bolster its durability against the rigors of both elements and everyday wear. These steps transform what might initially feel like a typical DIY task into a methodical process that guarantees satisfaction with every glance at your vibrant, freshly painted porch.
Drying and curing processes
After all the hard work of selecting paint, preparing your porch, and skillfully applying it, comes a critical phase of the project: allowing sufficient time for the paint to dry and cure. Rushing this stage can undermine the durability and aesthetic quality of your work, making patience a key virtue here.
First, let’s talk about drying. This initial phase happens when the paint’s solvents evaporate, leaving behind a solid layer on your porch surface. Different types of paint have varying drying times. Latex paint typically dries to the touch within an hour, making it ideal for a DIY project with a quicker turnaround. However, oil-based paints are more resilient in extreme weather conditions but require about six to eight hours to dry. Epoxy paints, which offer a tough, wear-resistant finish, may take up to 24 hours to dry due to their heavy-duty composition.
While it may seem arduous to wait during these drying times, remember that this patience ensures that your newly painted porch will withstand the elements and regular foot traffic effectively. It’s wise to avoid walking on the porch or placing items back on the surface during this period to prevent damage and ensure an even coating.
Following the drying phase is the curing process, where the paint reaches its ultimate hardness and durability. Curing can take anywhere from a few days to several weeks, depending on the type of paint and environmental conditions. During this time, it’s essential to protect the porch from excessive moisture and temperature fluctuations, which can compromise the paint’s adherence and longevity.
To facilitate a proper curing environment, monitor the weather conditions in your area. Ideally, the temperature should remain consistent and within the paint manufacturer’s recommended range. Avoid painting when rain or high humidity is expected, as moisture can interfere with both drying and curing, resulting in potential bubbling or peeling.
Consider adding fans or using your home’s HVAC system to maintain airflow, which aids in the drying and curing process by reducing humidity levels. If you opt to cover your porch to shield it from elements like rain, ensure there’s ample ventilation to prevent trapped moisture.
Moreover, patience during the curing phase ensures that your paint job will require minimal maintenance down the road. After full curing, which might span about one to two weeks for latex or longer for oil-based paints, your porch will be well-equipped to handle the outdoor elements and daily use without the need for frequent touch-ups.
In summary, giving your painted porch ample time to dry and cure thoroughly is vital for achieving a long-lasting finish. By following these guidelines, you’ll not only be rewarded with a porch that looks stunning but also one that maintains its beauty and resilience over time. Your comprehensive understanding of these processes is an investment in the longevity and durability of your project, exemplifying the dedication and care you’ve put into your DIY endeavor.
Maintenance and touch-up tips
After successfully painting your porch, maintaining its appearance and durability is essential for ensuring long-lasting beauty. Regular maintenance and timely touch-ups are key to preserving your hard work and avoiding significant repairs down the line.
Start by establishing a routine for cleaning your porch. Regular sweeping helps prevent dirt accumulation which can erode the paint over time. Consider hosin’ down the porch with water every few weeks to remove any stubborn grime or dust build-up. Avoid using harsh chemicals or high-pressure washers, as these can strip away the paint.
Inspect your porch periodically for signs of wear such as chips or cracks, which are likely to appear in high-traffic areas. Addressing these promptly is crucial in preventing them from worsening. For small touch-ups, keep a small amount of the original paint and a brush on hand. Lightly sand the affected area to create a smooth surface, clean off any dust, and then carefully apply the paint. Ensure your touch-up paint matches by stirring it thoroughly before application, as settled pigments can alter the color.
Environmental factors like sun exposure and fluctuating temperatures can lead to fading or peeling over time. To combat this, consider applying a UV-protective layer every couple of years. This additional layer acts as a shield against the sun’s harsh rays, maintaining the vibrancy of your paint.
If your porch is covered or enclosed, it might be beneficial to incorporate a dehumidifier or use your HVAC system to manage moisture levels, especially in humid climates. Proper airflow helps prevent mold or mildew, which can damage the paint and underlying structure.
During the colder months, be mindful of snow and ice accumulation. While it’s tempting to shovel off any snow, using a broom whenever possible is advised to avoid scratching the paint. Avoid using salt-based deicers directly on the painted porch, as they can erode the finish.
By integrating these maintenance strategies into your routine, your porch will continue to be an inviting space for relaxation and social gatherings. A little consistent care goes a long way in extending the life of your paint job, ensuring your porch remains as stunning as the day you finished your DIY project.
In conclusion, painting your porch requires careful preparation, the right techniques, and strategic maintenance to preserve its beauty. By choosing suitable materials, taking time with the application and drying processes, and committing to regular maintenance, you can ensure your porch remains a focal point of your home’s exterior for years to come. Your dedication and attention to detail will not only enhance your home’s curb appeal but also extend the life of your porch, providing a lasting testament to your DIY prowess.