One of the most common pitfalls in DIY drywall projects is neglecting the crucial step of surface preparation. Properly prepping the surface ensures a smooth, professional finish and prolongs the durability of your drywall installation. Skipping it might seem like a time-saver upfront, but it often leads to a series of issues that can compromise the overall quality of your work.
Surface preparation involves several key steps, each designed to create an ideal base for the drywall:
- Cleaning the Walls: Before you even start attaching drywall, make sure that the underlying walls are clean. Dust, dirt, and grease can interfere with adhesive properties and lead to uneven surfaces. A thorough cleaning with a mild detergent and water is usually sufficient.
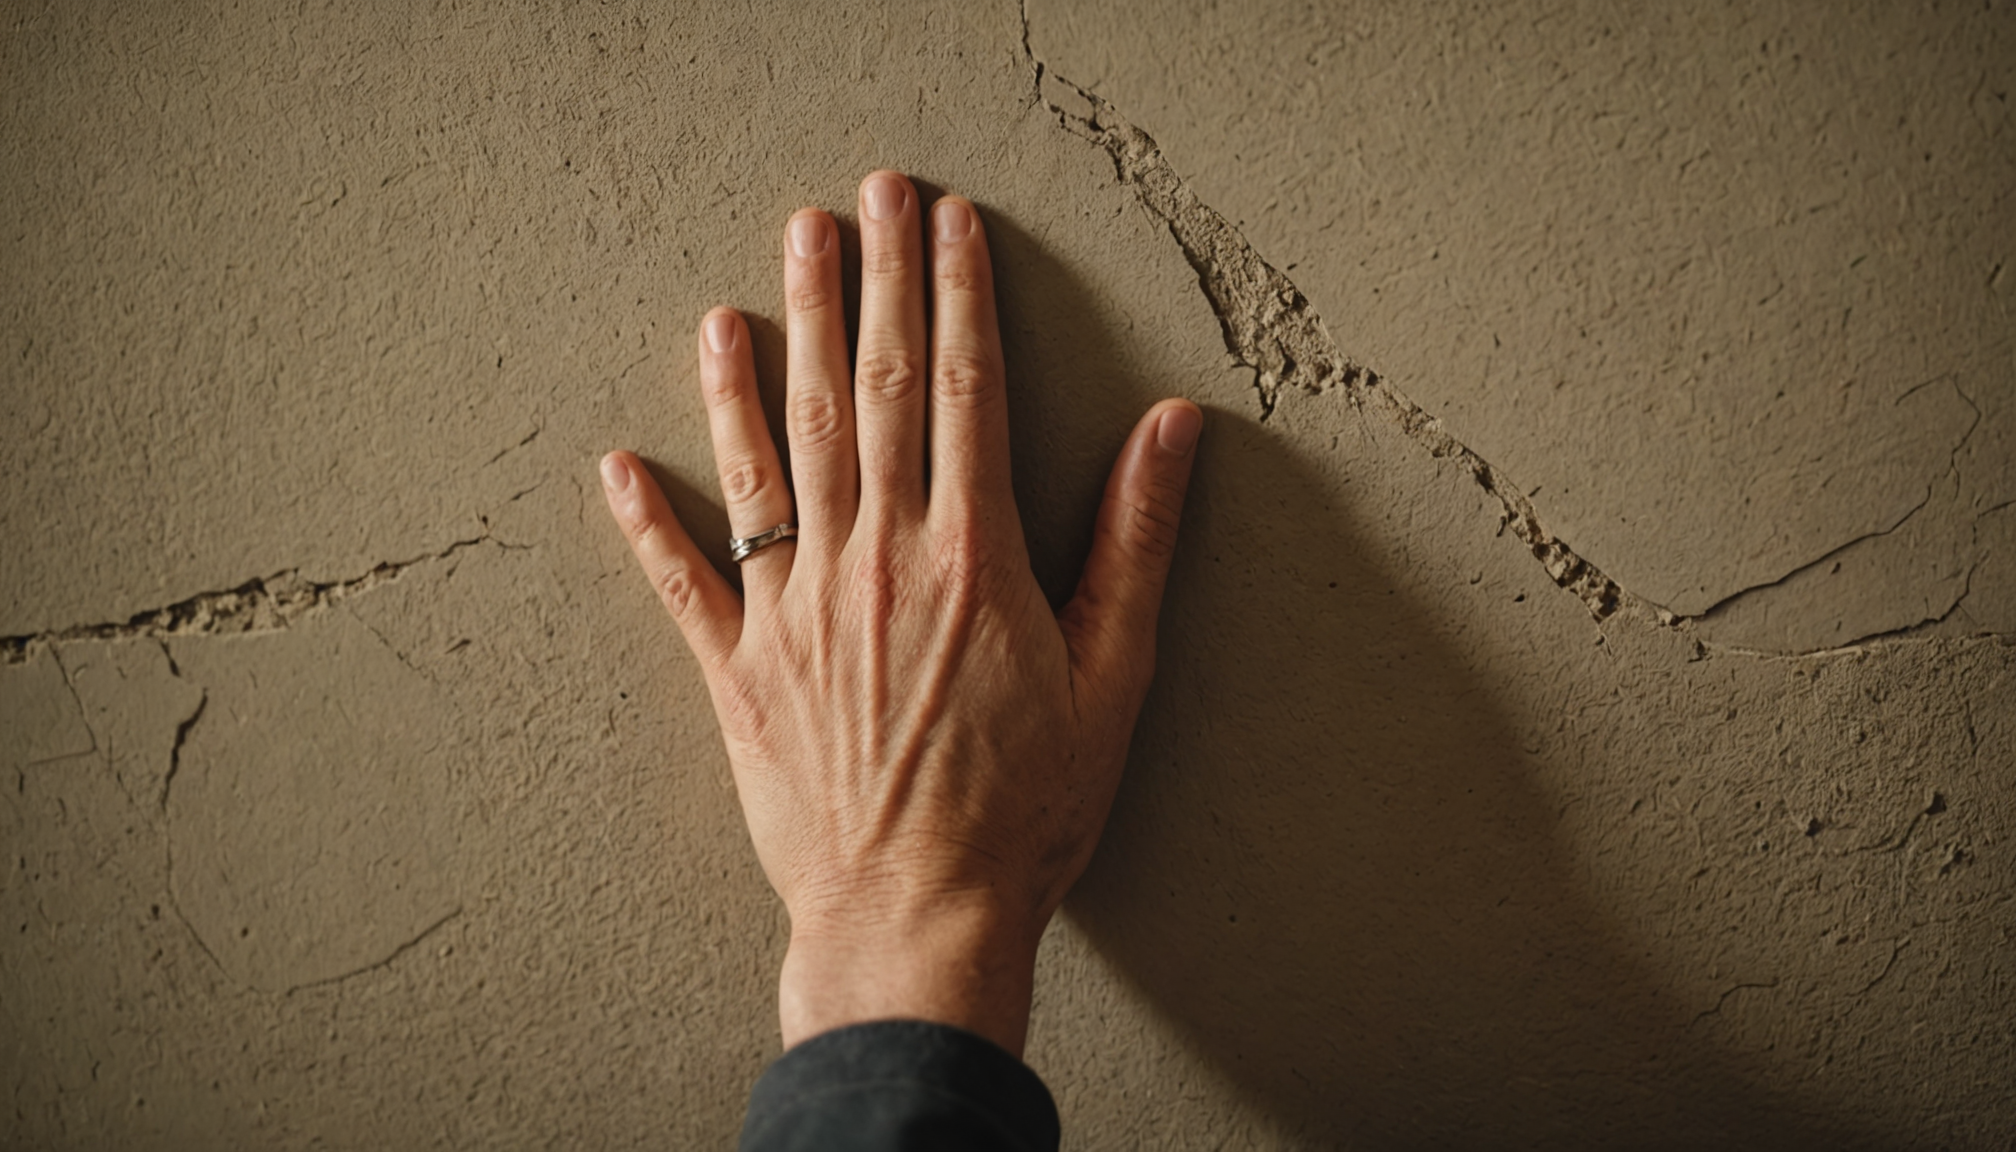
- Repairing Damages: Inspect the surface for any existing damage, such as holes or cracks, and repair them. Failing to fix these imperfections can result in structural weaknesses and visible blemishes on the finished product.
- Smoothing Irregularities: Use a straight edge to identify and smooth out any bumps or high spots on the wall that could affect the alignment of the drywall. Sanding these areas down ensures a flat surface for better installation.
- Sealing with a Primer: Applying a primer to the wall helps achieve a uniform finish by strengthening adhesion. It also prevents the drywall from absorbing too much moisture, which can lead to warping or mold growth.
Moreover, a comprehensive surface preparation plan contributes to minimizing future repairs and maintenance. Here is a table comparing outcomes with and without thorough preparation:
| Outcomes with Preparation | Outcomes without Preparation |
| Even, professional finish | Visible seams and imperfections |
| Durable and long-lasting drywall | Increased risk of cracks and damages |
| Improved adhesion and moisture resistance | Poor adhesion leading to possible sagging |
| Simplified finishing process | More corrections needed during finishing |
Taking the time to thoroughly plan and execute surface preparation can significantly impact the efficacy and aesthetics of your drywall project. Avoiding this critical step may not only lead to disappointing results but also necessitate additional repairs down the line, undermining your original goal of a smooth and flawless finish.
Incorrectly measuring and cutting
Measuring and cutting drywall incorrectly is another common mistake that can lead to a host of problems including wasted material, uneven seams, and an unprofessional appearance. To ensure accuracy and efficiency in this process, follow these detailed steps:
1. Gather the Right Tools:
Make sure you have a reliable tape measure, a straight edge or T-square, a pencil, a utility knife, and a drywall saw. Utilizing the proper tools is crucial for clean cuts and precise measurements.
2. Measure Carefully:
– Double Check Measurements: Always measure the area you need to cover at least twice to avoid errors. Write down the dimensions to keep track of them.
– Account for Openings and Fixtures: When measuring large areas, remember to deduct any space for doors, windows, or electrical fixtures from the total area you need to cover. Make a note of these specific cut-outs.
3. Mark Your Cuts:
– Use a Straight Edge for Accuracy: On the drywall sheet, use a straight edge or T-square to mark straight and clear lines for cutting. This helps ensure that your edges won’t be jagged or off-angle.
– Plan Your Cuts to Minimize Waste: After marking your initial lines, arrange subsequent cuts to make the most out of each sheet, reducing leftover scraps.
4. Score and Snap the Drywall:
– Score with Care: Using a utility knife, score along your marked lines with firm, even pressure. It’s usually sufficient to score through the paper layer.
– Snap Along the Line: With the sheet on a flat surface, place your knee or a straight edge under the score line to apply pressure while gently snapping the drywall along the line. The core should break cleanly.
– Cut the Backside Paper: Fold back the sheet and cut through the paper on the opposite side. A steady hand with a utility knife ensures a crisp edge.
5. Use a Drywall Saw for Intricate Cuts:
– Circular or Complex Shapes: For curved or detailed cuts required for outlets or fixtures, a drywall saw provides the precision you need. Carefully follow the outline you have drawn.
6. Test Fit Before Final Installation:
– Fit the Drywall in Place: Before securing the panel, place it in position to ensure it fits. If adjustments are needed, make minor trims with a utility knife.
– Account for Expansion Gaps: Leave a small gap of about 1/8 inch between the drywall edge and any adjacent surfaces like floors or ceilings to allow for expansion.
By following these detailed steps, you can prevent the frustration and inefficiency caused by incorrect measuring and cutting. Precision in these early stages contributes to a smoother installation process and a more professional end result. Keep in mind that careful planning and attention to detail in your measurements and cuts can save time and materials and significantly improve the quality of your drywall project.
Using the wrong type of screws or nails
When it comes to fastening drywall, selecting the appropriate screws or nails is crucial for ensuring the stability and longevity of your installation. Many DIY enthusiasts make the mistake of using generic or mismatched fasteners, which can result in a range of complications like loose panels, cracked surfaces, or even structural failures. Here’s how to avoid these pitfalls and the benefits of using the right materials:
Using the correct fasteners provides a solid bond between the drywall and the underlying structure. Drywall screws are generally preferred over nails because they’re designed to provide deeper penetration and better grip. This minimizes the risk of the drywall loosening over time. Screws specifically designed for drywall come with coarse threads that are excellent for gripping into wood and ensuring the panels stay securely attached.
The length of the screw is another essential consideration. For standard drywall thickness, typically 1/2 inch, a 1 1/4-inch screw is ideal. This ensures the screw has enough length to penetrate into the stud and hold the drywall securely without protruding through the back. Verifying that you have selected the correct screw length prevents potential surface damages and guarantees that your panels are adequately supported.
Galvanized screws or coated fasteners are beneficial if you’re working in humid environments or you anticipate exposure to moisture. These fasteners resist rust and corrosion, which can compromise the integrity of your drywall over time. Choosing materials that match the environmental conditions helps maintain the drywall’s durability and appearance, reducing maintenance needs down the line.
Furthermore, using the wrong fasteners can lead to what’s commonly known in the industry as “popping.” This occurs when nails or screws aren’t correctly seated or when the wrong type is used, resulting in protrusions that ruin the smoothness of your wall. Not only does this affect the aesthetic appeal, but it may also signal underlying problems with your installation.
Always make sure that the fasteners are installed correctly. They should be driven in just below the surface of the drywall without breaking the paper layer. Overdriving screws can weaken the surface and compromise the drywall’s structural integrity. Using a drywall screw gun or drill with an appropriate bit can help achieve the correct depth and prevent damage.
By paying attention to the type and installation of your fasteners, you can significantly improve the overall quality and appearance of your drywall installation. Leveraging these practices not only protects your work from premature wear but also saves you time and money on future repairs. This attention to detail ensures that your DIY project aligns with professional standards, delivering a robust and aesthetically pleasing finish.
Neglecting seam and joint treatment
Achieving seamless joints and properly treated seams is crucial for the overall success of any drywall project. Many DIY enthusiasts underestimate the importance of this step, leading to glaring imperfections and weakened structural integrity. By giving due attention to seam and joint treatment, you can attain a professional-grade finish while ensuring the longevity of your installation.
Start by understanding the significance of using quality joint compound. This material, also known as drywall mud, fills in gaps between sheets of drywall and creates a smooth surface for painting or wallpapering. It’s essential to choose the appropriate compound for each stage of the process. For instance, taping compound is great for embedding tape, while topping compound is more suitable for the final coat due to its smoother finish.
Next, apply joint tape correctly to reinforce seams. There are two main types of tape: paper and mesh. Paper tape is widely used and offers a strong bond when applied correctly, but mesh tape is self-adhesive and more user-friendly, making it ideal for beginners. Whichever you choose, lay the tape smoothly over the joint compound to avoid air bubbles, then use a joint knife to embed it into the compound layer.
When applying the joint compound, layering is key. Apply the compound in thin layers, allowing ample drying time between each coat. This approach prevents cracking and reduces the need for extensive sanding. Typically, three layers are required: an initial coat to embed the tape, a second to fill out the seam and cover the tape, and a final thin coat to ensure a smooth, even surface.
Pay attention to feathering the edges of each layer. Feathering involves smoothing out the edges of the joint compound to blend seamlessly with the drywall. Use a wider joint knife for each subsequent layer to spread the compound further over each seam, minimizing any visible transition between the drywall and the compound.
Lastly, focus on thorough sanding once the compound is completely dry. Use a fine-grit sanding block or pole sander to gently smooth out any irregularities. Take care not to over-sand, as this could damage the drywall paper. A light touch will suffice to achieve an undetectable joint.
By diligently adhering to these practices in seam and joint treatment, you’ll create a flawless surface that enhances your drywall project’s visual and structural integrity. These steps not only make your drywall ready for the final finish but also contribute to eliminating issues such as visible seams or cracks that detract from the professional appearance you’re aiming for.
Rushing the finishing process
After applying all the drywall panels, it can be tempting to rush through the finishing process. However, this step is crucial for achieving a smooth and professional look. Many DIYers make the mistake of underestimating the time and precision required for finishing, leading to subpar results.
One of the main aspects of finishing drywall is the application of joint compound. This process requires patience and a steady hand. Applying the compound too quickly or unevenly can lead to lumps and an uneven surface, requiring additional sanding or even reapplication. It’s essential to use the right tools, such as a broad knife, to spread the compound evenly across the seams.
Proper Drying Time
Another key factor is allowing adequate time for the compound to dry between applications. Rushing this process can result in cracks and uneven textures, as the compound might not have time to set completely. Plan your project timeline with drying time in mind, ensuring each layer cures fully before adding more compound.
Focused Attention on Detail
Detail work is equally important during the finishing phase. Irregularities in corner beads or joint seams should be carefully addressed. Skipping over these details for expediency can compromise not just the aesthetics, but the functional quality of your installation. It’s vital to sand each layer diligently, eliminating any ridges or imperfections before the final coat.
Ultimately, the finishing process is your opportunity to refine and perfect your drywall installation. By taking your time and meticulously following each step, you’ll avoid the common pitfalls of a hastened job, such as visible seams and texture inconsistencies. Prioritizing this phase ensures a polished, professional-looking wall that’s ready for paint or other finishing touches.
To wrap up, avoiding mistakes in drywall installation means investing time and effort in each step of the process. Whether it’s ensuring proper surface preparation, making precise cuts, selecting the right fasteners, treating seams and joints with care, or giving the finishing process the attention it deserves, each action contributes to the success of your project. Remember, the more meticulous you are, the more professional and long-lasting your results will be. With patience and attention to detail, you can transform your DIY drywall project into a masterpiece.