When it comes to achieving smooth walls, selecting the right materials is a critical first step. This choice can significantly impact the final appearance and durability of your walls. Given the variety of materials available on the market, it’s essential to understand the properties and benefits of each to make an informed decision. Here’s an in-depth look at some of the common options and how they stack up against each other.
The paint you choose will play a pivotal role in the outcome of your project. Opting for a high-quality paint can make a noticeable difference in terms of coverage and finish. High-end paints generally offer superior coverage, reducing the number of coats required, and provide a smoother, more polished look. Additionally, these paints often possess better durability, maintaining the wall’s appearance over a longer period.
- Primer: Before applying paint, using a primer is advisable to create a uniform surface that enhances the adhesion of the paint. Primers are available in several formulations, each suited for different types of walls. For instance, oil-based primers are suitable for stained or weathered surfaces, while latex primers are ideal for new drywall.
- Paint Finishes: The choice of paint finish also impacts the smoothness and sheen of the walls. Matte finishes are great for hiding imperfections, but they may not be as easy to clean as glossier options. Satin or semi-gloss finishes strike a balance between aesthetic appeal and practicality, offering a smooth look that’s resistant to moisture and easy to wipe down.
- Joint Compound: For filling gaps and smoothing over imperfections such as nail holes or small dents, joint compound is indispensable. Choose a lightweight joint compound for easy application and less shrinkage, making it perfect for novice or DIY projects.
Deciding among these materials involves weighing their benefits against potential drawbacks. Here’s a comparison table to simplify the decision-making process:
| Material | Benefits | Considerations |
| High-Quality Paint | Superior coverage, smoother finish, long-lasting | Higher cost per gallon |
| Primer | Improves paint adhesion, provides even surface | Additional step in the painting process |
| Matte Paint Finish | Hides imperfections, sophisticated look | Less washable, prone to marks and stains |
| Semi-Gloss Paint Finish | Durable, easy to clean, slight sheen | Can highlight wall imperfections |
| Joint Compound | Fills gaps, smooths surfaces, easy to use | Requires sanding and multiple applications |
Ultimately, the right materials for your project will depend on specific factors such as the current condition of the walls, the desired finish, and your budget. By understanding the properties of each material, you can make choices that lead to beautifully smooth, lasting results in your space.
preparing your walls
Before embarking on your painting project, preparing your walls thoroughly is essential to ensure a smooth finish. Proper preparation minimizes imperfections and enhances the durability of your paint job. Follow these detailed steps to ready your walls before applying any paint.
1. Clean the Walls:
– Begin by washing the walls with a mild detergent mixed with water. This helps remove dust, grease, and other residues that can affect paint adhesion.
– Use a sponge or cloth to scrub the surface gently, and then rinse with clean water. Allow the walls to dry completely before proceeding to the next step.
2. Repair Imperfections:
– Examine the walls for any visible cracks, holes, or dents. These should be filled with a suitable filler or joint compound.
– Use a putty knife to apply the filler, ensuring it’s slightly raised above the wall surface to allow for sanding.
– Once the filler has dried, sand the area until it’s perfectly smooth and level with the surrounding wall. Make sure to wear a dust mask during this process to protect yourself from inhaling dust particles.
3. Sand Surfaces:
– Even if your walls don’t have visible imperfections, lightly sanding them can create a better surface for the paint to adhere to.
– Use fine-grit sandpaper (120 to 150 grit) for this task. Sand in a circular motion to avoid creating harsh lines.
– After sanding, wipe the walls with a damp cloth to remove any dust particles.
4. Prime the Walls:
– Depending on the condition of the walls and the type of paint being used, applying a primer can help achieve a more uniform finish.
– For new drywall or patched areas, a primer is particularly crucial for sealing and preparing these surfaces.
– Apply the primer with a roller, using a brush for the edges and corners. Allow it to dry thoroughly based on the manufacturer’s instructions before moving on to painting.
5. Tape and Cover Adjacent Areas:
– Protect areas you don’t want painted by using painter’s tape. Ensure it’s applied in straight lines to avoid paint bleeding underneath.
– Cover the floor and any furniture in the room with drop cloths to protect them from paint drips or spills.
6. Ensure Good Ventilation:
– Before you start painting, open windows and doors to ensure good airflow. This not only provides a comfortable work environment but also aids in faster drying of paint.
By following these steps, you can significantly enhance the adhesion and overall finish of your paint job. Proper wall preparation is the foundation of a successful painting project, ensuring longevity and a flawless appearance.
techniques for application
Once your walls are prepped and ready for painting, the next crucial step is understanding the techniques for applying your chosen materials effectively. The application process can significantly influence the outcome and quality of the final finish. Here’s how to ensure your application techniques lead to a flawless, smooth wall surface.
Start with the Right Tools:
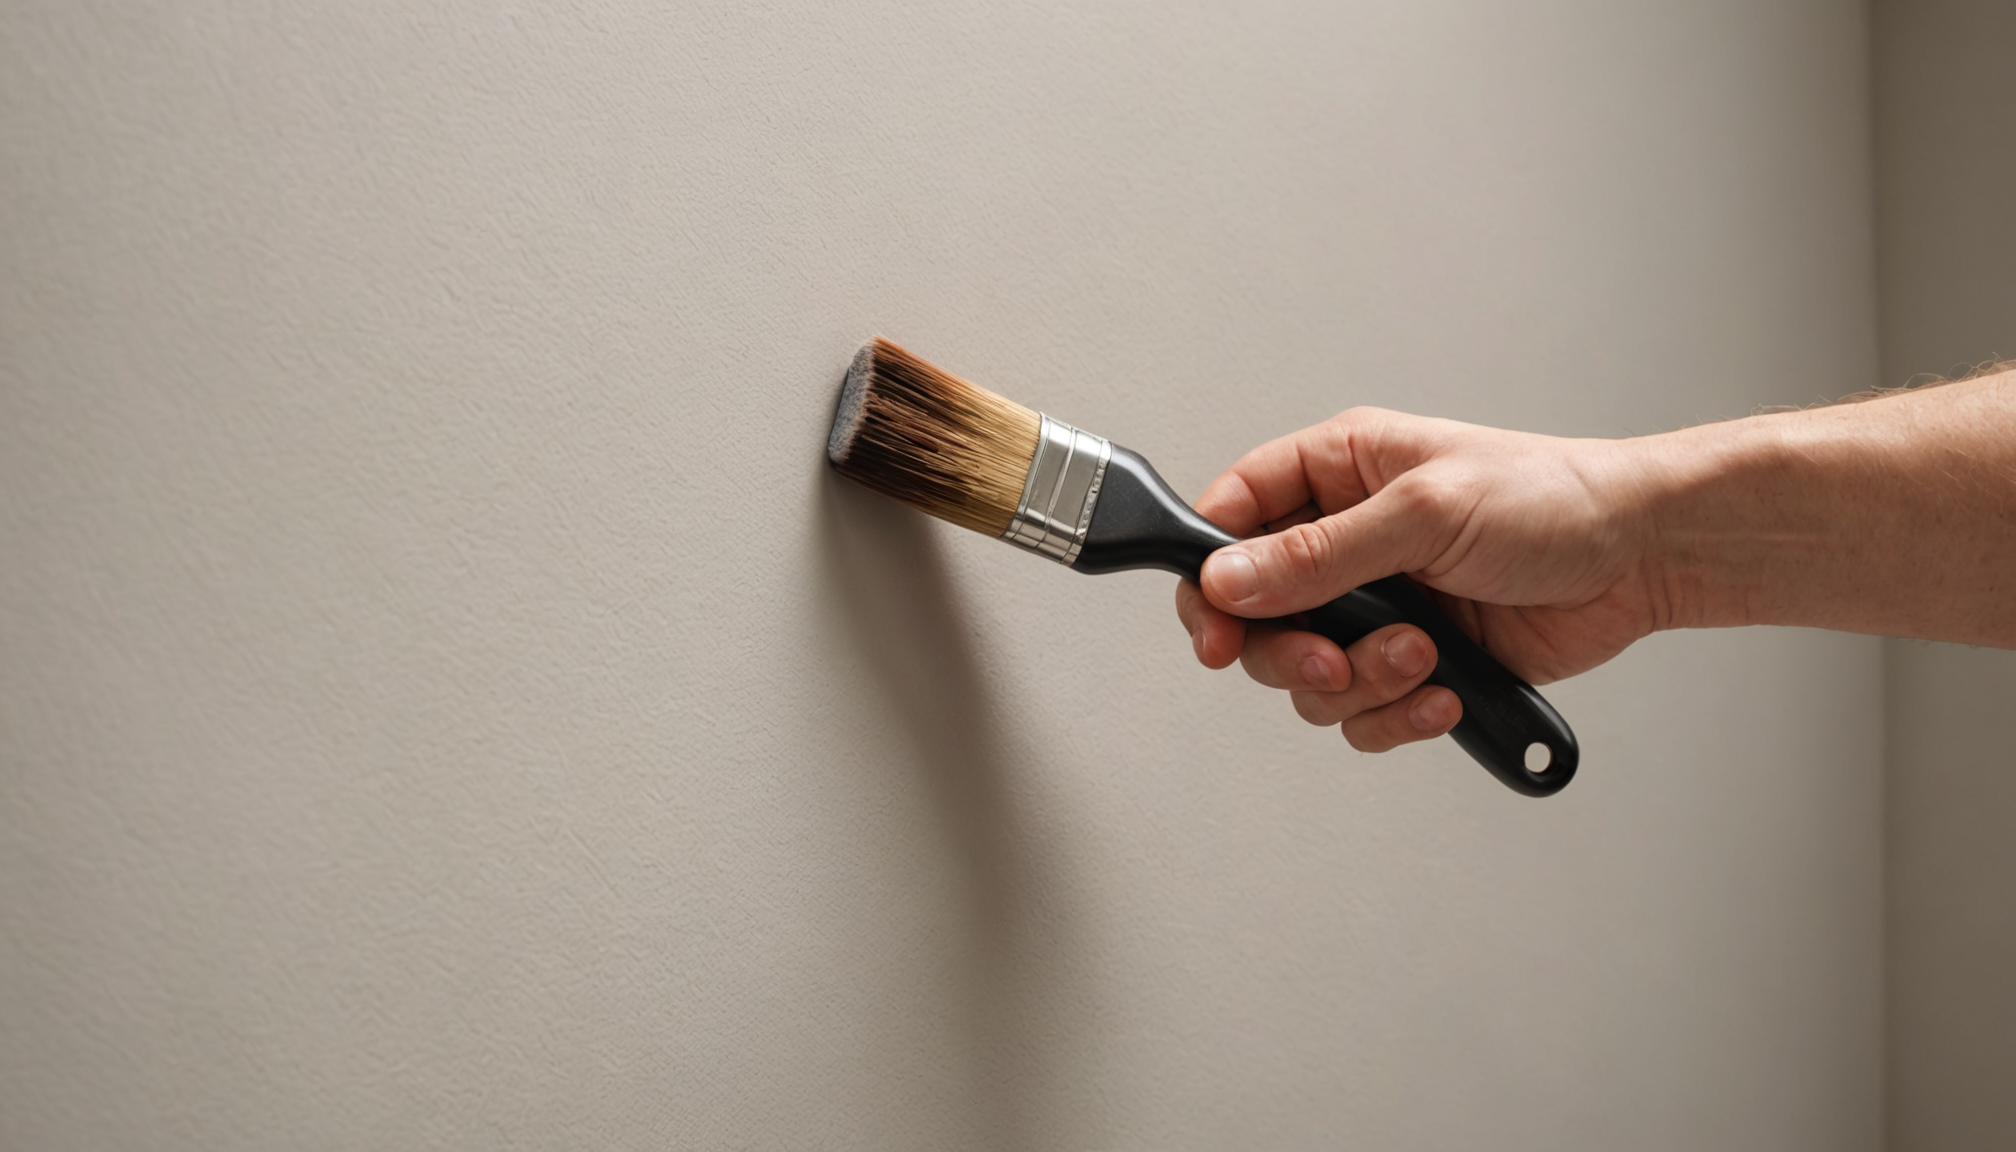
Investing in high-quality tools can make a noticeable difference. A good paint job begins with using excellent brushes or rollers that suit the paint you’ve selected. For instance, natural bristle brushes are recommended for oil-based paints, while synthetic brushes are better suited for latex paints. Rollers should be chosen based on the surface texture; a shorter nap for smooth surfaces and a longer nap for rougher textures.
Practice the Proper Painting Technique:
When using a brush, load it with paint without submerging it entirely—halfway into the bristles is ideal. Start painting by cutting in the edges; this means painting around the edges of the walls and ceilings with a brush before rolling. Use slow, steady strokes, and don’t overwork the paint as this can create uneven patches.
Rollers should be used in a “W” or “M” pattern first, to evenly distribute the paint, and then filled in with straight, overlapping strokes for a seamless finish. This technique helps in covering a large area quickly and effectively while minimizing lap marks.
Apply Thin Coats:
Opt for thin, even coats of paint rather than attempting to cover everything in one thick layer. This approach not only allows for a quicker drying time but also results in fewer drips and runs, which can mar an otherwise smooth finish. Allow each coat to dry completely before applying the next, following the manufacturer’s drying time recommendations.
Address Potential Problem Areas:
Corners and edges often accumulate more paint than necessary. Employ a technique called “feathering”—gently spreading excess paint from these areas towards the center of the wall with a clean brush. This strategy helps in achieving even coverage and avoiding unsightly build-up at joints or corners.
Work in Proper Lighting:
Ensure you have adequate lighting to spot imperfections as you paint. This helps identify uneven sections, ensuring that the paint job looks professional and uniform once it dries. Use both natural and artificial light to inspect your work from multiple angles.
Pay Attention to Ventilation:
Proper airflow not only enhances comfort while painting but also aids in the drying process. Poor ventilation can lead to longer drying times and potentially compromise the quality of the finish. Consider using fans or opening windows to maintain a consistent airflow.
By implementing these application techniques with precision and care, the end result will not only meet but exceed expectations, ensuring the walls look smooth, with a professional-grade finish. These steps are integral in translating the quality of your chosen materials and preparation efforts into visibly stunning results.
common mistakes to avoid
When seeking a perfect finish for your walls, recognizing and avoiding common mistakes can be just as crucial as following the right techniques and preparation steps. Overlooking these errors can lead to problems that detract from the overall appearance and durability of your project.
One frequent mistake is inadequate surface preparation. Skipping the detailed cleaning and repair of your walls may lead to paint adhesion issues. Neglecting to fill in cracks or holes with joint compound can result in visible imperfections that the paint alone cannot hide. It’s important to remember that smooth walls begin with thorough cleaning and proper surface preparation.
Rushing the priming stage is another pitfall to avoid. Some might be tempted to skip this step, especially when working with high-quality paint. However, primer creates a consistent surface that helps the paint adhere better and might prevent the existing color from bleeding through. Not priming surfaces like new drywall or patched areas can lead to an uneven finish and subpar end results.
Applying the paint too thickly in a single coat in hopes of reducing labor time can lead to issues like drips, uneven surfaces, and extended drying periods. Each coat should be applied thinly and evenly, with sufficient drying time in between to ensure the best possible outcome without compromise.
Inadequate mixing of paint is another aspect that requires attention. Paint that hasn’t been properly stirred can lead to variations in color and texture when applied. Skipping this simple yet crucial step can counteract all other efforts towards achieving a smooth, even wall.
Using the wrong tools or low-quality equipment can drastically affect the final result. Poorer quality brushes and rollers often result in an uneven distribution of paint or can leave behind fibers and marks. Investing in good quality tools ensures smoother application and an overall better-looking finish.
It’s also easy to underestimate the importance of environmental conditions. Painting in extreme temperatures or high humidity can affect how the paint dries and adheres to the surface. It’s best to paint in conditions that match manufacturer recommendations to avoid potential issues that only become apparent after the paint has dried.
Lastly, failing to clean up promptly and thoroughly can create additional work and cleanup. Wet paint on unintended surfaces hardens over time, making removal difficult. It’s essential to remove any painter’s tape soon after painting to prevent peeling off dried paint along with it.
Awareness of these common mistakes and taking proactive steps to avoid them can significantly enhance the final quality and longevity of a paint job. By doing so, you’ll ensure that your efforts in choosing materials, preparing surfaces, and applying paints yield the smooth, pristine walls you envision.
maintenance and care
After completing the arduous yet rewarding process of painting, your attention should shift toward preserving the flawless finish of your walls. Taking the time to invest in proper upkeep will help maintain the appearance and longevity of the paint job, making it worthwhile in the long run. A few simple but effective practices can go a long way in ensuring your walls retain their freshly-painted allure.
Regularly dust your walls with a soft cloth or a microfiber duster to prevent the accumulation of grime that can dull the paint over time. Dusting should be a part of your routine cleaning regimen, as it helps preserve the vibrancy and hue of the paint without causing abrasions to the surface.
When it’s time for a more thorough cleaning, particularly in areas prone to stains like kitchens or children’s rooms, use a gentle cleaner mixed with water. It’s important to test any cleaning solution on a less noticeable section of the wall to avoid causing damage or discoloration. Avoid harsh chemicals or abrasive scrubbers that can erode the paint.
Additionally, address any minor damage as soon as possible to prevent further issues. For example, small nicks or scratches can be sanded lightly and touched up with leftover paint. It’s always a good idea to save some original paint for such touch-ups, ensuring consistency in color and finish.
Monitor areas of your home that are exposed to more humidity, such as bathrooms. Adequate ventilation can prevent moisture from seeping into and damaging the paint. Installing exhaust fans or dehumidifiers can aid in reducing humidity levels and protecting your walls.
Lastly, consider the impact of light exposure on your walls. Continuous exposure to direct sunlight can fade the paint over time. Using window treatments like blinds or curtains not only enhances privacy but also shields your walls from excessive UV rays.
By implementing these maintenance strategies, you’ll preserve the impeccable appearance of your smooth walls, allowing your space to continue to look polished and well-kept for years to come.
In conclusion, achieving perfectly smooth walls requires a combination of selecting the right materials, meticulous preparation, precise application techniques, and ongoing maintenance. By understanding and implementing expert advice, you can successfully transform any space with a rich, flawless finish that complements your style and stands the test of time. Whether you are a novice or a seasoned DIY enthusiast, these strategies provide a reliable roadmap to consistently stunning results.


