Embarking on a DIY fence installation requires meticulous planning to ensure a smooth and successful project. The planning phase is arguably the most critical stage, as it sets the foundation for all subsequent steps. This phase involves a comprehensive analysis of your needs, thorough site evaluation, budget considerations, and a careful selection of fence materials and style.
To begin, it is crucial to determine the primary purpose of your fence. Whether your goal is to increase privacy, enhance security, define boundaries, or improve your property’s aesthetic appeal, identifying the main reason will guide your decisions related to materials, height, and style. Engaging family members or others who live on your property in this discussion can be beneficial to capture all viewpoints and needs.
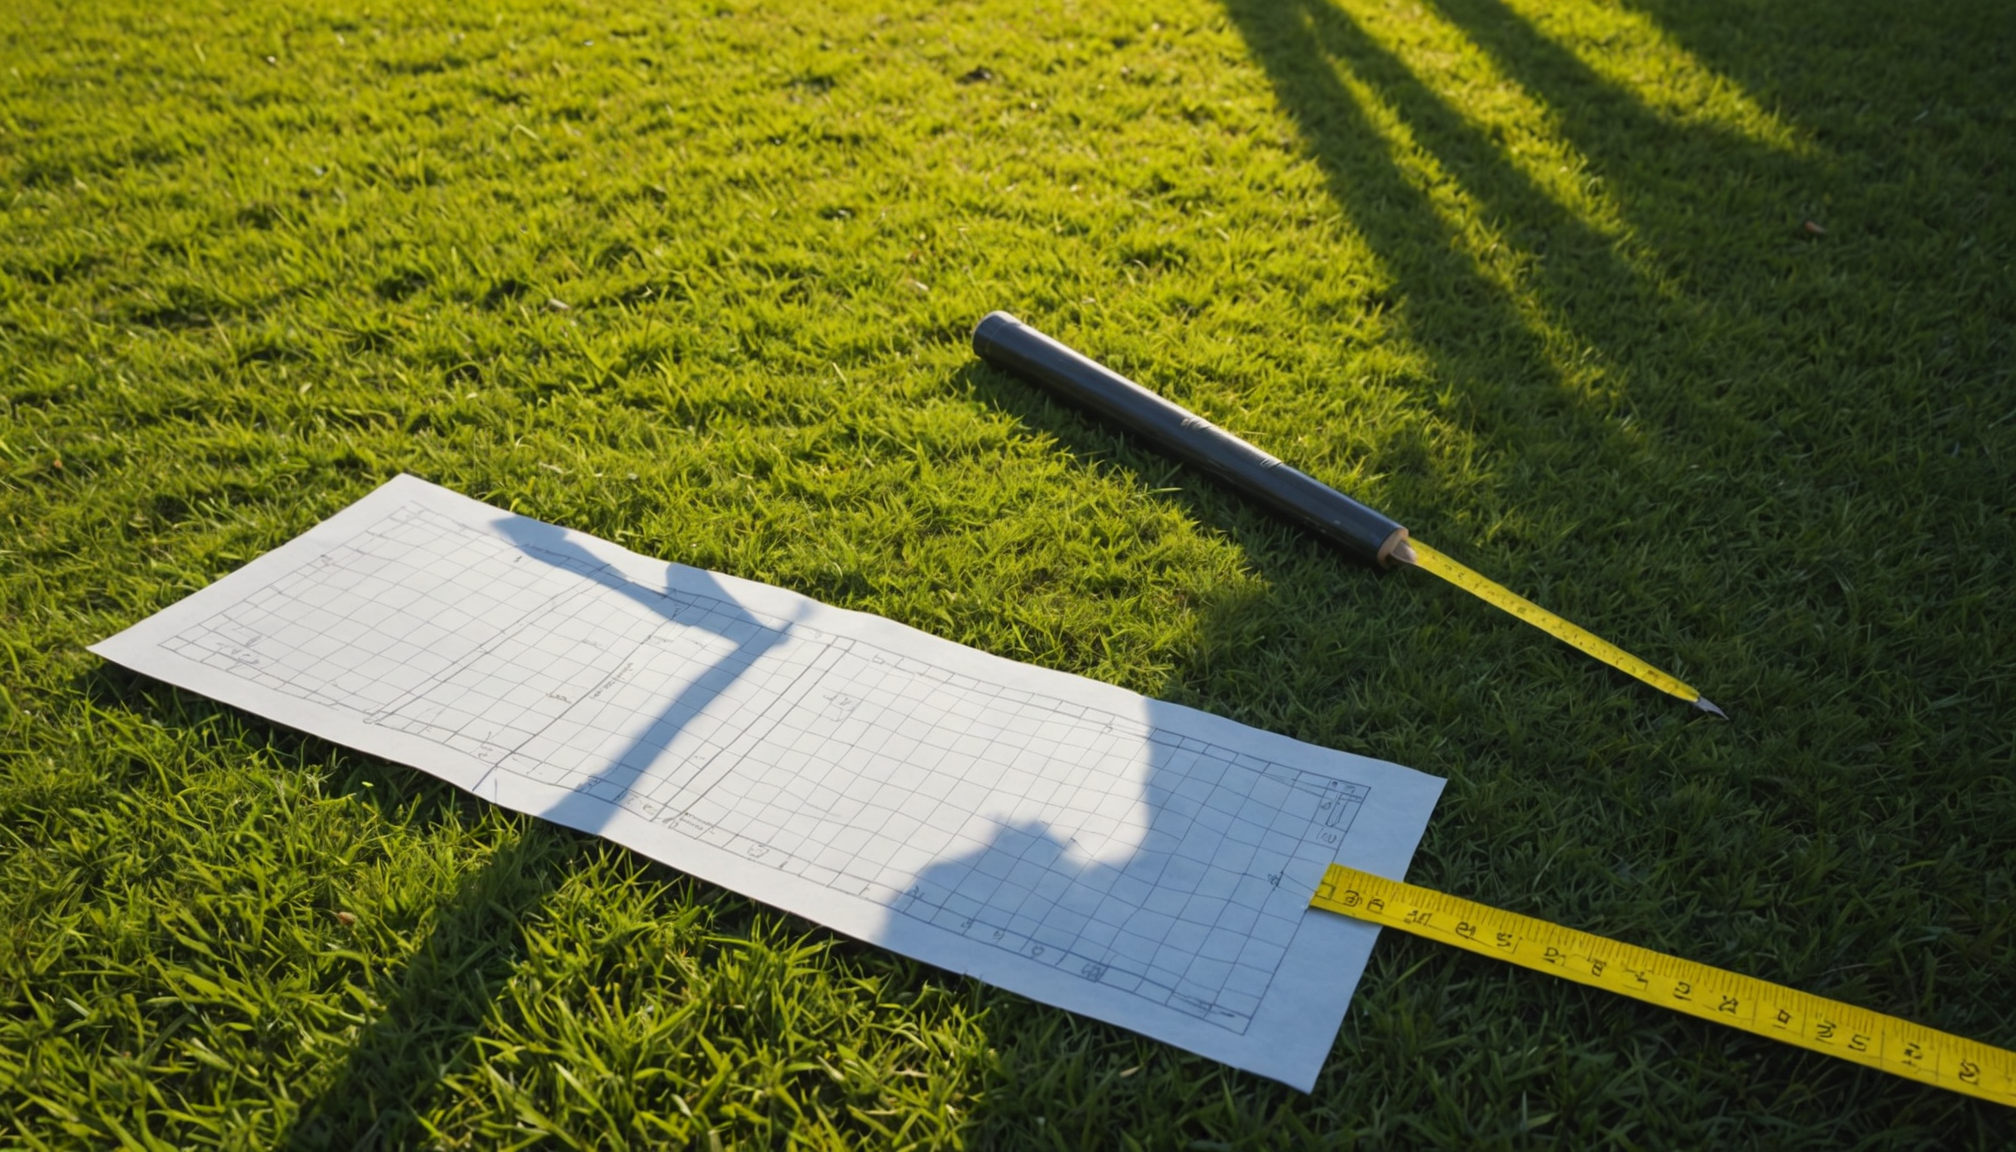
Next, an assessment of your property is vital. This involves measuring the area accurately to determine the quantity of materials necessary and prevent under or over-purchasing. Employ a measuring tape, graph paper, or even digital tools available online to sketch a detailed layout. Consider any slopes, obstacles, or unique features that might influence the fence’s path and installation method.
Additionally, it is imperative to check local zoning laws and homeowner association rules which could impact your project. Regulations may dictate fence height, allowable materials, and even specific locations where fences can be erected. Ignoring these regulations can lead to costly fines or even having to dismantle your finished work.
Once you have gathered all physical and regulatory information, you can start drafting a budget. Your budget should cover materials, potential tool rentals, and any additional resources you might need, such as landscaping adjustments. Stick to your budget to avoid unforeseen financial stress, but also allow a small cushion for unexpected expenses.
Apart from budgeting, choosing the right materials is another cornerstone of planning. Different materials such as wood, vinyl, metal, or composite offer varying levels of durability, maintenance, and cost. Below is a comparison table that outlines the key characteristics of popular fencing materials:
| Material | Durability | Maintenance | Cost |
| Wood | Moderate | High (regular painting/staining required) | Moderate |
| Vinyl | High | Low | High |
| Metal (Aluminum/Steel) | High | Low | High |
| Composite | High | Low | High |
Planning ahead also involves design considerations. You should think about how the fence will integrate into the landscape and complement your home. Visual harmony should not be overlooked, and finding a style that reflects the architecture of your house or the surrounding landscape will add to your property’s curb appeal.
Lastly, consider access points such as gates, which are often overlooked. Decide where they will be placed for maximum convenience and consider lock options if security is a primary concern. Remember, thoughtful planning can not only elevate the functionality and beauty of your fence but can also save time and resources as you progress deeper into the installation work.
Gathering necessary materials
With a solid plan in place, the next crucial step involves gathering all the necessary materials and tools to ensure a seamless installation process. It’s essential to be comprehensive in your collection to avoid interruptions once you begin. Outlined below is a detailed guide on how to systematically gather everything you’ll need for your DIY fence project:
- Create a Detailed List: Start by compiling a comprehensive list based on your earlier planning. This list should include the type and quantities of materials as well as the tools required. Refer back to your earlier measurements to ensure accuracy.
- Select Quality Materials: Choose materials that best match your fence’s purpose as well as your environmental conditions. If you’ve opted for wood, select treated lumber for longevity. For vinyl or composite options, ensure that they meet any local zoning quality standards. This stage is also when you secure posts, rails, panels, screws, nails, brackets, and fasteners, based on your chosen style.
- Gather Essential Tools: Assemble all the necessary tools before starting the project. Some of the basic tools you may need include:
- Post hole digger or auger for setting the posts.
- Power drill with appropriate bits.
- Hammer, for manual nailing schedules.
- Saw, preferably a miter saw, for any cutting requirements.
- Level to ensure each section stands vertically.
- Measuring tape or laser measuring tool to ensure precision at every stage.
- String line and stakes for guideline setup.
- Safety gear such as gloves, safety goggles, and hearing protection.
- Cement mixture (if needed) for post stabilization.
- Consider Renting Specialized Equipment: Depending on the scale and material of your fence, you might consider renting more specialized equipment such as a power auger for digging post holes in tough soil or an air compressor for pneumatic tools if that’s part of your toolset.
- Ensure Material Transport and Storage: Plan how you will transport all necessary equipment and materials to your site, especially large quantities of heavy materials like concrete or wood panels. Consider securing a rental vehicle if your personal vehicle is inadequate. Once transported, store materials in a dry, secure location close to the installation site to prevent warping or weather damage and to facilitate easy access and efficiency.
- Verify Purchase Orders: Before leaving suppliers, verify each purchase to ensure correctness in type, size, and count, reducing the possibility of shortages or the wrong supplies impeding your progress. Double-check measurement conversions and product specifications against your list.
This meticulous gathering process is designed to establish a strong start for your installation. The goal is to eliminate unnecessary trips back to suppliers, maintaining momentum and ensuring your project runs smoothly from beginning to end.
Preparing the site
Preparing the site for your DIY fence installation is a pivotal step that can significantly affect the outcome and longevity of your project. This phase involves several key actions, each aimed at creating an optimal environment for the fence to be installed.
First, begin with clearing the site. Remove any debris, vegetation, or obstacles that might hinder the installation process. This might include bushes, trees, or rocks along the fence line. Trimming down tall grass or weeds will help provide a clear view of the ground and make your measurements and markings more accurate.
Once the area is clear, you will need to demarcate the boundary where your fence will be set. This involves laying out a string line to visualize the fence line. Hammer stakes into the ground at both the start and end points, then attach the string. This string serves as a guide and should be perfectly taut and level, ensuring a straight, professional installation. In addition to the main line, you might need to establish intermediary benchmarks if your property line curves or has angles, to maintain the proper layout and alignment throughout the installation.
Following this, the ground will need to be leveled to provide a stable foundation. Uneven terrain might require additional grading work. Use a level or leveling tool to check the evenness, and if necessary, fill low spots with dirt and compact them firmly. Steep inclines can sometimes require a tiered approach or special post placement to maintain even fence height.
Now, assess the soil conditions of the area. This will influence how you set your fence posts. Sandy or loose soil conditions might require deeper post holes or additional support like concrete footings for stability. Conversely, dense or rocky soil might necessitate different digging tools or methods.
Once you have a clear and prepared site, it’s time to identify underground utilities. It is crucial to ensure safety during the digging process. Contact local utility companies through a service like 811 to have them mark out any buried cables, pipes, or other infrastructure. This precaution can help avert costly and dangerous damage during post hole digging.
Finally, the initial preparation phase demands careful consideration of drainage. Ensure that water runoff will not settle along the base of the fence, where it could lead to premature decay or structural issues. Depending on your landscape, you might need to create a slight slope away from the fence line or install drainage solutions that will channel water away from the structural components of the fence.
By diligently preparing your site, you lay the groundwork for a successful fence installation, avoiding complications and ensuring your project progresses smoothly and aligns perfectly with your planned design. This thorough approach is instrumental in extending the life of your fence, allowing it to stand sturdily and beautifully for years to come.
Installing your fence
With the site thoughtfully prepared, it’s time to transition into the actual installation process. This is where your detailed planning and preparation come to fruition as you begin to physically construct your fence. Starting with the installation of fence posts is crucial, as they provide support and stability.
Begin by using a post hole digger or auger to create holes for the fence posts. The depth and diameter of each hole should correspond with the height of the fence and local building codes. A general rule of thumb is that one-third of the post should be buried underground. Ensure each post hole is uniform to maintain consistent fence height and appearance.
Once the holes are dug, place a few inches of gravel at the bottom of each to promote drainage and position the post on this layer. Use a level to check that each post is vertically straight, adjusting as needed. If you’re using wood posts, treat the portion of the post to be buried with a wood preservative to deter rot.
Concrete is commonly used to anchor the posts, providing a sturdy base. Mix the concrete according to package instructions and fill the hole around the post. As you pour, periodically check the post’s alignment, using a level to confirm it remains straight. Allow the concrete to cure as recommended, typically at least 24 hours, before attaching the fence panels or rails.
After securing the posts, proceed to attach the horizontal rails. Rails connect posts, constructing the framework on which you’ll attach the fence boards or panels. Depending on your chosen style, you might need two, three, or even four rails per panel. Measure the appropriate distance between rails, usually equidistant from top to bottom, to ensure a uniform look across your fence.
Now it’s time to add the vertical boards or panels. Start at one end of the fence line. If using panels, secure each one to the posts and rails with the appropriate hardware, ensuring each section is level. If using individual boards, attach them one at a time, checking regularly for spacing and alignment.
Throughout the process, continually check alignment and spacing. An uneven fence line can detract from both the aesthetic and functional aspects of your fence. Maintain consistent spacing between boards or panels for a polished and professional finish. Utilize a string line or piece of scrap wood as a gauge if needed.
When installing gates, ensure they are mounted securely and aligned correctly with adjacent panels. Quality hinges and latches are vital for durability and smooth operation. Consider additional reinforcements for wider gates to prevent sagging over time.
Each step of the installation must be executed with precision and care, using high-quality fasteners to prevent loosening and shifting over time. Keep in mind local regulations throughout the process and adjust components as needed to comply.
By diligently following these steps, you’ll ensure a robust and visually appealing fence that both enhances the value of your property and meets your initial goals, whether they’re for privacy, security, or aesthetic charm. As you move forward, remember to consistently refer back to your detailed plan, ensuring that each section seamlessly integrates with the next, creating a harmonious and effective barrier.
Finishing touches and maintenance
After successfully installing your fence, it’s time to focus on finishing touches that enhance both its appearance and longevity. Begin by inspecting your fence for any rough edges or splinters, especially if you’ve opted for wooden materials. Sand down any imperfections to ensure a smooth finish, which will not only improve the aesthetic appeal but also prevent injuries.
Apply a protective sealant or paint, which is essential for outdoor longevity. This will protect wooden fences from moisture, UV rays, and pests, effectively reducing the risk of rot, warping, or insect damage. If you chose other materials like metal or vinyl, consider washing them down to remove any dust or debris from the construction phase, ensuring a clean finish.
For an extra touch of sophistication and functionality, consider adding decorative elements such as post caps, lattice work, or climbing plants. Post caps can prevent water ingress into posts, while lattice work or trellises can give your fence a personalized flair, furthermore supporting climbing plants for a touch of greenery.
Maintenance is also crucial to keep your fence looking great and functioning well over time. Regular inspections can help identify and address minor issues before they become significant problems. Look for signs of damage or wear, such as loose panels, rust on metal components, or chipped paint. Address these issues promptly to prevent deterioration.
If your fence is wood, consider repainting or resealing every few years depending on exposure to elements. Metal fences might require rust protection, while a simple power wash will usually suffice for vinyl or composite materials to remove any accumulated dirt or mildew.
Additionally, ensure that all moving parts, particularly gates and hinges, are functioning smoothly. Lubricate these parts regularly to prevent rust and ensure easy operation. Tighten any loose screws or fittings, and replace damaged hardware as needed to maintain structural integrity and security.
Through thoughtful finishing touches and a committed maintenance routine, you’ll extend the life of your fence, ensuring it continues to serve its intended purpose and remains an attractive feature of your property.
In conclusion, installing your own fence can be a rewarding and educational experience. From thorough planning and meticulous site preparation to careful installation and diligent maintenance, each step contributes to a successful outcome. By investing time and effort throughout the process, you not only enhance your property’s value and curb appeal but also gain the satisfaction of a job well done.