Maintaining a well-functioning roof is crucial for the safety and longevity of any building. The first step in the comprehensive repair process involves accurately identifying common issues that may arise over time. With a keen eye and a proactive approach, homeowners can address these problems before they escalate, potentially saving substantial repair costs. Knowing what to look for ensures that the repair of your roof is efficient and effective.
One of the most prevalent issues homeowners face is roof leaks, which can manifest due to a variety of reasons ranging from damaged shingles to compromised flashing. Leaks can cause significant damage if left unaddressed, seeping into the structure and potentially leading to mold growth or structural weakening. Water stains on ceilings or walls, particularly after heavy rainfall, are tell-tale signs of a leak.
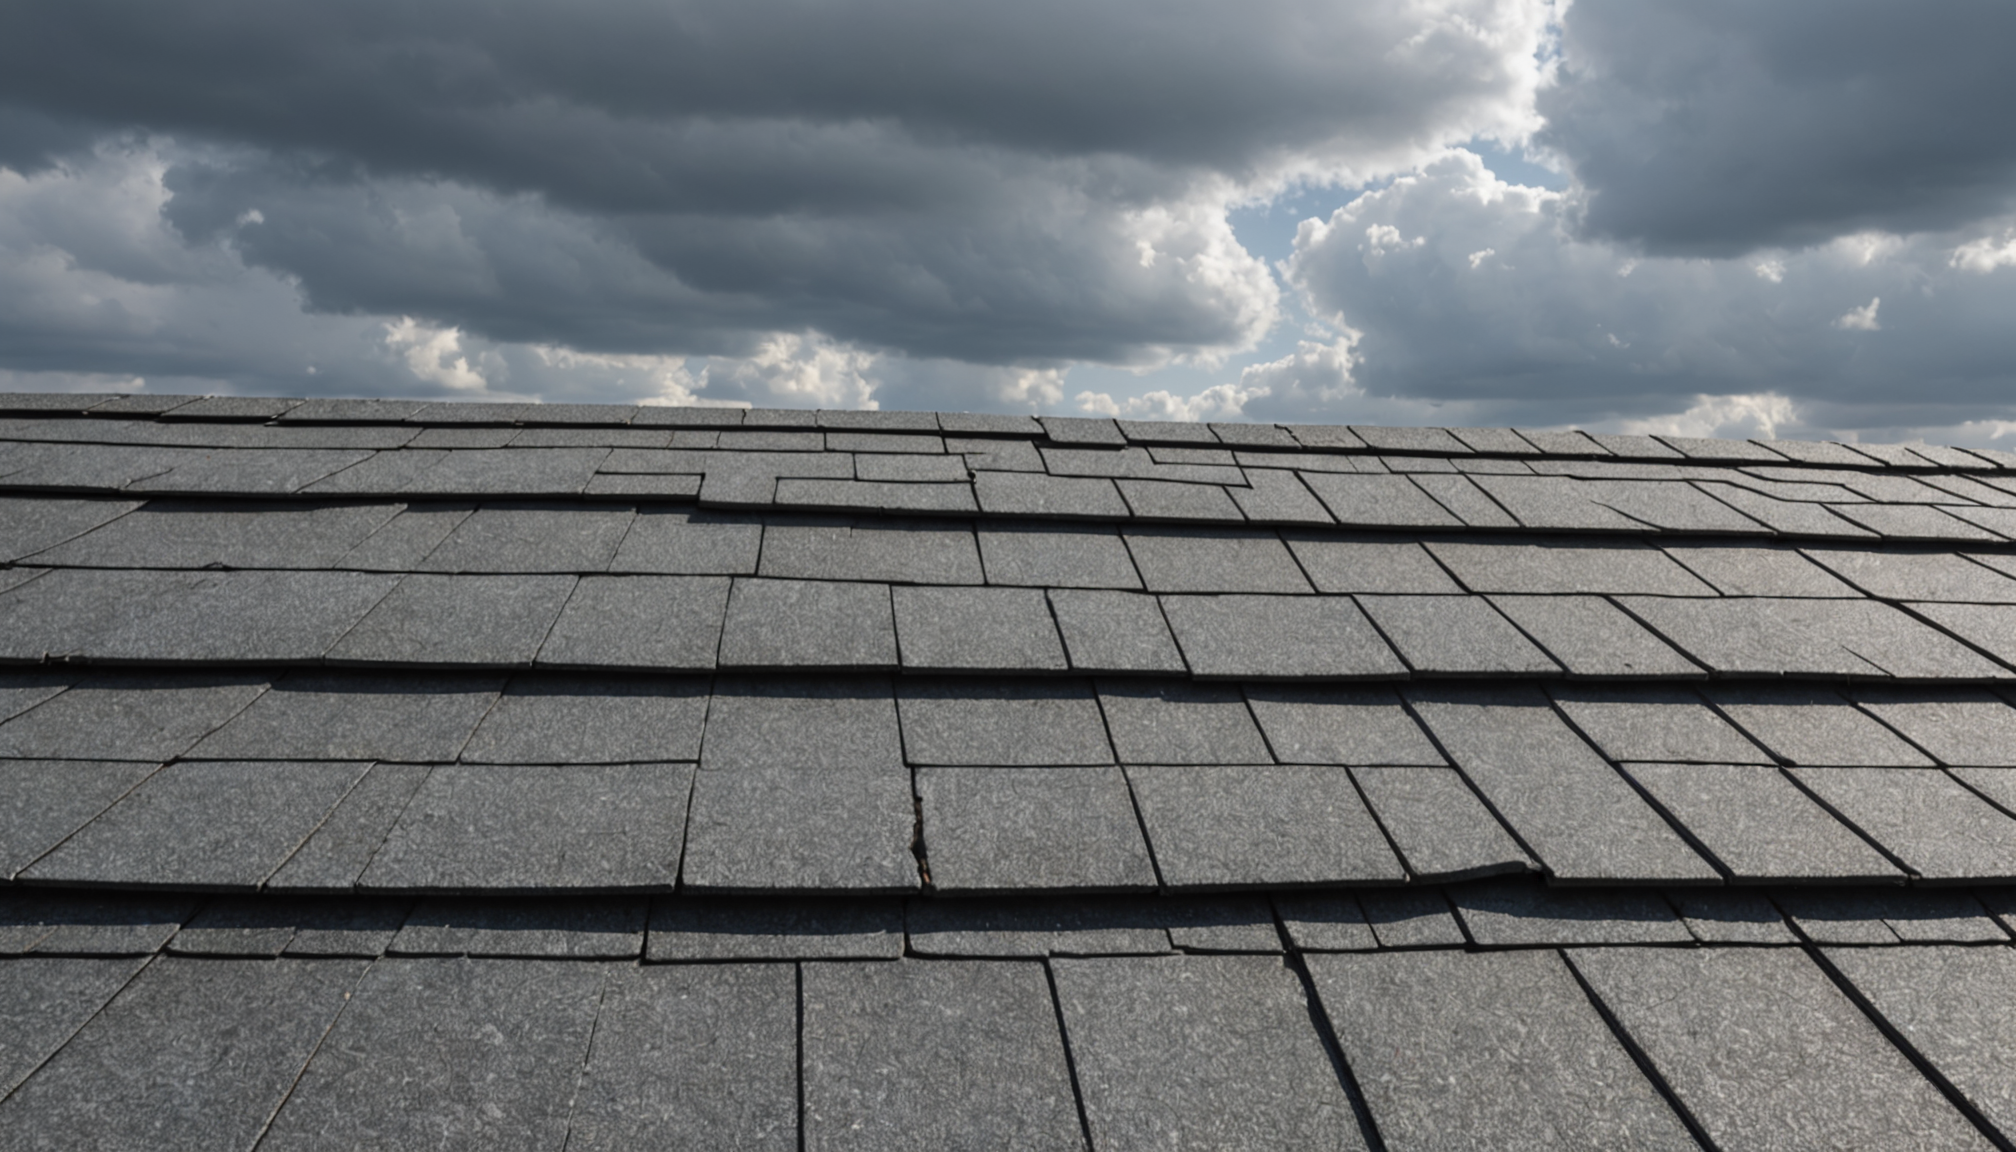
Another common problem is missing or damaged shingles. Shingles can suffer from wear and tear due to harsh weather conditions including strong winds, hail, or consistent exposure to sunlight. Over time, shingles may become cracked, curled, or completely blown off, which exposes underlying materials to the elements and could lead to serious structural damage.
Additionally, poor roof installation can be a root cause of various issues. If the roof was not installed properly initially, it might lead to problems such as improper drainage, contributing to pooling water and potential leaks. Meanwhile, incorrect venting can trap moisture and heat, which can deteriorate roofing materials prematurely.
Moss, algae, and debris accumulation also pose risks. While moss and algae growth might seem like a mild nuisance, they can retain moisture against the roof surface, leading to gradual deterioration. Debris, such as leaves and branches from nearby landscaping, can block gutters and downspouts, causing water to back up and lead to leaks.
| Roofing Issue | Potential Cause | Possible Solution |
| Leaking | Ice dams, damaged flashing, or broken shingles | Repair or replace the damaged materials, improve gutter function |
| Missing Shingles | High winds or heavy storms | Replace missing shingles to restore protection |
| Pooling Water | Improper slope or drainage issues | Re-align shingles or install additional waterproofing layers |
| Moss/Algae Growth | Excess moisture retention and insufficient sunlight | Apply eco-friendly cleaning solutions or zinc strips |
Beyond these common issues, it’s essential to assess the roof’s age. Most roofing materials have a limited lifespan, and recognizing when they are approaching the end of their service life can preempt sudden failures. Asphalt shingles, for example, generally last around 20 to 30 years, so if your roof is reaching this age, it might be time to consult with a professional regarding its future.
Identifying these common roof issues is an integral first step in the repair and maintenance process. While some repairs can be tackled independently with the right tools and resources, more complicated issues often require hiring pros to ensure the safety and sustainability of your home. Understanding when professional intervention is necessary can also lead to more eco-friendly outcomes by avoiding excessive waste or damage from incorrect repairs.
Tools and materials you’ll need
To successfully carry out roof repairs, having the right tools and materials on hand is essential. A thorough preparation will help ensure a smoother repair process and enhance the efficacy of your efforts. Below is a list of essential tools and materials you should gather before embarking on any roof repair project:
1. Tools:
- Hammer: A must-have tool for dealing with nails and securing shingles.
- Nail Gun: Speeds up the process of attaching shingles and underlayment, especially for larger roofs.
- Pry Bar or Shingle Remover: Essential for removing damaged shingles or other roofing materials.
- Caulking Gun: Useful for applying roofing sealants to prevent leaks.
- Utility Knife: Handy for cutting shingles to size.
- Roofing Trowel: Helps in applying roofing cement and smoothing out patches.
- Chalk Line: Assists in maintaining straight lines and aligning shingles properly.
- Measuring Tape: Vital for making accurate assessments and cuts.
- Ladder: A sturdy ladder is crucial for safely reaching the roof.
- Safety Harness: Ensures personal safety by preventing falls during repairs.
2. Materials:
- Asphalt Shingles: Replace any missing or damaged shingles. Make sure to choose shingles that match your existing roof for a uniform appearance.
- Roofing Nails: Used to secure shingles to the roof deck. Ensure they are the appropriate size and galvanized to resist rust.
- Roofing Cement or Sealant: Needed for patching leaks, sealing around flashings, and adhering shingles.
- Flashing: Replace or repair flashing around chimneys, vents, and valleys to prevent water intrusion.
- Roofing Underlayment: This waterproof barrier is installed beneath shingles to add an extra layer of protection against moisture.
- Drip Edge: A metal flashing installed at the edges of the roof to guide water into the gutters and prevent water damage.
- Waterproofing Membrane: Useful for areas prone to water pooling to provide additional protection.
Having these tools and materials ready before starting the repair will help streamline the process and reduce the chances of needing to pause work to acquire additional supplies. Being eco-friendly is also possible by choosing materials that are sustainably sourced or opting for energy-efficient roofing options. This not only benefits the environment but could lead to long-term savings on energy costs. Carefully considering each component of your roofing system and ensuring its proper installation can significantly enhance the durability and functionality of your roof.
Step-by-step repair process
Once you have identified the issues with your roof and gathered the necessary tools and materials, it’s time to jump into the repair process. Ensure you follow a methodical approach to make your repairs effective and long-lasting. Here is a detailed guide to help you through it:
Start by preparing the area. Clear away any debris, such as leaves or branches, that might be hindering your view or access to the damaged section. It’s essential to work on a clean surface to properly assess and address all the issues. Additionally, inspect the surrounding area for any signs of damage that might not be immediately visible. This step is crucial because overlooking slightly damaged areas could lead to further deterioration of the roof structure in the future.
Once the workspace is prepared, if you’re dealing with damaged shingles, remove them first. Use a pry bar or shingle remover to carefully lift the damaged shingles off the roof. Be gentle to avoid causing any further damage to the underlying roofing materials. If any nails are left behind after removing the shingles, use a hammer to remove them or hammer them back into the deck if they are still secure. It’s important to make sure the surface is nail-free and smooth to ensure the new shingles lay flat.
With the old shingles removed, inspect the roofing underlayment for damage or wear. If there’s any deterioration, replace it with new underlayment before proceeding. The underlayment provides that extra layer of protection against water infiltration, so you don’t want to compromise on its condition.
Next, reposition your new shingles. Begin installation from the bottom upwards, aligning each shingle securely using your chalk line for precision. Carefully nail each shingle into place, ensuring to overlap them as per the manufacturer’s instructions. Always opt for using galvanized roofing nails as they resist rust, which might compromise the roof’s integrity over time. If you’re replacing flashing around chimneys, vents, or skylights, make sure it is securely fastened and sealed with roofing cement or sealant to prevent water penetration.
If your roof had any leaks, apply a roofing cement or sealant generously around the problematic areas, particularly where the roof meets vertical surfaces like walls or chimneys. This acts as a barrier, preventing any future water intrusion. Using a roofing trowel, make sure the cement or sealant is evenly spread to avoid water pooling and to ensure it adheres well, providing a strong seal.
Don’t forget to address the edges of your roof with a drip edge installation. This small yet significant step helps redirect water into the gutters, preventing it from seeping back onto the roof or causing erosion of roofing materials.
Throughout the repair, concentrate on maintaining an eco-friendly approach. If any old materials, like shingles or nails, can be recycled, ensure they are disposed of properly. Consider using sustainable materials or those with advanced energy-efficient properties. Such choices make your roof more environmentally friendly and could save on energy costs in the long run by improving insulation.
By methodically tackling each issue with care and attention to detail, you’ll enhance your roof’s performance, ensuring it stands resilient against the elements for years to come. Remember, while many repairs can be managed independently, don’t hesitate to hire pros for more complex challenges to guarantee both safety and repair quality.
Safety precautions to follow
When preparing to repair your roof, prioritizing safety is crucial to prevent accidents and ensure the project runs smoothly. Tackling roof repairs involves inherent risks, so it’s essential to adhere to a set of safety precautions to protect yourself and anyone assisting you. Here’s a comprehensive guide to maintaining safety throughout the process.
First and foremost, always work in favorable weather conditions. Undertaking roof repairs during rain, strong winds, or icy conditions can significantly increase the risk of slipping or losing your balance. Plan your repairs for a clear, dry day to maintain a stable and secure working environment. It’s also beneficial to check the day’s forecast to anticipate any sudden weather changes that might necessitate halting your work.
Appropriate attire is vital for roof repair safety. Wear shoes with rubber soles for maximum grip to prevent slipping. A durable pair of work boots with proper ankle support will not only enhance your grip but also protect your feet from any sharp debris that might be present. Clothing should be flexible and breathable while providing enough coverage to guard against abrasions or contact with harsh roofing materials.
A sturdy ladder is an indispensable tool for any roof work. Before starting, inspect your ladder for any damage or instability. Set it up on a stable surface, making sure it’s at the correct angle—one foot back for every four feet of height is a good rule of thumb. Always maintain three points of contact (e.g., two hands and one foot) when climbing to or descending from the roof. If possible, have someone hold the bottom of the ladder to add stability while you’re on it.
Using a safety harness is strongly recommended, particularly if your roof is steep or if you’re working at a significant height. A harness should be properly fitted and securely anchored to a robust structure. This precaution is one of the most effective ways to prevent falls and ensure your safety while moving around on the roof.
Carrying out roof repairs often involves using a variety of tools, some of which can pose risks if not handled properly. Keep all tools organized and within easy reach to minimize unnecessary movement that could affect your balance. Consider wearing a tool belt or using a rooftop tool caddy to secure hammers, nails, and other equipment without having to leave the workspace.
It’s also prudent to employ a buddy system while undertaking roof repairs. Having someone with you can make a significant difference in ensuring safety. In case of an emergency, they can provide immediate assistance or call for help. Additionally, they can lend a hand with tasks that require more than one person, like holding materials in place while they’re secured.
Be mindful of electrical hazards, particularly if your repair involves areas near power lines. Maintain a safe distance, and avoid using metal ladders or tools that could conduct electricity. Taking the time to locate and steer clear of electrical hazards underscores a commitment to safety.
Finally, when cleaning up after repairs, ensure all nails, shingles, and other materials are collected and disposed of responsibly. Being eco-friendly doesn’t just end with using sustainable materials; it includes adopting environmentally conscious practices throughout your repair project. Proper disposal methods will not only protect the environment but also prevent injuries caused by stepping on stray nails or debris.
By incorporating these safety measures into your roof repair routine, you reduce the risk of accidents and ensure that your project is completed efficiently and securely. Should you feel uncomfortable or face challenges beyond your skill level, hiring pros is a wise decision. Professional roofers bring expertise that guarantees both safety and the highest quality of work.
When to call a professional
When contemplating whether to tackle roof repairs yourself or to hire professionals, it’s essential to gauge the complexity and safety of the task at hand. Certain situations distinctly call for expert intervention to ensure the integrity of your roof and the safety of anyone working on it. First, consider the extent and type of damage. If you notice pervasive leaks, widespread shingle loss, or structural sagging, these are indicators of advanced issues that likely go beyond simple DIY solutions. Such significant damage suggests underlying problems with the roofing structure that require a trained eye and specialized equipment to diagnose and rectify properly.
Moreover, if your roof is particularly steep, or if you lack confidence working at heights, hiring pros is inherently safer. Professional roofers have the experience to navigate challenging pitches and heights that can be dangerous for an untrained person. The risks of serious injury from falls are significantly reduced when these tasks are entrusted to those with the right training and protective gear.
Another consideration is the presence of elaborate features or unusual roofing materials. Roofs with complex designs, multiple angles, or those made from materials like metal, slate, or tile, often necessitate specialized skills for proper repair or replacement. Professionals are equipped with the familiarity and expertise needed to handle these situations, ensuring that repairs are performed correctly without compromising the roof’s unique qualities or integrity.
Furthermore, consider the potential for unseen issues that might go unnoticed by an untrained eye. Professionals can conduct thorough inspections and identify less obvious damage, such as subtle signs of rot, pests, or ventilation issues, that may be overlooked. They can offer eco-friendly solutions, such as using energy-efficient materials, which could result in long-term savings on energy bills and contribute to a more sustainable home.
Lastly, consult a professional if your roof is nearing the end of its expected lifespan. An aging roof can make the band-aid approach of minor repairs less effective. A professional assessment can provide insight into whether a complete replacement might be more cost-efficient and beneficial in the long term.
In situations where the expertise and safety protocols of a professional outweigh the benefits of a DIY approach, hiring pros not only ensures the job is done correctly but also alleviates the stress and risks associated with roofing repairs. Making the decision to call in professionals can lead to longer-lasting repairs and peace of mind knowing that your home is protected.
—
In conclusion, repairing your roof is a task that demands both attention to detail and respect for safety. By understanding common roofing problems, gathering the right tools and materials, and following a structured repair process, homeowners can address many issues effectively. However, for tasks that involve severe damage, complex materials, or potential safety hazards, engaging professional services is not just prudent but essential. This approach ensures that the repairs are handled expertly, enhancing your roof’s longevity while maintaining safety standards. Prioritizing eco-friendly materials and processes can also improve your home’s efficiency and sustainability. Ultimately, whether opting for a DIY method or hiring pros, the goal is to secure a durable, well-maintained roof that safeguards your home for years to come.