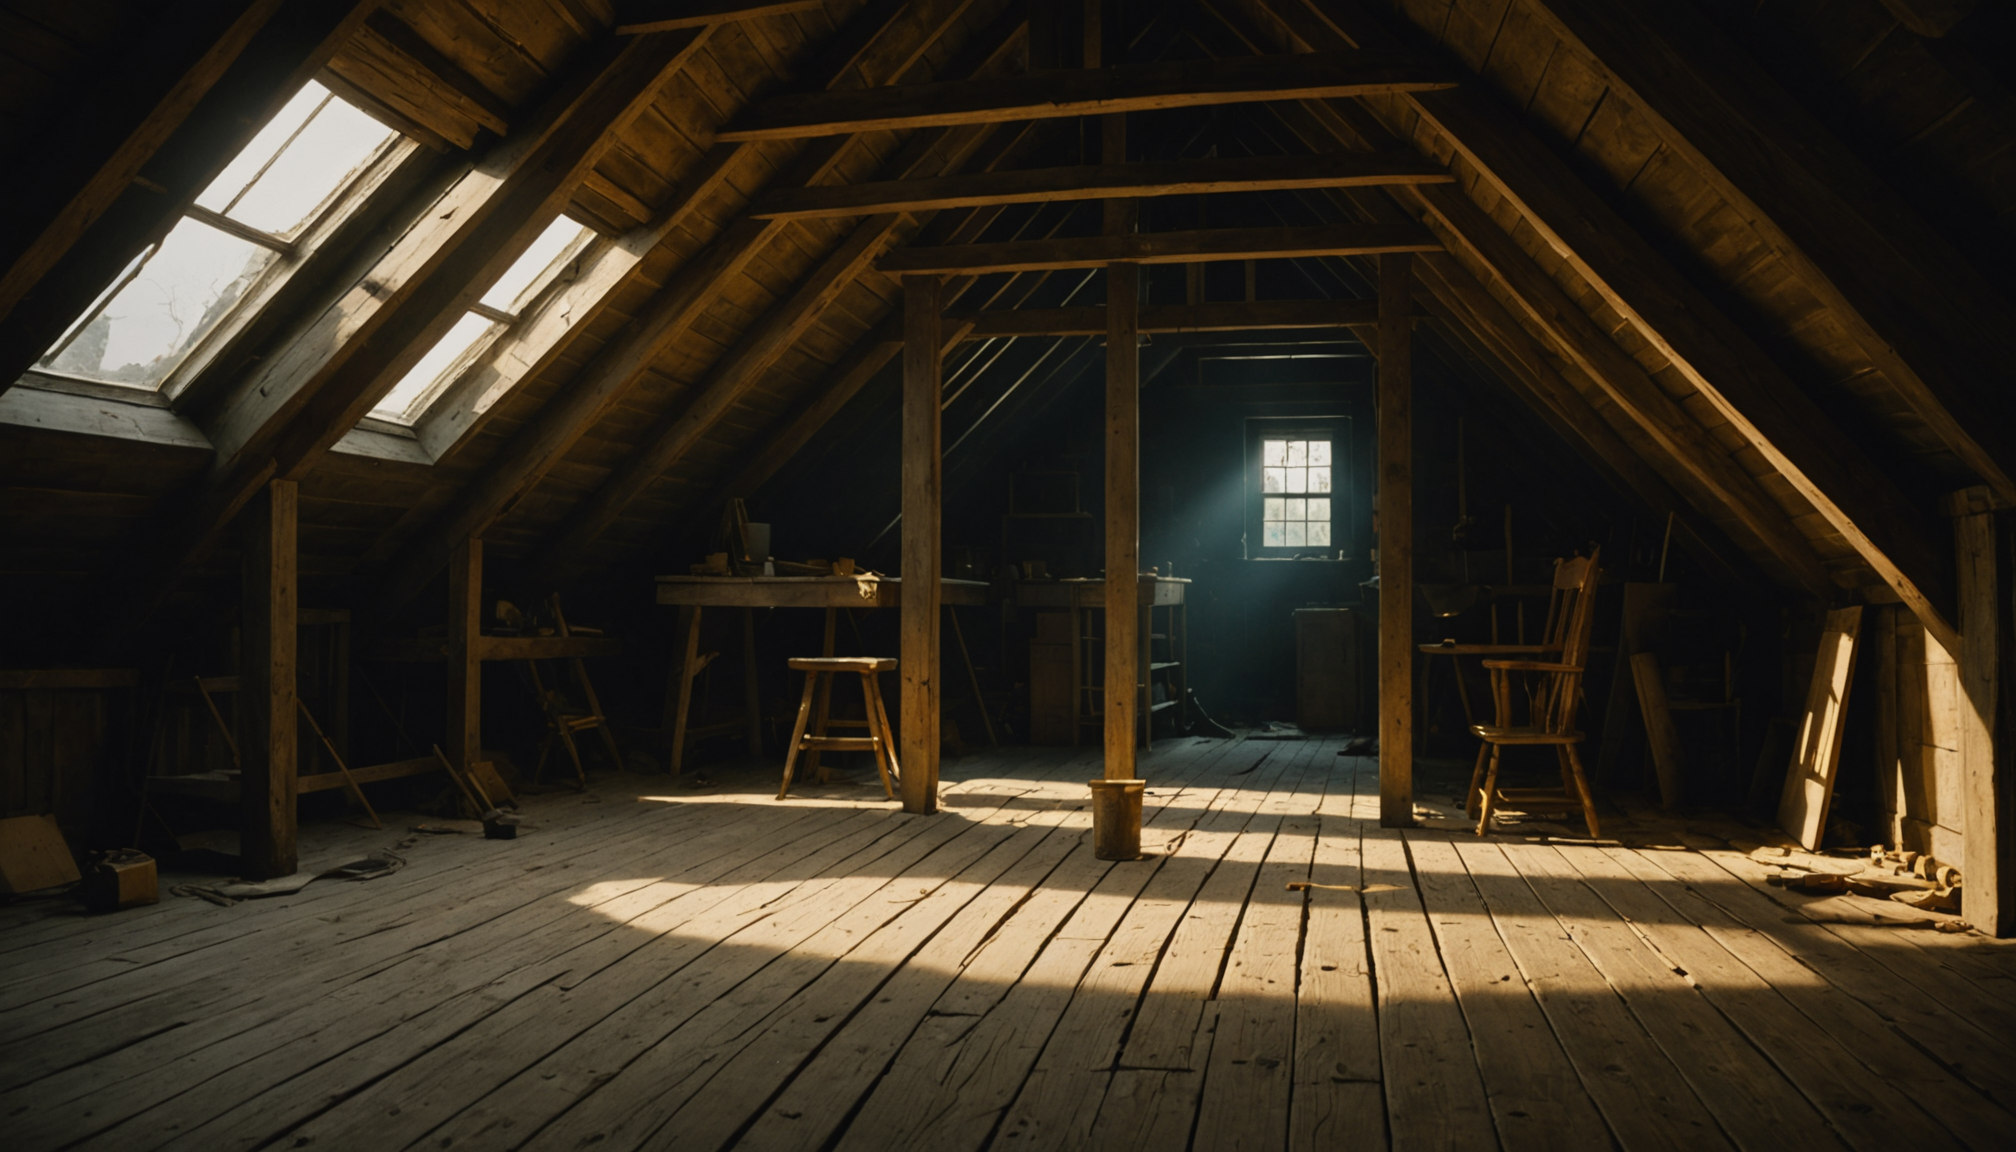
Before embarking on any repair endeavors, it is crucial to conduct a thorough assessment of your attic to identify the extent of any potential damage. This evaluation will not only help you understand the scope of work required but also streamline the repair process, ultimately preserving or even enhancing your home’s resale value. The attic, often overlooked, plays a critical role in your home’s structural integrity and energy efficiency.
Start by examining the attic’s interior structure. Look for signs of water damage such as stains, mold, or mildew on the rafters, joists, and insulation. Water stains often appear as brownish-yellow discolorations and are common indicators of roof leaks. While inspecting, consider employing a flashlight and a moisture meter to detect damp areas that may otherwise be missed.
Next, assess the attic’s insulation. Inadequate or damaged insulation can have significant effects on your home’s temperature regulation, leading to increased energy bills and reduced comfort levels. Uniform thickness and coverage are essential for efficient insulation. If you find gaps or compressions, this may need to be addressed as part of your repair efforts.
Another critical aspect to review is the ventilation system. Proper ventilation prevents moisture buildup, which can lead to structural damage and decreased air quality. Check for blocked vents or damaged components that can impair airflow. Clear signs of poor ventilation include excessive heat buildup in the attic or a musty odor throughout the space.
Structural elements are crucial during your assessment. Inspect the roof deck, trusses, and beams for sagging, cracks, or other visible distortions. These issues may compromise the building’s integrity and call for immediate attention. Additionally, ensure there are no signs of pests, such as droppings or nests, which can indicate infestations requiring professional intervention.
To provide a clearer picture of the attic’s condition, it may be helpful to compare different categories of damage to identify priority areas for immediate action:
| Category of Damage | Indicators | Repair Prioritization |
| Water Damage | Stains, mold, damp areas | High |
| Insulation Issues | Uneven coverage, compression | Medium |
| Ventilation Problems | Blocked vents, musty odors | Medium |
| Structural Damage | Cracks, sagging beams | High |
| Pest Infestation | Droppings, nests | High |
This assessment should be detailed and methodical. Document your findings with photographs and notes, which can be invaluable when deciding on repairs or when consulting with professionals. Comprehensive understanding of the attic’s current state empowers you to make informed decisions, prioritizing safety and cost-effectiveness while maximizing repair outcomes and potential resale value.
essential tools and materials
Before you can begin the repair process, gathering the right tools and materials is essential to ensure that your project runs smoothly and efficiently. Having these on hand will not only streamline your efforts but also contribute to more professional-quality results. Here’s a step-by-step guide to assembling everything you’ll need for successful attic repairs.
-
Basic Tools
- Hammer and Nails: These are fundamental for securing loose boards or panels and are always handy for general repairs.
- Utility Knife: Essential for cutting insulation, vapor barriers, or any other material that requires precise trimming.
- Measuring Tape: Accurate measurements are crucial for cutting materials to the correct size and ensuring a proper fit.
- Screwdriver Set: A variety of screwdrivers will be useful for tightening or loosening screws in the attic’s structural components.
- Carpenter’s Square: Useful for ensuring right angles in your structural repairs or when installing new supports.
-
Power Tools
- Circular Saw: Great for cutting large sheets of plywood or lumber to exact measurements.
- Drill and Drill Bits: Enables quick work of screwing and drilling tasks, which are common in attic repairs.
-
Materials
- Insulation: Depending on your findings, you might need fiberglass batts, spray foam, or loose-fill insulation to fill gaps and improve energy efficiency.
- Vapor Barrier: Helps prevent moisture from penetrating through your insulation, maintaining a dry attic environment.
- Plywood or Structural Panels: Needed for replacing damaged sections of the flooring or walls in the attic.
- Sealants and Adhesives: Use silicone or acrylic caulk to seal small gaps and cracks to prevent air leakage.
- Replacement Parts: May include beam braces, joist hangers, or roof shingles, depending on the specific areas of damage identified earlier.
-
Safety Equipment
- Safety Goggles: Protect your eyes from dust and flying debris while working.
- Dust Masks or Respirators: Necessary to guard against inhaling insulation fibers and other particulates.
- Work Gloves: Protects your hands from sharp objects and provides better grip when handling tools and materials.
- Hard Hat: Offers protection against potential head injuries in cramped or low-clearance spaces.
By gathering these essential tools and materials, you establish a strong foundation for tackling any repair task that might arise in the attic. A well-prepared attic repair kit not only advances your capability in fixing structural issues but also supports your home’s overall resale value by ensuring all improvements are durable and of high quality. Keeping an organized inventory of these supplies will invariably carry over to other projects, whether addressing a smart home upgrade or working on a kitchen renovation, enabling seamless transitions between various household tasks.
safety precautions to follow
Prioritizing safety is essential when tackling repairs in the attic, a space that often presents unique challenges due to its confined nature and potentially hazardous conditions. Start by ensuring that the work area is well-ventilated. Since attics can easily accumulate dust and other particulates, proper ventilation helps maintain air quality and provides a more comfortable environment. Before beginning work, open any accessible windows or vents to foster air circulation and reduce the build-up of any airborne irritants.
Next, inspect the area thoroughly for electrical hazards. Ensure that all electrical wiring is clearly visible and not concealed by insulation or structural elements which could lead to potential fire risks. If any wiring appears damaged or sparking, it is imperative to disconnect power to the area immediately and consult a licensed electrician to address these issues before proceeding with repairs.
Using the appropriate personal protective equipment (PPE) is crucial in mitigating the risks inherent to attic spaces. Safety goggles should be worn at all times to protect your eyes from debris and dust, while a dust mask or respirator should be used to avoid inhalation of insulation fibers or other particulates that may disturb the respiratory system. In addition, sturdy work gloves will safeguard your hands from sharp edges and potential splinters, offering a better grip when handling tools and materials. It’s also wise to wear a hard hat to protect your head from any potential bumps or falling debris, especially in low-clearance areas.
Ensure you have a secure footing by wearing appropriate work footwear with non-slip soles, which will help prevent slips or falls when maneuvering across potentially uneven surfaces in the attic. Additionally, using a stable ladder to access the attic is essential. Always verify that the ladder is on a flat, stable surface before climbing, and avoid overreaching, which could lead to loss of balance.
Be mindful of the structural integrity of the attic flooring. Stick to the joists when walking to avoid stepping through areas that may not be securely supported, particularly when carrying tools or materials. If you’re unsure about the strength of a section, reinforce it with temporary boards as needed to ensure stability during repairs.
For those unfamiliar with navigating attics or if the repairs seem overwhelming, it might be beneficial to consult with a professional. Experienced contractors can offer insight into the best safety practices, further ensuring that your repair work enhances the attic’s function and extends your home’s longevity. Following these precautions not only safeguards your well-being but ensures that your repair efforts are conducted efficiently and effectively, adding value to your home whether preparing it for resale or as part of a larger smart home upgrade.
step-by-step repair process
With the preliminary steps completed, it’s time to embark on the repair journey. Start by addressing any structural damage that may have been identified in your assessment. This often involves reinforcing or replacing compromised beams and joists, which are crucial to the attic’s overall stability. Use a carpenter’s square to ensure new beams are installed at the correct angles and secured with joist hangers or suitable hardware.
If water damage was a concern, the next step involves resealing affected areas. Applying a quality silicone or acrylic caulk around seams and joints can help prevent future leaks and moisture penetration. This is particularly important in maintaining thermal efficiency and indoor air quality, ultimately enhancing the property’s resale value. Additionally, examine and replace any damaged vapor barriers to maintain a moisture-free environment, critical for both the attic and the home’s comfort levels.
When dealing with insulation issues, replace any compromised sections with suitable materials like fiberglass batts or spray foam. Ensure insulation is applied evenly and reaches the recommended thickness for your region. This effort will not only improve energy efficiency but also contribute to the comfort of living spaces below, a noteworthy feature for potential buyers evaluating the smart home compatibility of your property.
Ventilation is a crucial aspect of attic maintenance. If your assessment revealed blocked or inadequate vents, promptly resolve these issues by clearing obstructions and installing additional vents if necessary. Efficient airflow not only controls humidity levels but also ensures that the attic space remains conducive to future storage or even potential conversions, enhancing overall resale value.
Pest control is another essential component of the repair process. If evidence of infestation was observed, it may be necessary to engage professional pest control services. Following extermination, seal all entry points, such as around pipes and cables, to prevent future invasions. Proper pest management is not only important for maintaining the attic’s integrity but also assures cleanliness and safety, which are vital considerations for any prospective homebuyer.
Throughout this process, remain vigilant about safety and the tools at your disposal. Maintain clear records of your repairs and document the changes with photographs. These records can provide invaluable information when seeking professional advice or showcasing the care and attention invested into the property during a resale evaluation.
Performing these steps methodically ensures a thorough reconstruction of attic deficiencies, securing not only your safety and comfort but also enhancing the home’s appeal and value, particularly in a marketplace that increasingly favors energy-efficient and smart home solutions. This holistic repair approach balances immediate structural needs with long-term preventive measures, ensuring your attic is well-prepared to stand the test of time.
preventative maintenance tips
To prolong the benefits of your hard work and maintain the attic in its optimal condition, consider implementing a routine maintenance schedule. Regularly inspecting the attic for any signs of new damage or wear can help spot issues early before they require major repairs, saving time and minimizing costs.
Pay special attention to maintaining effective ventilation, as this can prevent moisture buildup, which is a common cause of mold and mildew. It’s helpful to occasionally clean and verify that vents remain unobstructed, allowing air to flow freely. This not only sustains a healthy attic environment but also enhances energy efficiency and improves the overall comfort and resale value of your home.
Inspect insulation at least once a year. Look for signs of compaction or displacement that might reduce thermal efficiency. Adequate and well-maintained insulation is vital for reducing heating and cooling costs, a point particularly attractive to homebuyers interested in energy-efficient or smart home features.
Be diligent in monitoring for any signs of pests, as these can compromise the structural integrity of both the attic and the home itself. Conduct seasonal checks, sealing any potential entry points that could invite infestations, and take swift action if evidence of pests is found.
Annually examine all visible structural components for new signs of damage such as sagging beams or cracked panels. Addressing small issues before they escalate will not only preserve the attic’s functionality but maintain its contribution to the home’s overall stability and appeal.
Incorporating these maintenance practices into your home care routine can prevent unnecessary expenses and preserve the utility and safety of your attic space. Keeping the attic in excellent condition not only supports the immediate comfort and functionality of your living spaces but also secures your investment by enhancing the home’s resale value in the future.
In conclusion, by diligently assessing damage, gathering the right tools, adhering to safety measures, following a structured repair process, and incorporating preventive maintenance, you ensure the longevity and functionality of your attic. These efforts collectively enhance your home’s structural integrity, energy efficiency, and resale value, while making your property more appealing to potential buyers, especially those looking for a cozy, efficient, and smart home.