Before embarking on the journey to paint your roof, it is crucial to thoroughly assess its condition. This evaluation will help you determine whether your roof is suitable for painting and identify any necessary repairs or preparations that should be addressed beforehand. By taking the time to inspect your roof’s current state, you can ensure a successful painting project and long-term benefits such as enhanced durability and potential energy savings.
Begin by examining the roof’s surface for any signs of wear and tear. Look for cracked, chipped, or loose tiles and shingles. These issues need to be resolved, either by replacing or repairing the affected areas, to provide a smooth surface for the paint application. Check for any accumulated debris, moss, or lichen, which can interfere with paint adhesion. Removing these obstructions will not only prepare the roof for painting but also help prevent future damage.
Next, inspect for any signs of water damage or leaks. Stains or discoloration on the roof may indicate underlying issues that need addressing before the painting process can begin. Water damage can compromise the structure of the roof, making paint a temporary solution rather than a lasting improvement. In such cases, it may be wise to consider hiring pros to conduct a more thorough inspection and undertake necessary repairs.
Additionally, consider the age and material of your roof. Older roofs may require more extensive preparation work. Moreover, different roofing materials, such as metal, tile, or asphalt, have specific paint requirements and preparation techniques. Refer to the table below for a quick comparison of common roofing materials and their typical paint considerations:
| Roofing Material | Preparation Needed | Recommended Paint Type |
| Metal | Remove rust, apply a primer | Specialized metal roof paint |
| Tile | Clean thoroughly, repair cracks | Acrylic paint designed for tiles |
| Asphalt Shingles | Clear debris, replace damaged shingles | Acrylic latex paint |
Finally, take into account any electrical installations that may be present on your roof. These include satellite dishes, solar panels, and antennas. Ensure that painting does not interfere with these items or violate any warranties that apply to them. Careful coordination and possibly hiring professionals to temporarily remove or protect these installations will help prevent unwanted complications.
By thoroughly assessing your roof’s condition before painting, you set the stage for a successful project that enhances your home’s curb appeal and functional benefits. Taking these preliminary steps seriously can lead to increased energy efficiency, helping you enjoy greater energy savings over time, and ensuring that the paint job you apply today will protect and beautify your roof for many years to come.
selecting the right paint and materials
 Choosing the right paint and materials is a critical step in ensuring your roof painting project is successful and lasts for years to come. Not all paints or materials are suitable for every type of roof, so careful selection is necessary to match the specific needs of your roofing material and the environment it must withstand.
1. Determine the Paint Type:
– Begin by researching the different types of paints available for roofing. Your choice will largely depend on the roofing material you have. For example, metal roofs typically require a specialized metal roof paint that includes rust-inhibiting properties. Tile roofs can benefit from durable, UV-resistant acrylic paint, while asphalt shingles are best suited for high-quality, weather-resistant acrylic latex paint.
2. Consider Environmental Factors:
– Take into account the climate and weather conditions that your roof will face. If your area experiences severe weather, such as high winds, heavy rain, or intense sunlight, look for paint that offers enhanced durability, resistance to fading, and protection against UV rays, to maximize the longevity of your paint job and ensure ongoing energy savings.
3. Calculate the Required Quantity:
– Measure your roof’s surface area to determine how much paint you’ll need. It’s generally advised to buy slightly more paint than calculated to accommodate any final touch-ups or second coats that may be necessary. Consulting the coverage details on the paint can label can help estimate the amount needed.
4. Select Quality Primers and Sealants:
– A high-quality primer can improve paint adhesion, cover existing stains, and add an extra layer of protection, especially for porous surfaces like concrete tiles. Depending on your roof’s condition, a sealant might be required to fill any minor cracks or imperfections before applying paint, particularly for energy-efficient and long-lasting results.
5. Evaluate Application Tools:
– Ensure you have the right tools for application. Sprayers, rollers, and brushes each have their place and are chosen based on the texture of your roof and the type of paint. Sprayers are excellent for smooth surfaces and rapid coverage, while rollers and brushes may be needed for detailed work or textured surfaces.
6. Check for Compatibility:
– Finally, make sure that all products selected—paints, primers, and sealants—are compatible with one another. Incompatibility can lead to bubbling, peeling, or unsuccessful adhering, which could compromise the protection of your roof and necessitate hiring pros to rectify the issue.
By carefully selecting the appropriate paint and supporting materials, you can ensure that your roof not only looks good but also acts as a protective barrier against the elements. This thoughtful planning can yield improved energy efficiency, resulting in tangible energy savings and reduced cooling costs over time, all while extending the life of your roof.
tools and safety equipment you’ll need
Embarking on a roof painting venture requires more than just selecting the appropriate paint; assembling the right tools and safety equipment is equally important for a successful and safe project. Before you climb a ladder or open a can of paint, make sure you have all the necessary tools and equipment to ensure the job is both efficient and safe.
First and foremost, prioritize safety with essential protective gear. A sturdy pair of non-slip work boots is crucial when navigating the often slippery and steep surfaces of a roof. Pair these with a sturdy harness and secure anchoring system to protect against falls, especially on high or steep roofs. A helmet will offer additional protection from potential head injuries, while safety goggles and gloves will shield your eyes and hands from paint splatters and harsh chemicals.
Next, consider the application tools required for your specific roof type and paint choice. For large, flat surfaces, a high-pressure paint sprayer can provide smooth and even coverage, reducing the time spent on the ladder. However, if your roof has intricate details or textured surfaces, a collection of rollers and brushes in various sizes will offer more control, allowing you to meticulously apply paint in difficult-to-reach areas.
Measuring tools such as tapes and levels are fundamental to ensuring precise calculations and even application, helping you avoid issues like paint pooling or uneven layers. For cleaning the roof, a power washer is invaluable. It effectively removes dirt, moss, and other debris that could impede paint adhesion. If a power washer isn’t available, a broom and hose can serve as alternatives to prepare the surface thoroughly.
Moreover, ensure you have the right tools for maintenance and cleanup once the painting is completed. A good-quality scraper or wire brush can be necessary to remove any loose or flaking paint before starting the project. Having solvent or mineral spirits on hand is beneficial for cleaning brushes and rollers post-painting, maintaining their quality for potential future use.
Don’t forget to prepare for environmental variables, which may require additional tools such as tarpaulins to protect surrounding areas from paint drips and spills, especially on windy days. Keeping a comprehensive toolkit ready helps prevent disruptions that could lead to hiring pros unexpectedly, saving time and resources.
By equipping yourself with the right tools and safety gear, you enhance both the efficacy and safety of your roof painting project. These preparations are essential for achieving a protective, long-lasting finish that can withstand the elements, ultimately contributing to energy savings and the aesthetic longevity of your home.
step-by-step painting process
Before you begin applying paint to your roof, ensure that you have made all the necessary preparations for a seamless painting process. This involves having your tools and safety gear ready, as well as making sure the weather conditions are suitable—preferably a dry, mild day to allow the paint to adhere properly and cure without complications. Remember, the time and effort you invest in the following steps will contribute to the longevity and appearance of your roof.
Start by thoroughly cleaning the roof surface with a power washer or a stiff-bristle broom to remove any dust, dirt, or loose debris. This is crucial for ensuring the paint adheres properly and doesn’t peel prematurely. Once the surface is clean, let it dry completely. This drying step is especially important for materials like tile and concrete that can retain moisture.
Next, apply a high-quality primer appropriate for the roofing material. This layer not only improves the paint’s adherence but also helps cover any stains or minor imperfections, creating a uniform surface that’s ready for the topcoat. Be sure to check the primer’s compatibility with your chosen paint, as this can prevent issues like bubbling or peeling later.
Once the primer has dried, it’s time to apply the paint. Using your selected tool—a sprayer for large, flat areas or brushes and rollers for detailed work—begin painting from the top of the roof and work your way downwards. This method helps avoid unintentional drips or streaks on previously painted surfaces. For best results, apply the paint in thin, even coats. Multiple thin layers are always more durable and visually appealing than one thick coat.
Pay attention to the edges and corners of the roof, as these areas can often be missed. Use a brush to carefully cover these sections, ensuring even and thorough coverage. Depending on the type of paint used and weather conditions, you may need to apply a second coat for optimal durability and a vibrant finish. Allow adequate drying time between coats as recommended by the paint manufacturer.
It’s important to keep an eye on the weather during this process. Sudden rain or high humidity levels can interfere with the paint’s ability to dry and adhere properly, potentially leading to a compromised finish.
By carefully executing each step of the painting process, you not only enhance the aesthetic appeal of your home but also create a protective barrier that can lead to significant energy savings. A well-painted roof can reflect more sunlight and heat, reducing cooling costs. Remember, meticulous preparation and consistent application lay the groundwork for a durable, long-lasting result, potentially saving you from hiring pros for touch-ups or repairs down the line.
maintenance and long-term care
Caring for your freshly painted roof ensures it remains vibrant and protective for years to come. Proper maintenance not only extends the life of the paint but can also contribute to significant energy savings by preserving the reflective qualities of the coating, which helps deflect heat and reduce cooling costs.
Begin by routinely inspecting your roof, ideally at least twice a year, to spot signs of wear or damage early. Look for areas where the paint may be peeling, cracking, or fading. Addressing these issues promptly can prevent more extensive and costly repairs later. A simple touch-up with leftover paint can usually suffice to restore the roof’s uniform appearance and protective qualities.
Regular cleaning is another vital aspect of maintenance. Accumulated dirt, leaves, and other debris can cause mold or mildew to develop, which may compromise the roof’s integrity and appearance. Using a soft-bristle broom or low-pressure hose, clean your roof to maintain its cleanliness and reflective properties. Avoid high-pressure washing, as it might strip away the paint or damage the underlying material.
In addition to visual inspections and cleaning, ensure that gutters and downspouts are clear and functioning correctly. This will help prevent water buildup on the roof surface, which could lead to leaks or water damage over time. If you notice leaking or any other significant issues, it might be necessary to consider hiring pros to assess and rectify the problem, safeguarding your roof and home from further damage.
For roofs with nearby trees, it’s important to trim branches regularly to reduce the amount of debris that might accumulate. Overhanging branches can not only deposit leaves and twigs but also threaten the roof’s surface during storms, potentially causing structural damage.
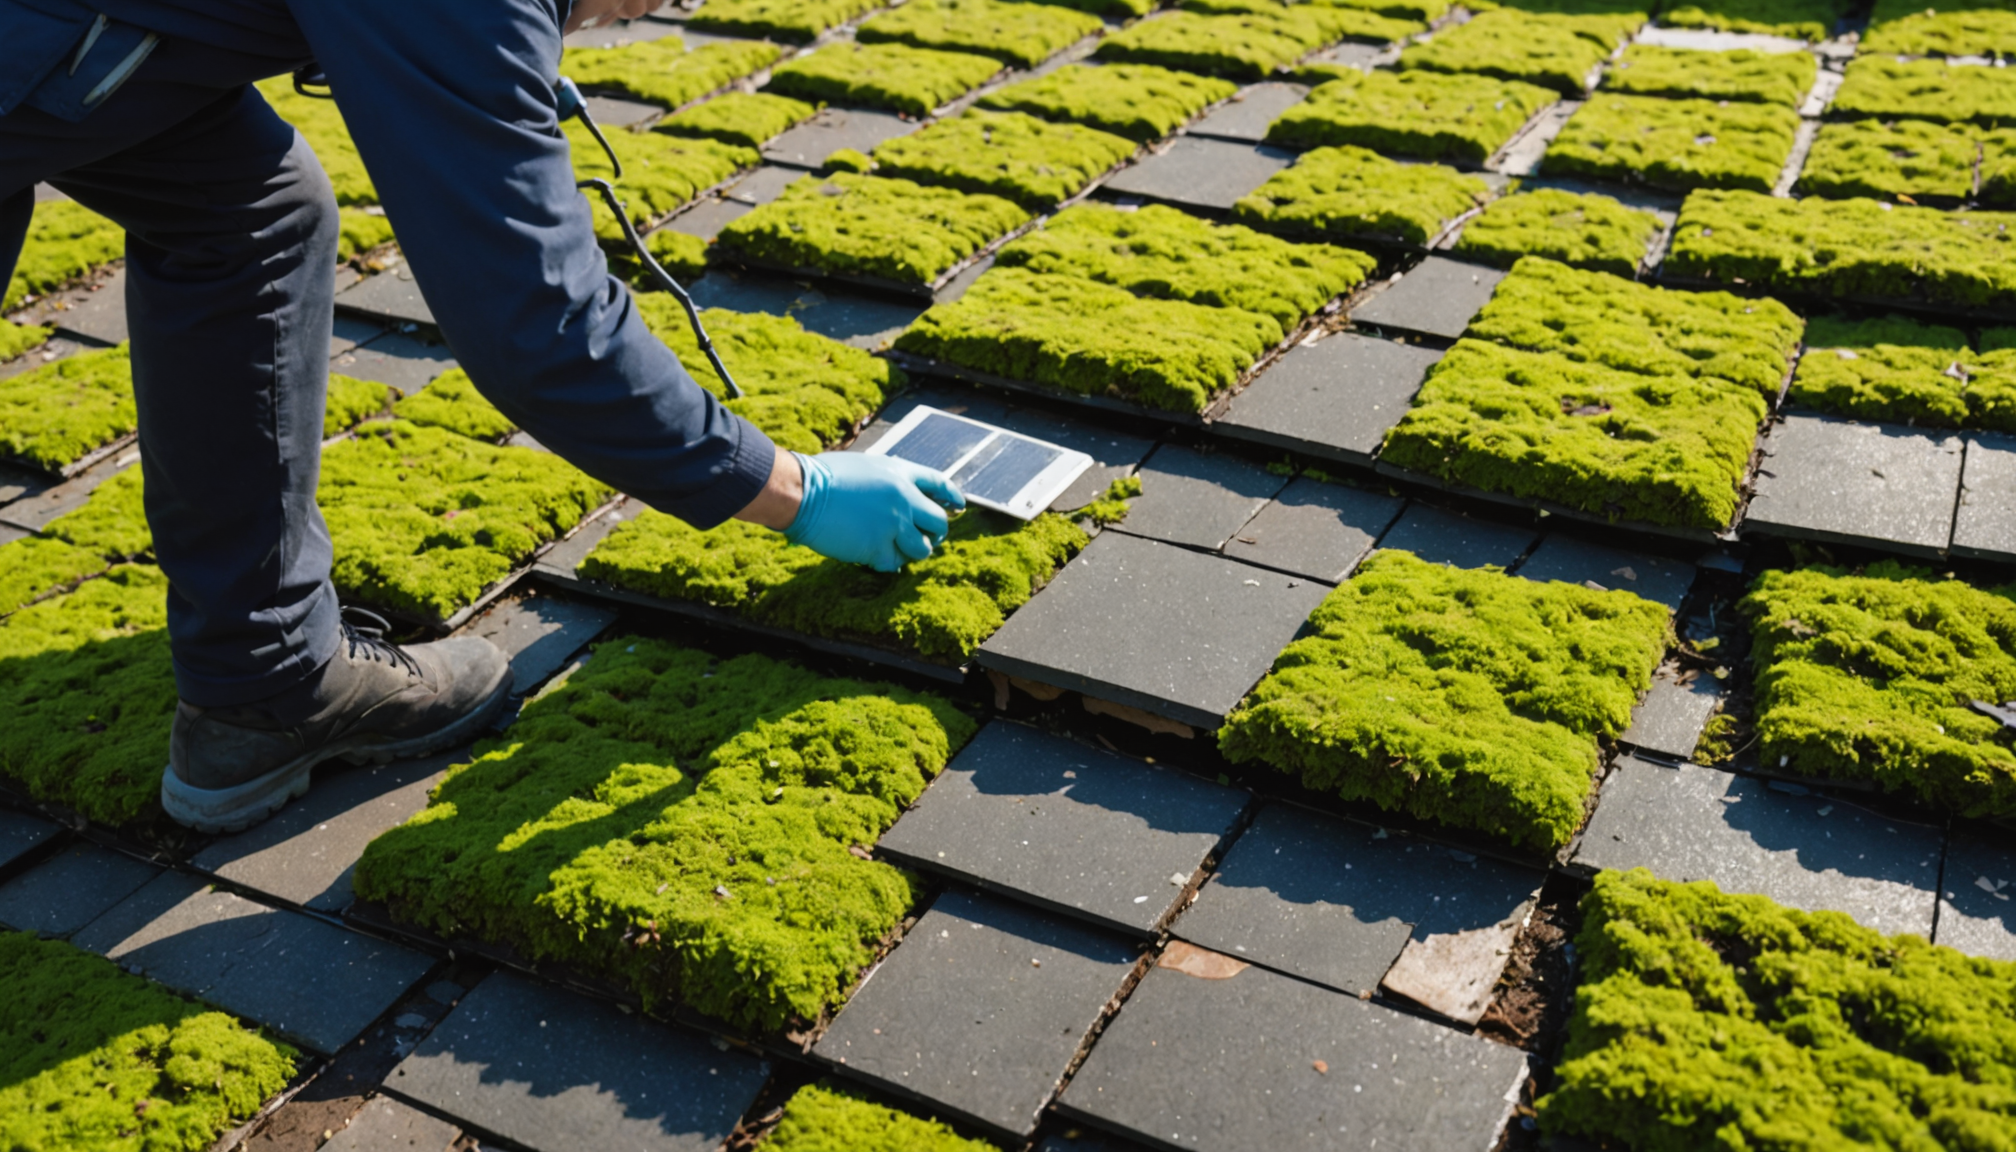
Keep an eye on any electrical installations like antennas or solar panels. These should be checked to ensure they’re not causing wear or corrosion on the painted surface. Moreover, be cautious when performing maintenance around these areas to avoid unintentional damage.
By establishing a regular maintenance routine and addressing issues as they arise, you can maximize the lifespan of your roof’s new paint job and maintain its energy-efficient benefits. Taking these steps will help ensure your roof continues to protect and enhance your home’s appearance over the long term.
In conclusion, painting your roof successfully requires a thoughtful approach from start to finish. By assessing your roof’s condition and selecting the right materials and tools, you lay a solid foundation for the project. Following a meticulous painting process and committing to ongoing maintenance ensures longevity and energy savings. These efforts culminate in a durable and attractive finish that enhances your home’s curb appeal while safeguarding its structure.