Before embarking on any DIY concrete repair project, it’s crucial to first assess the extent and nature of the damage. Properly evaluating the damage helps determine the scope of the project, the materials needed, and whether professional assistance might be necessary. Concrete damage can range from superficial cracks to significant structural compromises, each requiring a different approach.
Start by visually inspecting the concrete surface for cracks, chips, or any signs of wear and tear. Use a flashlight or headlamp if necessary to get a clear view of darker areas or shaded sections. Small, hairline cracks may not be structurally concerning but can lead to bigger issues if water seeps in and freezes. Conversely, larger cracks or areas where the concrete appears to be crumbling could indicate a wider problem, such as faulty installation or underlying soil movement.
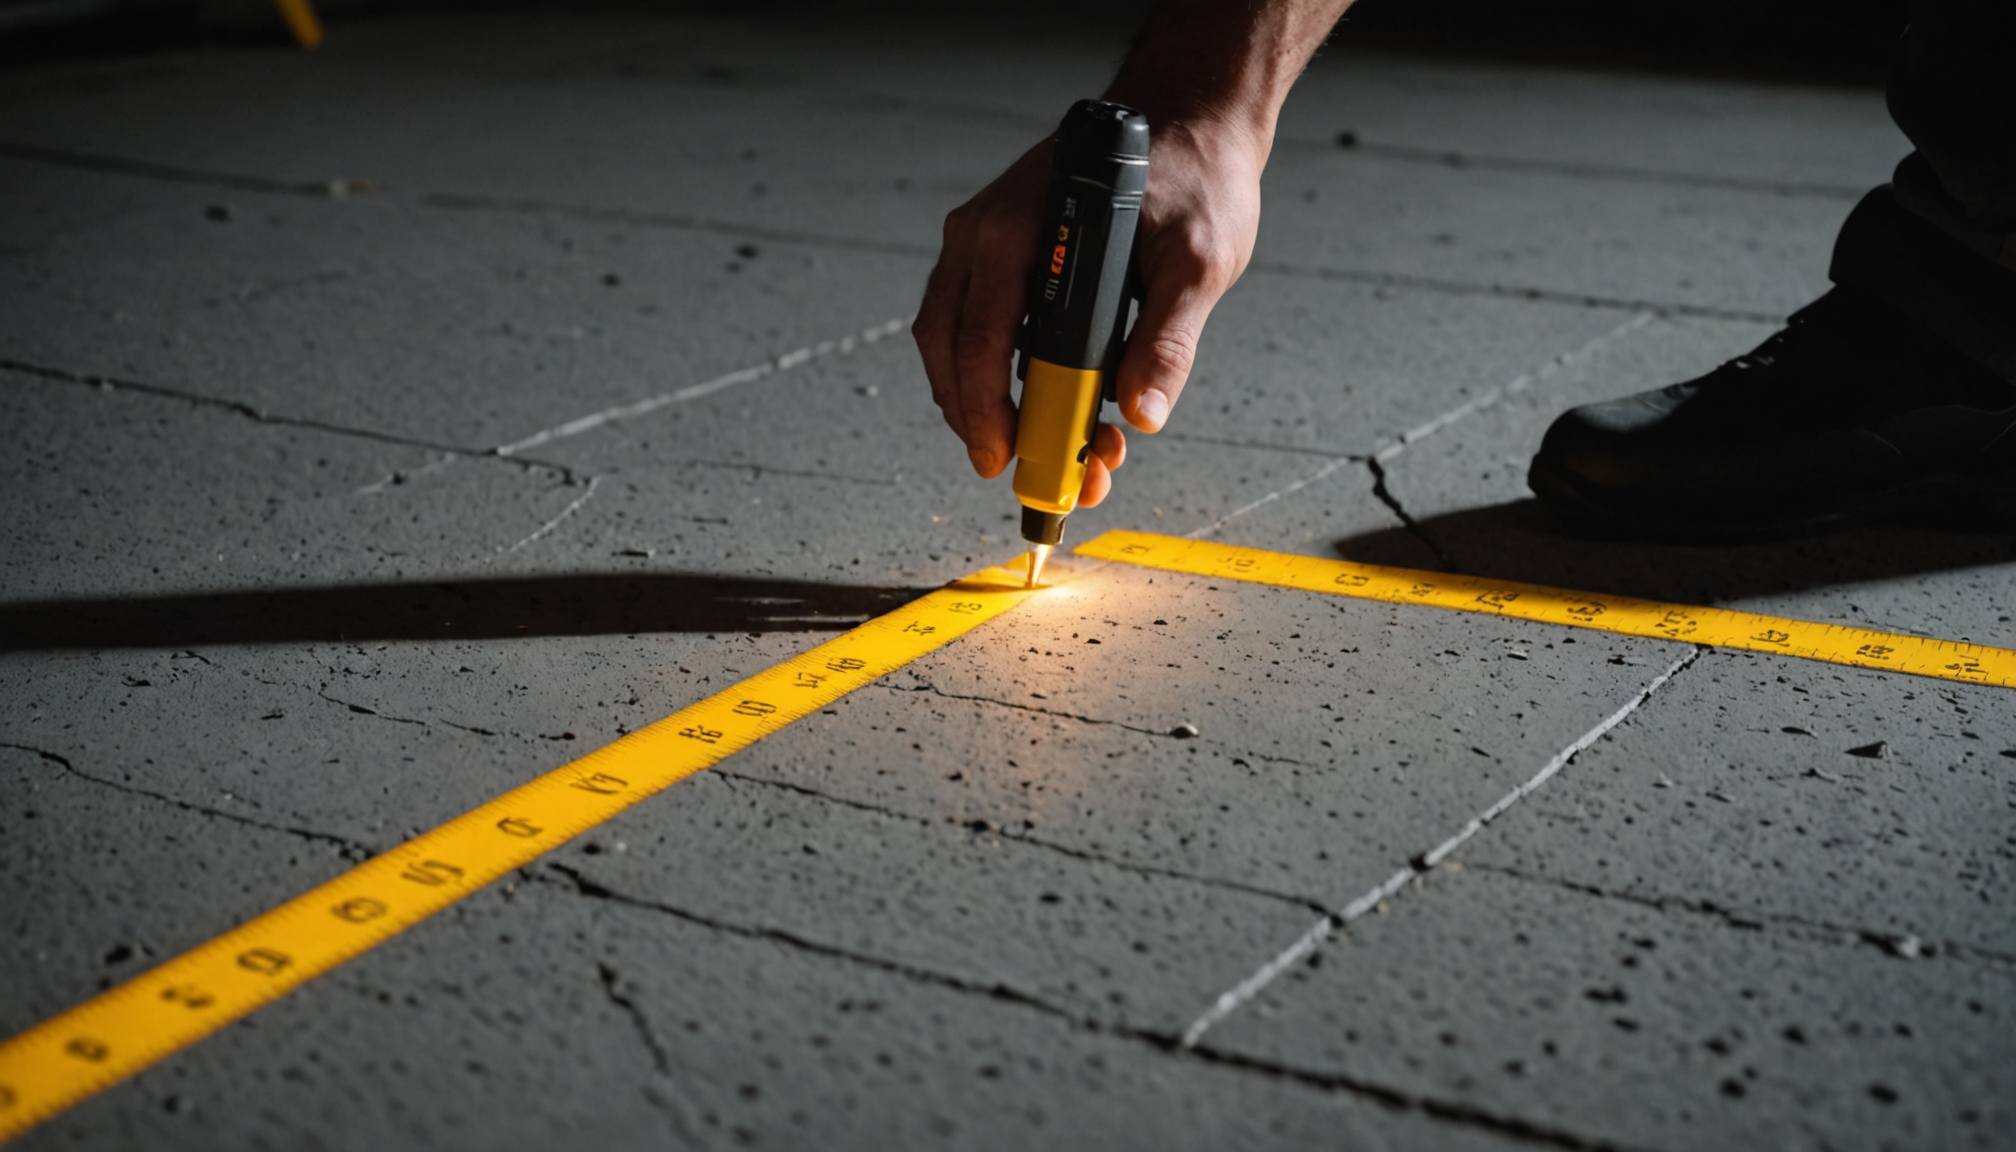
In addition to visual inspection, measure the width and depth of the cracks. You can use a crack gauge or simply a ruler for this purpose. Cracks typically fall into categories based on their size and impact:
- Hairline Cracks: Typically less than 1/16 inch wide. They are mostly cosmetic but can expand over time if ignored.
- Moderate Cracks: Range from 1/16 inch to 1/4 inch wide. These might indicate minor structural issues and often require filling with a concrete repair product.
- Severe Cracks: Greater than 1/4 inch, possibly with displacement. These often suggest significant structural issues that might need professional evaluation.
It’s also essential to determine if the damage covers a small area or if it is more widespread. Movement of the ground beneath the concrete, water penetration, temperature changes, and heavy loads are common factors contributing to concrete damage. By understanding these factors, you can better assess the likelihood of recurring damage even after repairs are made.
For further analysis, here is a comparison table of typical damage types and suggested actions:
| Type of Damage | Description | Suggested Action |
| Hairline Cracks | Very thin cracks, often widespread, but not deep. | Monitor and fill with appropriate sealant if expansion occurs. |
| Moderate Cracks | Noticeable, not compromising the integrity but require attention. | Fill with epoxy or concrete patching compound. |
| Severe Cracks | Large, may indicate foundational movements, wide and deep. | Consult with a structural engineer and consider professional repair. |
| Spalling | Surface layer flaking off, possible exposure of the aggregate. | Address surface damage with a resurfacer; check for underlying issues. |
Accurate damage assessment is vital for choosing the right repair technique and ensuring the longevity of the fix. Thoroughly understanding the concrete’s condition can save time and resources in the repair process.
choosing the right materials
When it comes to concrete repairs, selecting the appropriate materials is paramount to ensuring a successful and lasting fix. The right materials will depend on the type and extent of the damage you have assessed. Here’s a comprehensive guide to help you choose wisely:
1. Identify the Type of Repair Needed:
– For small, superficial cracks, a basic concrete filler or sealant may suffice.
– For larger cracks, gaps, or structural repairs, consider more robust materials like epoxy or hydraulic cement.
2. Evaluate the Environment and Usage:
– Consider environmental factors such as exposure to water, freeze-thaw cycles, and direct sunlight, as these can affect material choice and longevity.
– For outdoor slabs or driveways, choose UV-resistant materials and ones that can expand and contract with temperature changes.
3. Match Repair Material to Concrete Type:
– Ensure that the repair material is compatible with the existing concrete to avoid issues with bonding and appearance.
– Research if your current concrete is a certain mix, like high-traffic concrete, and match materials that adhere to that specification.
4. Consider the Finishing Needs:
– If appearance is important, select a patching compound that closely matches the existing concrete’s color and texture.
– Explore options with easy sanding and painting capabilities for a seamless finish.
5. Read Product Specifications:
– Thoroughly review the product labels and technical data sheets to understand the curing times, application methods, and suitable surface preparation for optimal results.
6. Durability and Strength:
– For structural repairs, prioritize high-strength materials, such as those with added fibers for reinforcement or high-pressure resistance.
– If using filling compounds, ensure they offer adequate compressive strength comparable to the original concrete.
7. Ease of Use:
– Beginners may wish to choose ready-to-mix or easy-to-apply solutions that come with clear instructions.
– Check if the product requires any specific tools or mixing techniques and whether it aligns with your skill level and available resources.
8. Health and Safety Considerations:
– Opt for materials that are certified non-toxic and suitable for the location (indoor vs. outdoor).
– Wear appropriate safety gear such as gloves, masks, and goggles during application to protect against dust and fumes.
Consider these guidelines when selecting materials, as they will significantly influence the success and longevity of your concrete repair. Making informed decisions and purchasing quality materials from reputable suppliers will ensure your DIY project meets the highest standards possible.
step-by-step repair guide
Once you’ve thoroughly assessed the damage and chosen the appropriate materials, you’re ready to dive into the repair process. This methodical, step-by-step approach will ensure that your concrete repairs are both effective and enduring.
First, prepare the damaged area by cleaning it thoroughly. Remove any debris, dirt, or loose concrete using a wire brush or pressure washer. If you encounter dust or smaller particles, a vacuum can efficiently clean those up. The goal is to have a clean, dry, and dust-free surface to ensure optimal bonding of the repair material.
Next, for cracks or areas needing patching, you might need to undercut the edges slightly with a chisel and hammer. This step creates a key or a mechanical lock that aids the bonding process, ensuring that your repair material has a firm grip on the existing concrete.
Once the surface is prepared, dampen the area with water to prevent the dry concrete surface from sucking moisture out of the repair material, which could lead to quick setting and shrinking of the patch. Ensure the surface is wet but devoid of any standing water before you apply the repair compound.
Mix the repair material according to the manufacturer’s instructions. Follow the measurements and mixing times carefully to achieve the correct consistency. Use a trowel to apply the compound, pressing it firmly into the crack or damaged area. Smooth out the surface using the trowel or a concrete float. For larger areas, a wider trowel or float may provide a more even application.
Depending on the type of material used, curing is crucial. This process allows the repair material to reach its optimal strength and durability. Cover the patch with a curing blanket or plastic sheeting, especially for repairs exposed to direct sunlight or in breezy conditions, to prevent the surface from drying out too quickly. Periodically mist the surface with water to keep it moist, if necessary.
In settings where the aesthetic is important, you can use a broom or brush to blend the texture of the repair with the existing surface. Additionally, ensuring a color match during the repair will help the patch to seamlessly integrate into its surrounding.
Throughout the repair process, adhere to all safety precautions. Wear gloves, safety glasses, and a dust mask to protect yourself from irritants in the materials and dust from the concrete.
By following these steps, you not only enhance the visual appeal of your concrete surface but also significantly extend its life, safeguarding your property against future damage. Giving attention to preparation, precise application, and proper curing will yield a durable repair that stands the test of time.
signs you need professional help
Even with the best intentions and efforts in DIY concrete repair, there are moments when seeking professional help becomes necessary. Recognizing these signs early will not only save time and resources but also prevent further structural damage that could incur higher costs down the road.
One of the clear indicators that professional intervention is required is the presence of severe or recurring cracks. If you’ve repaired a crack only to see it return or worsen, this could point to underlying issues like soil instability or foundational movement. Such conditions go beyond superficial fixes and require the expertise of a professional who can conduct a thorough structural assessment and implement more comprehensive solutions.
Another signal is when water continues to penetrate repaired areas despite your best efforts. Persistent leaks or signs of moisture, such as efflorescence on the surface, indicate that the problem may be more significant than surface-level damage. Professionals have specialized tools and knowledge to tackle water infiltration issues more effectively, such as employing advanced sealants or drainage solutions.
You should also consider calling a professional if you notice any significant displacement in concrete slabs. For example, if a driveway slab is no longer level or if you observe uneven surfaces across a patio, this might be indicative of structural issues that only a professional can properly diagnose and address, potentially with techniques like mudjacking or full slab replacement.
Spalling, or the flaking or chipping of the concrete surface that exposes the aggregate, is another warning sign. While small areas might be manageable as a DIY fix, extensive spalling can compromise the integrity of the concrete and may require resurfacing or replacement facilitated by an expert.
Moreover, if your repair involves high-traffic areas, such as heavily used driveways, sidewalks, or commercial floors, the guarantee of durability and safety offered by a professional service can be invaluable. Pros can ensure that the materials and repair techniques meet heavy-duty standards and are compliant with local building codes.
Finally, if you’re uncertain about the presence of structural rebar damage or deep cracks that extend through the thickness of the slab, it’s advisable to seek professional insight. Addressing these issues requires specialized knowledge and tools to ensure that the repairs do not compromise the structural integrity of the concrete.
In summary, recognizing when a problem is beyond your skills or an area’s requirements is crucial. Not only does professional help promise thorough and lasting repairs, but it also alleviates any safety risks associated with uncertain DIY fixes. It’s always better to be safe and proactive, seeking a professional’s expertise when in doubt.
cost considerations and budgeting
When planning a concrete repair project, it’s important to consider the associated costs to effectively budget and avoid unexpected expenses. Start by estimating the amount of repair material needed based on the damage assessed. Measure the dimensions of the cracks or damaged areas to calculate the volume of materials, such as patching compounds, sealants, or concrete mix, required for the repair.
Material costs can vary widely based on the type and quality of products chosen. High-grade materials like advanced epoxy systems or UV-resistant sealants tend to be more expensive initially but offer greater durability and longevity, potentially saving money on future repairs. To keep costs in check, compare prices from multiple suppliers and consider bulk purchase discounts if you’re undertaking a substantial project.
Don’t overlook the costs of necessary tools and safety equipment. Basic tools like trowels, floats, or wire brushes are typically affordable, but specialized tools, such as mixers or pressure washers, might need to be rented, which can add to the expense. Ensure you have safety gear like gloves, goggles, and masks to protect against dust and chemical exposure.
Labor costs might apply if you decide to hire help for more physically demanding tasks or for sections of the project that require specific expertise beyond your comfort level. While hiring a professional increases expenses upfront, their efficiency and experience could also reduce the time and potential errors of DIY attempts.
Additionally, consider the long-term cost savings of doing the job right the first time. High-quality repairs can extend the life of concrete surfaces, reducing the need for repeated repairs and associated future costs. On the other hand, poorly executed DIY repairs could lead to further damages that might escalate expenses over time.
Be sure to set aside a contingency budget to accommodate any unexpected issues or increased damage that may be uncovered once the work begins. Having this financial buffer ensures you can address any surprises without halting progress on the repairs.
Ultimately, balancing cost with quality and durability is key to successful budgeting for concrete repairs. By carefully evaluating each aspect of the project, from materials and tools to potential professional assistance, you can develop a realistic budget that aligns with the scope of your repairs and ensures a quality outcome.