Embarking on a DIY tile project necessitates a keen understanding of the types of tiles available and their best-suited applications. The first step in this creative journey is choosing the right tiles, as it greatly influences both the aesthetic appeal and functionality of the space you are transforming. Being informed about different tiles’ properties and uses is crucial in making a well-guided decision.
The broad spectrum of tile options can be categorized primarily into ceramic, porcelain, glass, and natural stone tiles. Each of these materials offers unique strengths and considerations.
- Ceramic Tiles: Known for their affordability and versatility, ceramic tiles are a popular choice for many DIY enthusiasts. They are easy to cut and install, making them ideal for beginners. While they are suitable for walls and low-moisture areas, they might not withstand high-traffic conditions as effectively as other options.
- Porcelain Tiles: Porcelain tiles are denser and more water-resistant than ceramic tiles, making them suitable for both floors and wet environments like bathrooms. They are also more durable and can mimic natural stone and wood finishes, offering flexibility in design.
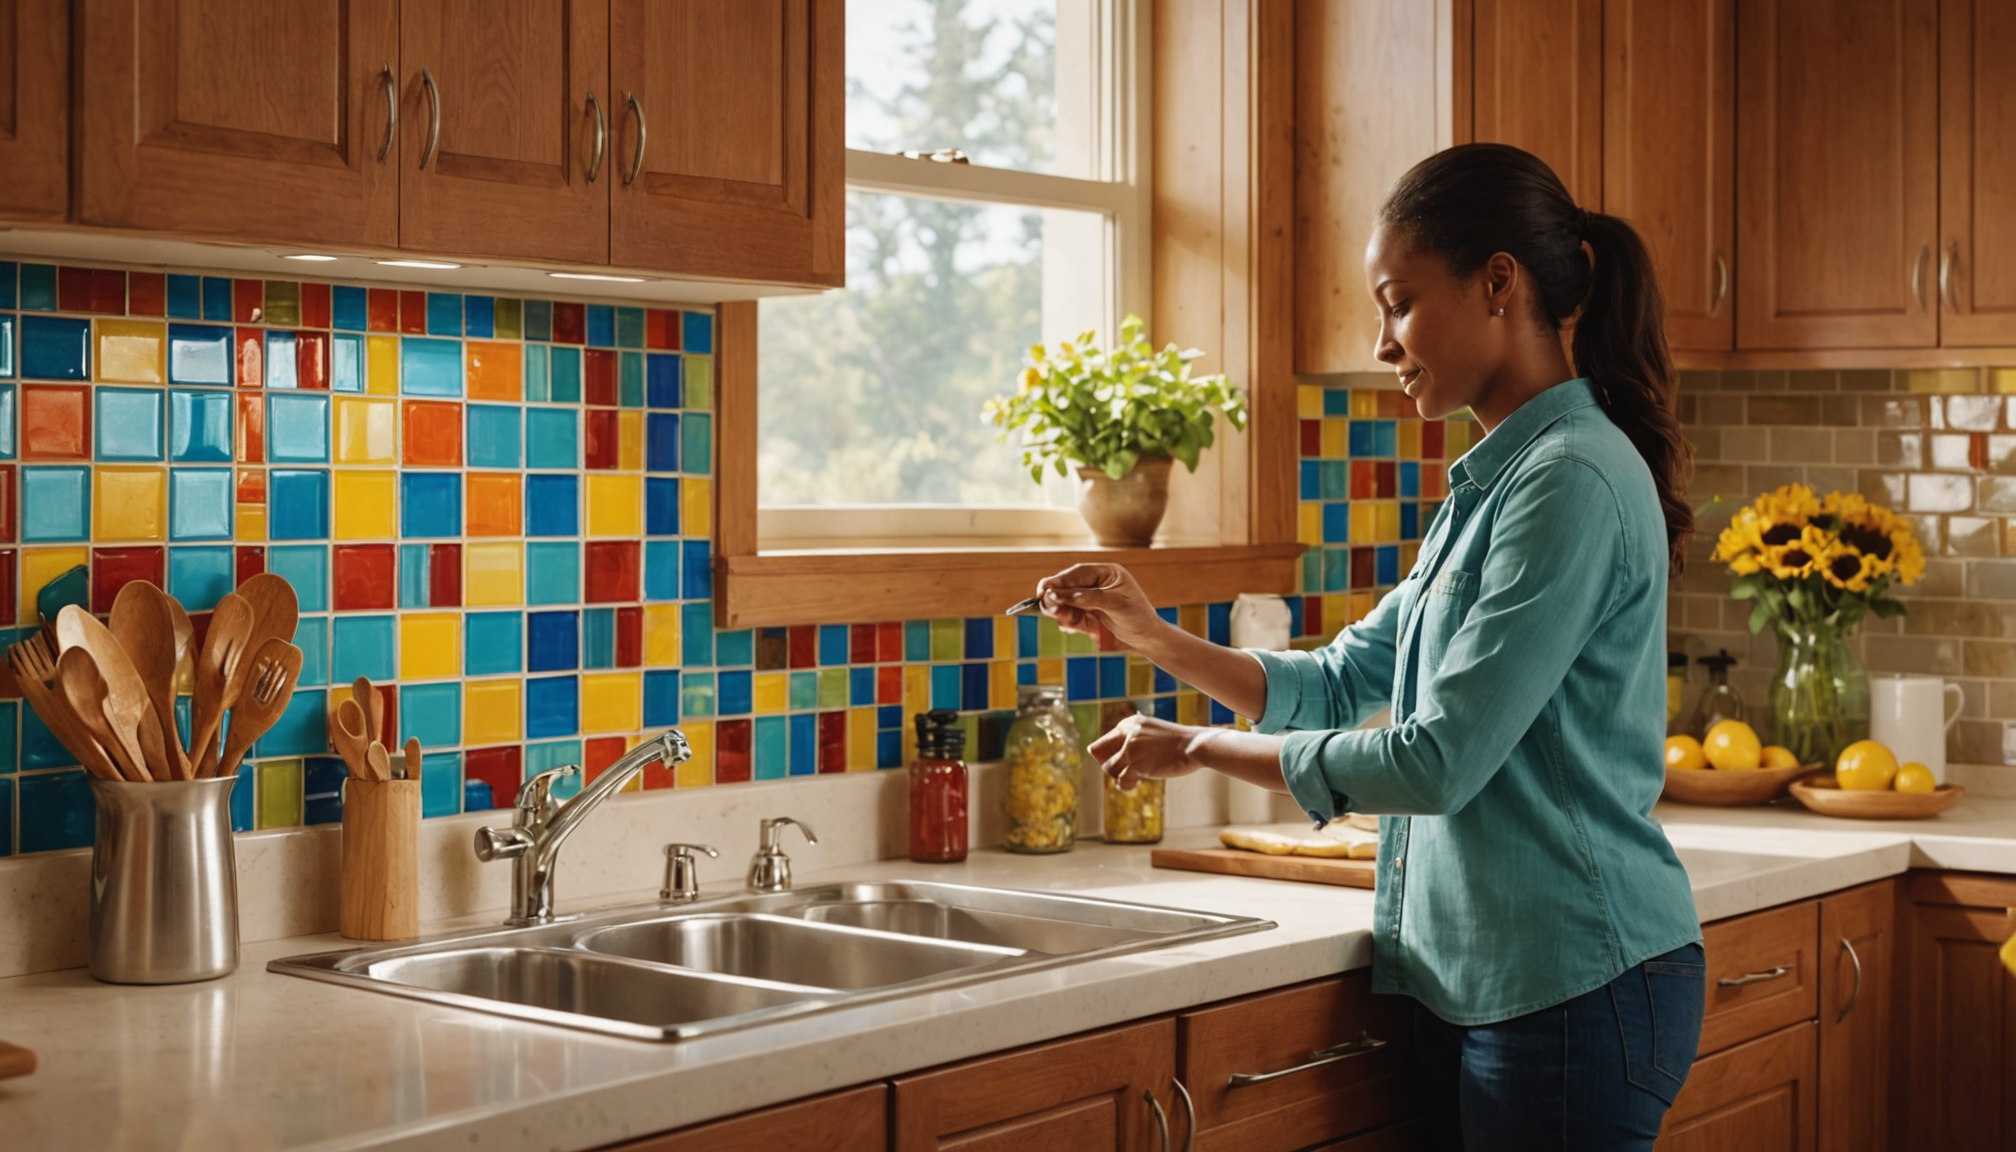
- Glass Tiles: Highly decorative, glass tiles are perfect for creating vibrant backsplashes and accent walls. They reflect light beautifully, adding brightness and the illusion of space. However, they can be more challenging to cut and install, requiring precision.
- Natural Stone Tiles: Comprising materials like marble, granite, limestone, and slate, natural stone tiles offer unique patterns and lavish aesthetics. They require more maintenance and care, as they can be porous and prone to staining. Sealants are often necessary to enhance their durability.
Beyond materials, size, shape, and color are pivotal aspects to consider. Large-format tiles can make a small room appear larger and are excellent for floor applications, while smaller mosaic tiles idealize intricate detailing in tight spaces. Color choices should harmonize with the existing decor and intended atmosphere of the area.
Here’s a table that compares the main features of popular tile types:
| Type | Best Use | Durability | Maintenance | Cost |
| Ceramic | Walls, low-moisture areas | Moderate | Low | Low to Moderate |
| Porcelain | Floors, wet areas | High | Moderate | Moderate to High |
| Glass | Backsplashes, accents | High (aesthetic) | Low | Moderate to High |
| Natural Stone | Floors, premium decor | Varies by type | High | High |
Ultimately, the key to selecting the right tiles lies in balancing aesthetics, functionality, and budget. Evaluating the specific requirements of your project space and understanding the intrinsic characteristics of each tile type will ensure a satisfying and beautiful installation experience.
Essential tools and materials
 When embarking on a DIY tile project, having the right tools and materials is essential for achieving professional results. Preparing your toolkit not only ensures efficiency but also enhances accuracy and ease of installation. Below is a comprehensive list of essential tools and materials you’ll need to kickstart your tile installation journey.
Tools:
- Tile Cutter: A manual tile cutter is crucial for making straight cuts in ceramic and porcelain tiles. For more intricate cuts, consider a wet saw, which is particularly useful for thicker or natural stone tiles.
- Tile Nippers: These are essential for making small, precise cuts or adjustments, particularly around irregular shapes or tight spaces.
- Notched Trowel: This tool is used to apply adhesive to surfaces. The size and shape of the notches depend on the size of the tile you’re working with.
- Tape Measure and Pencil: Accurate measurements ensure your tiles fit perfectly. Always measure twice to avoid mistakes.
- Spirit Level: Ensures that tiles are laid evenly and are perfectly straight. Consistently checking alignment is key to a sleek finish.
- Rubber Mallet: Useful for gently tapping tiles into place without damaging the surface.
- Tile Spacers: These small plastic pieces help maintain consistent gaps between tiles, essential for grouting later on.
- Grout Float: A rubber or plastic tool used to spread grout into the spaces between tiles. Ensures a uniform finish.
- Sponge and Bucket: Necessary for wiping away excess grout and cleaning tiles for a polished finish.
- Safety Gear: Includes gloves, goggles, and a dust mask to protect against sharp tile edges and dust particles.
Materials:
- Tiles: Ensure you purchase about 10% more tiles than the calculated requirement to account for breakage or future repairs.
- Tile Adhesive: Choose an adhesive suited for your tile type and subfloor. Options range from premixed mastics to thin-set mortars.
- Grout: Available in multiple colors, grout is used to fill the spaces between tiles. Select a color that complements your chosen tiles.
- Sealant: Especially important for natural stone tiles to protect against moisture and staining, enhancing longevity.
- Backer Board (optional): Provides a sturdy, moisture-resistant surface, particularly for wet areas like bathrooms or kitchens.
Making sure you have these tools and materials on hand before starting your project is vital to ensure a smooth and efficient installation process. With your toolkit ready, you’re well-equipped to transform your space with confidence and creativity.
Preparing your workspace
Before diving into the actual installation of tiles, it’s crucial to take the time to meticulously prepare your workspace. This stage is key to preventing potential issues down the road and ensuring a seamless workflow throughout your DIY project. An organized and well-thought-out workspace can be the difference between a smooth installation and a chaotic endeavor.
Begin by thoroughly cleaning the area where you plan to install tiles. Surfaces should be free of dust, debris, grease, or any other substances that could interfere with the adhesive’s bonding properties. Use a vacuum or a broom to eliminate loose dirt, followed by a damp cloth to wipe down surfaces thoroughly. A clean surface guarantees that tiles will adhere properly, reducing the risk of future issues like lifting or unevenness.
Once your surface is clean, it’s time to assess and, if necessary, level the workspace. An uneven surface can cause tiles to sit improperly, leading to a lack of cohesion in the appearance, potential cracking, or breaking over time due to stress. Use a straightedge and a level to determine if the floor or wall you’re working on is even. If you find imperfections, consider using a self-leveling compound for floors or patching compound for wall surfaces. These products are designed to create a perfectly flat surface, providing a strong foundation for tile installation.
While preparing your workspace, lay out your tiles to visualize the final result. This step, often called a dry fit, helps in identifying the best starting point, notably if your tiles have patterns or are differently shaped. Starting at the center of your workspace often helps in achieving a balanced design but do adjust based on your unique project requirements. Mark your starting point with a chalk line to keep your rows straight and uniform. Effective planning will ensure that you’ll have whole or evenly cut tiles where it matters most.
Make sure that the area where you’ll store your tools and materials is also well-organized. Having everything readily accessible prevents delays and helps sustain the momentum of your workflow. Consider placing tools like the tile cutter, measuring tape, and trowel within arm’s reach, so you can transition from one task to the next smoothly without unnecessary interruptions.
Additionally, protect nearby areas that won’t be tiled using drop cloths or painter’s tape. This precaution safeguards surfaces from potential damage due to spillage of tile adhesives, grout, or accidental scratches.
Lastly, take into account the ventilation of your workspace. Certain materials and adhesives can emit strong odors or fumes, so it’s vital to ensure the area is well-ventilated. Opening windows or using fans to maintain good air circulation will provide a healthier and more pleasant environment as you work.
By dedicating time and attention to preparing your workspace, you’ll set the stage for a successful and gratifying tile project. This preparation not only enhances the quality of your installation but also optimizes your workflow, allowing you to move confidently to the next phase of your DIY endeavor.
Step-by-step installation guide
Now that your workspace is pristine and ready for tile installation, it’s time to embark on the actual process, transforming your space one tile at a time. Begin with a detailed plan that aligns with the layout you tested during your dry fit. This pre-planning will ensure that your installation runs smoothly, and you’ll avoid missteps along the way.
Start by applying the tile adhesive to a small section of your surface using a notched trowel. It’s essential to work in small areas to prevent the adhesive from drying before you secure the tiles. Pay close attention to the trowel angle; maintaining a consistent angle helps achieve an even adhesive layer. The notched grooves in the adhesive improve the grip between the tile and the surface, ensuring a strong bond.
Place your first tile at your predetermined starting point, pressing it firmly into the adhesive. Use a gentle twisting motion to enhance the bond. Next, align additional tiles using spacers to create uniform gaps. These spacers are crucial for maintaining consistent grout lines, which contribute to a professional finish, and their removal after installation is simple.
Regularly check your alignment with a spirit level to ensure that your tiles are laying flat and even. Adjust as necessary by tapping the tiles gently with a rubber mallet. If a tile is higher than its neighbors, remove it, scrape off excess adhesive, and reapply it. Don’t rush this step; precision here will prevent larger headaches later.
Continue laying tiles in sections, following the same steps, until you cover the entire surface. For edges or tight spaces, use a tile cutter or nippers to fit them perfectly. Remember, patience and careful adjustment ensure each tile complements the next perfectly.
After you’ve placed all full-sized tiles, let them set overnight. This resting period allows the adhesive to firmly adhere, stabilizing the tiles before you introduce the grout.
The next day, it’s time to grout. Using a grout float, spread the grout across the tile surface. Work it into the spaces between the tiles, holding the float at a 45-degree angle to push the grout deep into the joints. As you proceed, remove excess grout by running the float at a shallow angle over the tiles.
Once the grout begins to set, typically in about 15 to 30 minutes, wipe the tiles with a damp sponge to remove grout haze and excess material. Rinse the sponge frequently in clean water to avoid spreading grout. Take care to avoid pulling grout out of the joints during this process.
After a few more hours, polish the tiles with a dry cloth, or a microfiber cloth, to remove any remaining haze. This step will give your newly tiled surface a clean and polished look.
Remember, if your tiles are made of porous materials like natural stone, sealing the surface is vital to prevent staining and enhance durability. Apply a sealant according to the manufacturer’s instructions, and give it ample time to cure.
Keep in mind that DIY projects often come with unforeseen challenges, but they also provide opportunities to learn and enhance your skills. By carefully following each step, you ensure that your tile installation is both beautiful and enduring, adding value and style to your home.
Troubleshooting and maintenance tips
Even with meticulous preparation and careful installation, DIY tile projects can encounter some common issues. If you find that some tiles aren’t adhering well, this could be due to insufficient adhesive or not allowing it enough time to cure before walking on it. To resolve this, ensure that you’re applying the adhesive with a consistent technique, using the correct trowel size, and allow freshly installed tiles to set without disturbance for at least 24 hours.
In the event that you notice grout cracking or crumbling, the cause might be an insufficient or incorrect grout mixture. Re-mix a small batch of grout, ensuring it reaches a toothpaste-like consistency and reapply it to the affected areas, following the original technique. Prevent future issues by maintaining a proper balance between water and grout powder, and applying sealant to protect the grout from moisture infiltration.
If, after grouting, you discover persistent haze on the tiles, don’t despair. This can typically be polished away using a haze remover or a solution of vinegar and water applied with a soft cloth. For tougher cases, a commercial tile haze remover might be required, but be sure to follow the manufacturer’s safety instructions when using such products.
Maintaining tiled surfaces is crucial to preserving their beauty and longevity. Regularly clean tiles with a pH-neutral cleaner to prevent acidic substances from tarnishing the surface. For grout lines, a mixture of baking soda and water or a dedicated grout cleaner will help retain their color and integrity. Sealing grout every six months to a year can also protect it from spills and stains, especially in high-moisture areas like kitchens and bathrooms.
Lastly, conduct routine inspections of your tiled areas to promptly address any signs of cracking or movement. Repairing small issues quickly can prevent more significant problems down the line, extending the life and appearance of your tile installation.
In conclusion, DIY tile projects require careful planning, precise execution, and ongoing maintenance. By understanding the materials, preparing adequately, and following installation best practices, you can transform your living space beautifully. Challenges may arise, but with patience and troubleshooting, even beginners can achieve professional-looking results that stand the test of time. So, gather your tools, plan thoughtfully, and embark on your tiling journey with confidence and creativity.