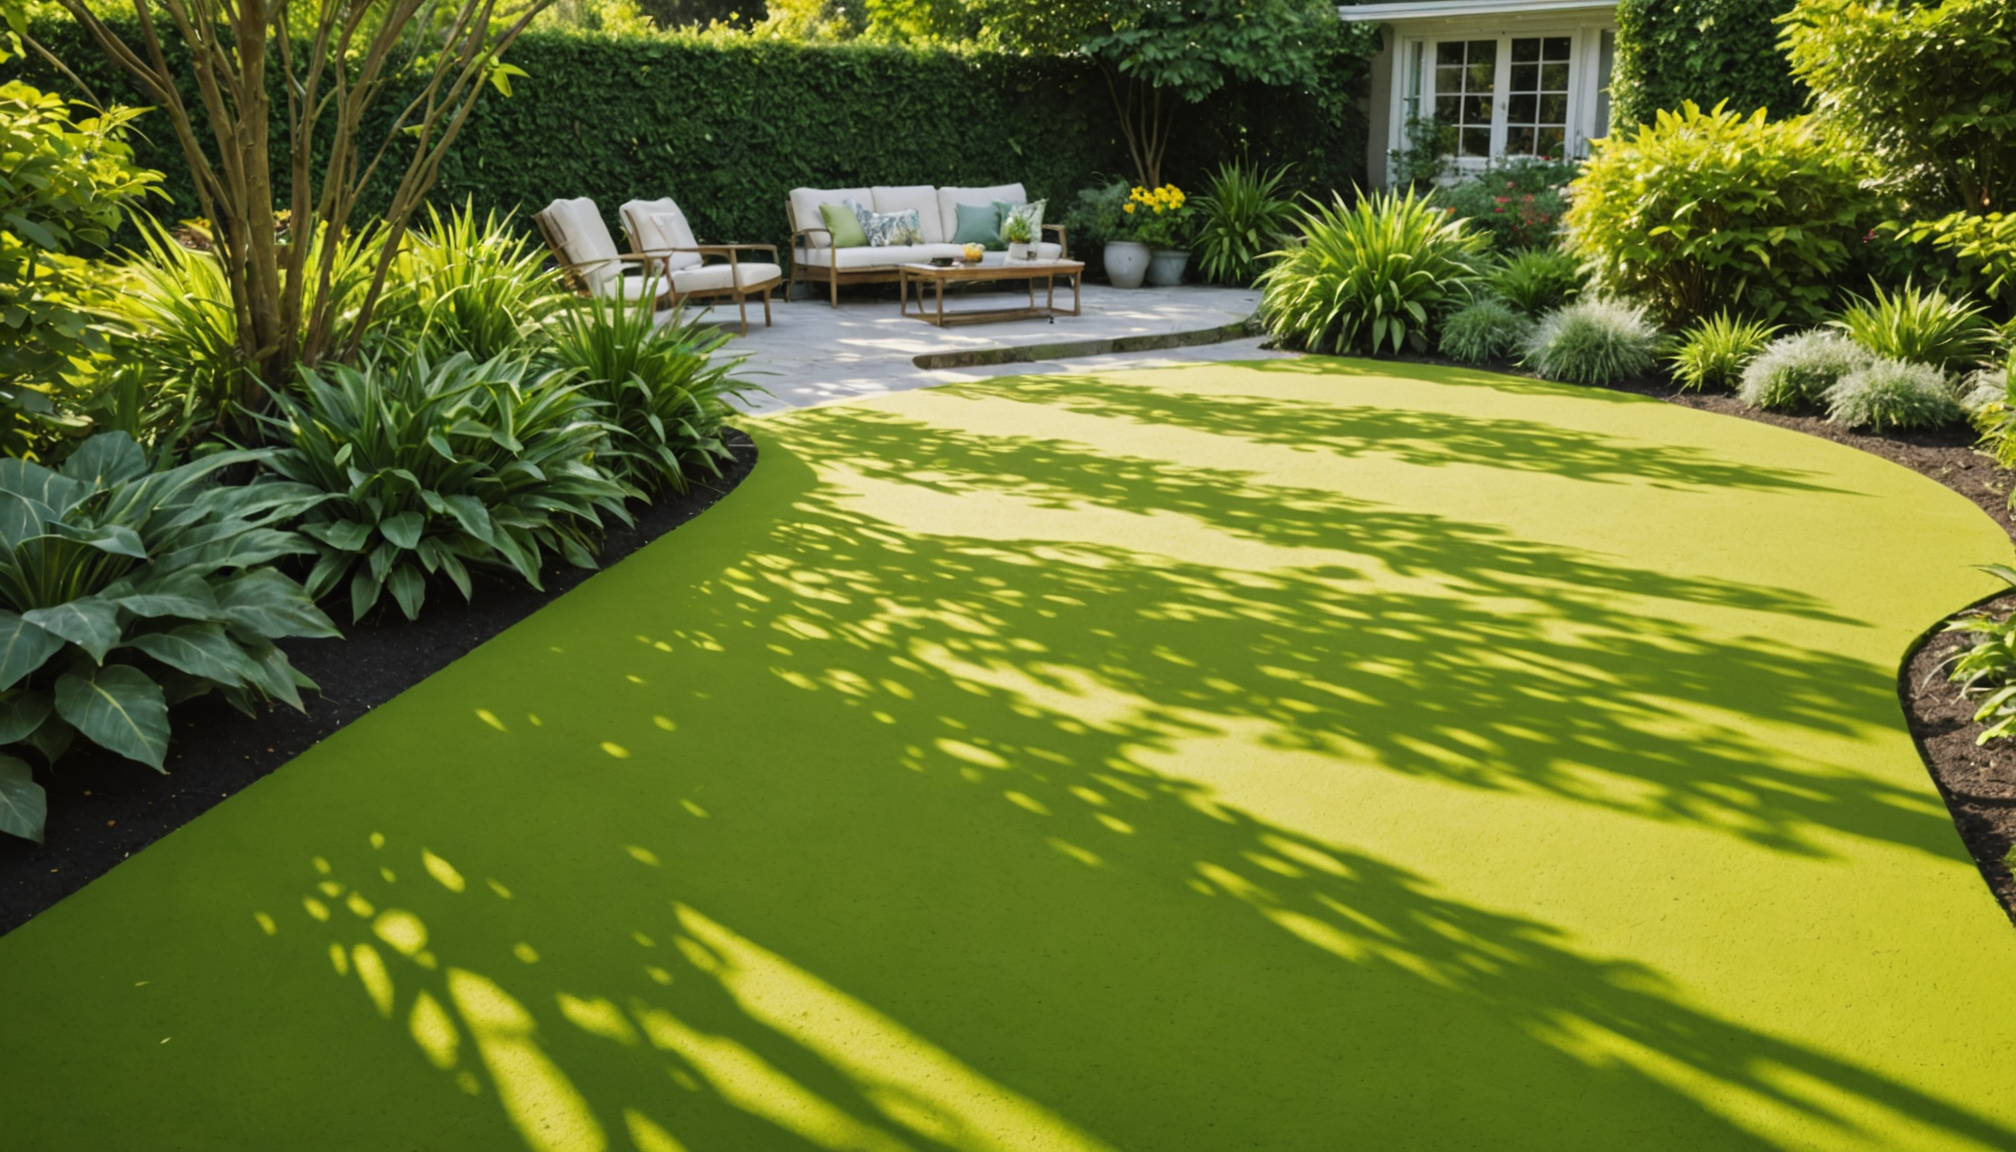
When embarking on the project of painting your yard, selecting the appropriate paint and tools is crucial to achieving a professional and lasting finish. The right choices can dramatically transform your outdoor space while helping you stay within budget. To begin, it is essential to understand the types of paint available and how they might be best applied to the varied surfaces you could encounter in your yard.
For outdoor projects, exterior-grade paints are specifically designed to withstand the elements, such as sun, rain, and temperature fluctuations. There are two main types to consider: latex (water-based) and oil-based paints. Latex paints are versatile, quick-drying, and emit fewer fumes, making them a popular choice for most yard applications. They adhere well to most surfaces, are easy to clean with soap and water, and show excellent color retention over time. Oil-based paints, while more durable in high-traffic areas, require a longer drying time and often involve more complex clean-up methods. They are particularly beneficial for surfaces that face constant exposure to harsh weather or need a hard, protective coating.
In addition to paint, your choice of tools will significantly impact the quality of your results. Brushes and rollers remain staple tools for applying paint effectively. Opt for high-quality brushes with synthetic bristles for latex paints and natural bristles for oil-based options. Rollers equipped with the appropriate nap length are equally important, ensuring they match the texture of the surface you are working on. For example, a short nap is suitable for smooth surfaces, while a longer nap is better for rough, textured surfaces like brick or masonry.
Sprayers can also be a valuable tool, especially for large or awkward surfaces, such as fences or the exterior walls of a house. They provide a uniform application and can significantly cut down on painting time. However, using a sprayer requires practice to prevent over-spraying and paint wastage, which is crucial for adhering to a budget-conscious approach.
Considering current trends, incorporating eco-friendly paints is increasingly popular among environmentally-conscious homeowners. Many brands now offer low-VOC (volatile organic compounds) paint options, which help reduce air pollution and improve indoor and outdoor air quality, making them ideal for families and sustainable practices.
When handling multiple surfaces within your yard, such as wood, metal, concrete, or even roofing elements, evaluating each material’s specific needs is vital. Below is a comparative table to help distinguish between paint types and their best applications based on surface type:
| Surface Type | Recommended Paint Type | Tool Recommendation |
| Wood | Latex or Oil-Based | Brush/Roller |
| Metal | Oil-Based | Sprayer/Brush |
| Concrete | Latex Masonry Paint | Roller |
| Brick | Latex or Oil-Based Masonry Paint | Roller/Sprayer |
| Roofing | Acrylic Roof Paint | Sprayer |
Taking the time to choose the appropriate paint and tools not only enhances the aesthetic appeal of your yard but also ensures a durable and weather-resistant finish that will stand the test of time. Aligning your choices with both the physical demands of your yard’s surfaces and your personal preferences can yield a transformative outdoor space tailored to your specific vision.
preparing your yard for painting
 Before you begin painting, thoroughly preparing your yard is paramount for a successful project. Proper preparation ensures that the paint adheres well to surfaces and prevents premature peeling or flaking, which can lead to costly repairs over time. Follow these steps for effective preparation:
- Clean the Surfaces:
- Start by removing any dirt, dust, or debris from the surfaces you plan to paint. This can be done using a pressure washer for large areas such as walls, fences, and driveways. Be mindful of the pressure setting; too high can damage softer surfaces like wood.
- For more delicate or intricate features like garden decor or metal fixtures, use a wire brush or sponge to scrub away grime.
- Repair Any Damage:
- Inspect the surfaces for any damage such as cracks, holes, or rot. These should be repaired before painting to ensure a smooth finish.
- Use wood filler for wooden surfaces or masonry filler for concrete and brick. Once applied, allow it to dry completely and sand it down to blend seamlessly with the rest of the surface.
- Remove Old Paint:
- If the existing paint is peeling, it’s crucial to remove it to prevent new paint from flaking off prematurely.
- Utilize a paint scraper or a wire brush for this task, and for stubborn sections, a heat gun can help loosen the paint.
- Ensure that any remaining old paint is sanded to a smooth finish, especially when transitioning between old and new paint sections.
- Sanding and Smoothing:
- Smoothing the surface is key to achieving an even paint application. Sand down rough areas, focusing on places where two sections of material meet or where repairs were made.
- Using a medium-grit sandpaper will generally suffice for most surfaces, but finer grit may be necessary for softer materials like wood.
- Priming the Surfaces:
- Priming is crucial for surfaces that have never been painted or where old paint was removed. A good primer creates a uniform surface, seals the material, and provides an excellent base for the paint to adhere to.
- Select a primer compatible with your chosen paint – latex primers for latex paint and oil-based primers for oil-based paint. For metals, ensure the primer has rust-inhibiting qualities.
- Apply the primer evenly, ensuring full coverage and no missed spots. Allow adequate drying time as specified by the manufacturer.
- Once primed, lightly sand the surfaces again to remove any primer roughness, ensuring maximum paint adhesion.
- Protect Areas Not to Be Painted:
- Cover plants, furniture, and other non-paintable surfaces with plastic or drop cloths to protect them from paint splatters.
- Use painter’s tape to mask edges and areas that shouldn’t be painted, ensuring clean and precise lines when the project is complete.
Taking the time to prepare your yard meticulously before painting may seem tedious, but it is a vital step to guarantee not just aesthetic appeal but also the longevity and durability of your paint job. Proper preparation ensures your yard looks fresh and vibrant, ready to withstand seasonal changes and the elements.
techniques for painting different surfaces
When approaching the task of painting different surfaces in your yard, it’s important to recognize that each material comes with its quirks and requirements. With the right techniques, you can ensure that the paint not only adheres well but also enhances the natural beauty of each surface, creating a harmonious and visually appealing environment around your home.
For wooden surfaces, the technique begins with thorough sanding to create a smooth base, as wood can often have a rough texture that might hinder uniform paint application. Applying a primer designed for wood is essential to seal the material and enhance its natural grain. Use even, overlapping strokes with your brush or roller, and for best results, follow the grain of the wood. Multiple thin layers are preferable, allowing each coat to dry thoroughly before applying the next. This method not only leverages the intrinsic charm of wood but also ensures protection against moisture and pests.
Metal surfaces present their own challenges, primarily because they can be prone to rust. To prepare, make sure the surface is clean and rust-free, utilizing a wire brush if necessary. Choose a rust-inhibiting primer to prevent future corrosion, which is especially crucial if the metal is part of your roofing or exposed structures. Using a sprayer can provide even coverage on intricate metal designs, though a brush may be necessary for touch-ups or smaller details. The goal is to achieve a durable and sleek finish that withstands weather changes, maintaining its sheen.
Concrete and masonry surfaces, such as brick walls or patios, demand different considerations. Due to their porous nature, a masonry primer is recommended to prevent the paint from being absorbed excessively, which can lead to uneven coloring. A roller with a suitable nap can help apply paint evenly over these textured surfaces. Consider using paint specifically designed for concrete or masonry, which offers greater flexibility to accommodate the natural expansion and contraction of these materials. Enhancing concrete areas with the right paint can bring vibrancy to what could otherwise be drab, utilitarian spaces.
When painting brick, ensure the material is completely dry. Moisture trapped within can compromise the adhesion and longevity of the paint. A coat of latex or oil-based masonry paint applied with either a roller or sprayer can provide excellent results, emphasizing the timeless appeal of brickwork while resisting common issues like efflorescence and fading.
Roofing requires specialized attention given its exposure to the elements. Acrylic roof paint is often recommended due to its ability to seal and protect while maintaining the flexibility needed to endure temperature fluctuations. Using a sprayer can aid in fast and even distribution over large, flat expanses. Not only does this enhance your home’s curb appeal, but it also contributes to roofing maintenance by adding an extra protective layer against sun and rain.
For best results, consider testing your techniques on a small area first. This will allow you to observe how the paint interacts with the material and make any necessary adjustments before proceeding more broadly. Paying attention to the specific needs of each surface type ensures a lasting, visually appealing outcome that stands up to the rigors of outdoor life. In doing so, you not only adhere to current trends in yard beautification but also protect your investment well into the future.
enhancing your yard’s features with color
Color can be a transformative element in your yard, elevating its features and creating a cohesive, inviting outdoor space. By strategically using paint, you can highlight architectural elements, add pops of interest, or create a particular ambiance that mirrors your personal style. Successfully enhancing your yard’s features with color involves a careful balance of creativity, planning, and an understanding of current trends.
Start by considering the existing hues within your yard’s landscape, including the natural tones in plants, stones, or gravel. Select paint colors that either complement or contrast these hues effectively. For instance, earthy tones can provide a serene backdrop, while vibrant colors can energize a space or draw attention to specific features like garden art statues, planters, or fences.
When painting accent pieces, do not shy away from bolder colors. A bright teal birdbath or a vivid red door can act as focal points, pulling the eye into the yard and providing a visual anchor around which other design elements can orbit. Similarly, painting planter boxes or garden benches in complementary colors can unify disparate sections of your garden, creating a seamless flow through the space.
For larger features such as walls or soffits, subtle tones like soft blues, greens, or even shades of white can work wonders in making your yard feel spacious and well-integrated with the surrounding nature. Neutral colors allow natural elements like flowers and shrubs to shine, highlighting their beauty against a calm backdrop.
Roofing elements, often overlooked, can also be enhanced with color. Consider coordinating the color of your roof with the trim or shutters of your house to create a unified visual theme. This not only improves aesthetics but also reflects modern trends toward cohesive exterior design. Choosing lighter shades for roofing can reflect heat effectively, aligning with eco-friendly yard practices.
For those conscious of budget constraints, using leftover paints from previous projects can be a cost-effective way to add color to small garden structures like tool sheds or gazebos. Mixing small quantities of various leftover colors can create unique custom shades, adding a personalized touch to your yard’s features without the extra cost of buying new paint.
Incorporating seasonal color changes into your planning can also keep your yard dynamic and fresh throughout the year. Consider reserving certain areas for temporary artwork or murals that change with the seasons, keeping pace with color trends and personal taste adaptations. This flexibility ensures your yard remains lively and engaging regardless of the season.
Test your color ideas on a small section of the feature you’re painting to see how it interacts with light and surrounding elements. This will help prevent committing to a color that doesn’t achieve the desired effect, saving time and resources.
Ultimately, using color to enhance your yard’s features allows you to set the mood and character of your outdoor living space, turning your yard into a true extension of your home. By leveraging the power of color thoughtfully, you can create a distinctive, welcoming atmosphere tailored to your aesthetic preferences and lifestyle needs, all while remaining mindful of recent design trends and budgetary considerations.
maintenance and touch-up tips
Regular maintenance and timely touch-ups are crucial in preserving the vibrancy and durability of your outdoor paint job. Start by establishing a routine inspection schedule, ideally once every season, to identify any areas that might be showing signs of wear or damage. Look out for peeling, chipping, or fading paint, as these are strong indicators that touch-ups are needed.
For minor touch-ups, keep a small supply of leftover paint and tools readily available. Matching the paint colors and finishes precisely is essential to achieve a seamless repair. Before applying new paint, ensure the affected area is clean and free from dust or grease. Lightly sand any rough edges to smooth out imperfections, then use a brush for precision application. Allow the paint to dry thoroughly between coats, especially in areas that have suffered extensive exposure to weather.
A proactive approach to maintenance involves addressing environmental factors that can adversely affect painted surfaces. Trim back overhanging branches that might cause abrasion during windy conditions or retain moisture against painted surfaces, leading to mildew. Similarly, redirect water sources such as sprinklers away from painted features to reduce the risk of water damage and discoloration.
Inspect metal surfaces like fences or roofing for rust spots, as untreated rust can spread rapidly. Use a wire brush to clear away rust, apply a rust-inhibiting primer, and follow with a fresh coat of paint to restore protection. Staying vigilant about such potential trouble spots will significantly extend the life of your paintwork.
For homeowners conscious of eco-friendly practices and budget considerations, opting for touch-up methods that minimize waste is advisable. Reusing cardboard or plastic instead of new painter’s cloths, or storing leftover paint properly to keep it usable for future maintenance, are small, sustainable steps that contribute to an environmentally responsible upkeep process.
Following these maintenance and touch-up tips ensures that your yard remains visually appealing and well-protected against the elements. Properly tended paintwork not only showcases your yard’s features beautifully but also reflects well against the constant evolution of design trends, ultimately safeguarding your investment in achieving a stunning and durable outdoor environment.
In conclusion, transforming your yard through careful selection of paint and tools, diligent preparation, informed painting techniques, and strategic use of color can create an inviting and lasting outdoor space. By maintaining and touching up your painted surfaces regularly, you ensure that your efforts continue to enhance the aesthetic appeal and value of your home season after season. Through this attentive approach to painting your yard, you are not only crafting an extension of your personal style but also fostering an environment where you and your guests can enjoy the beauty of outdoor living.