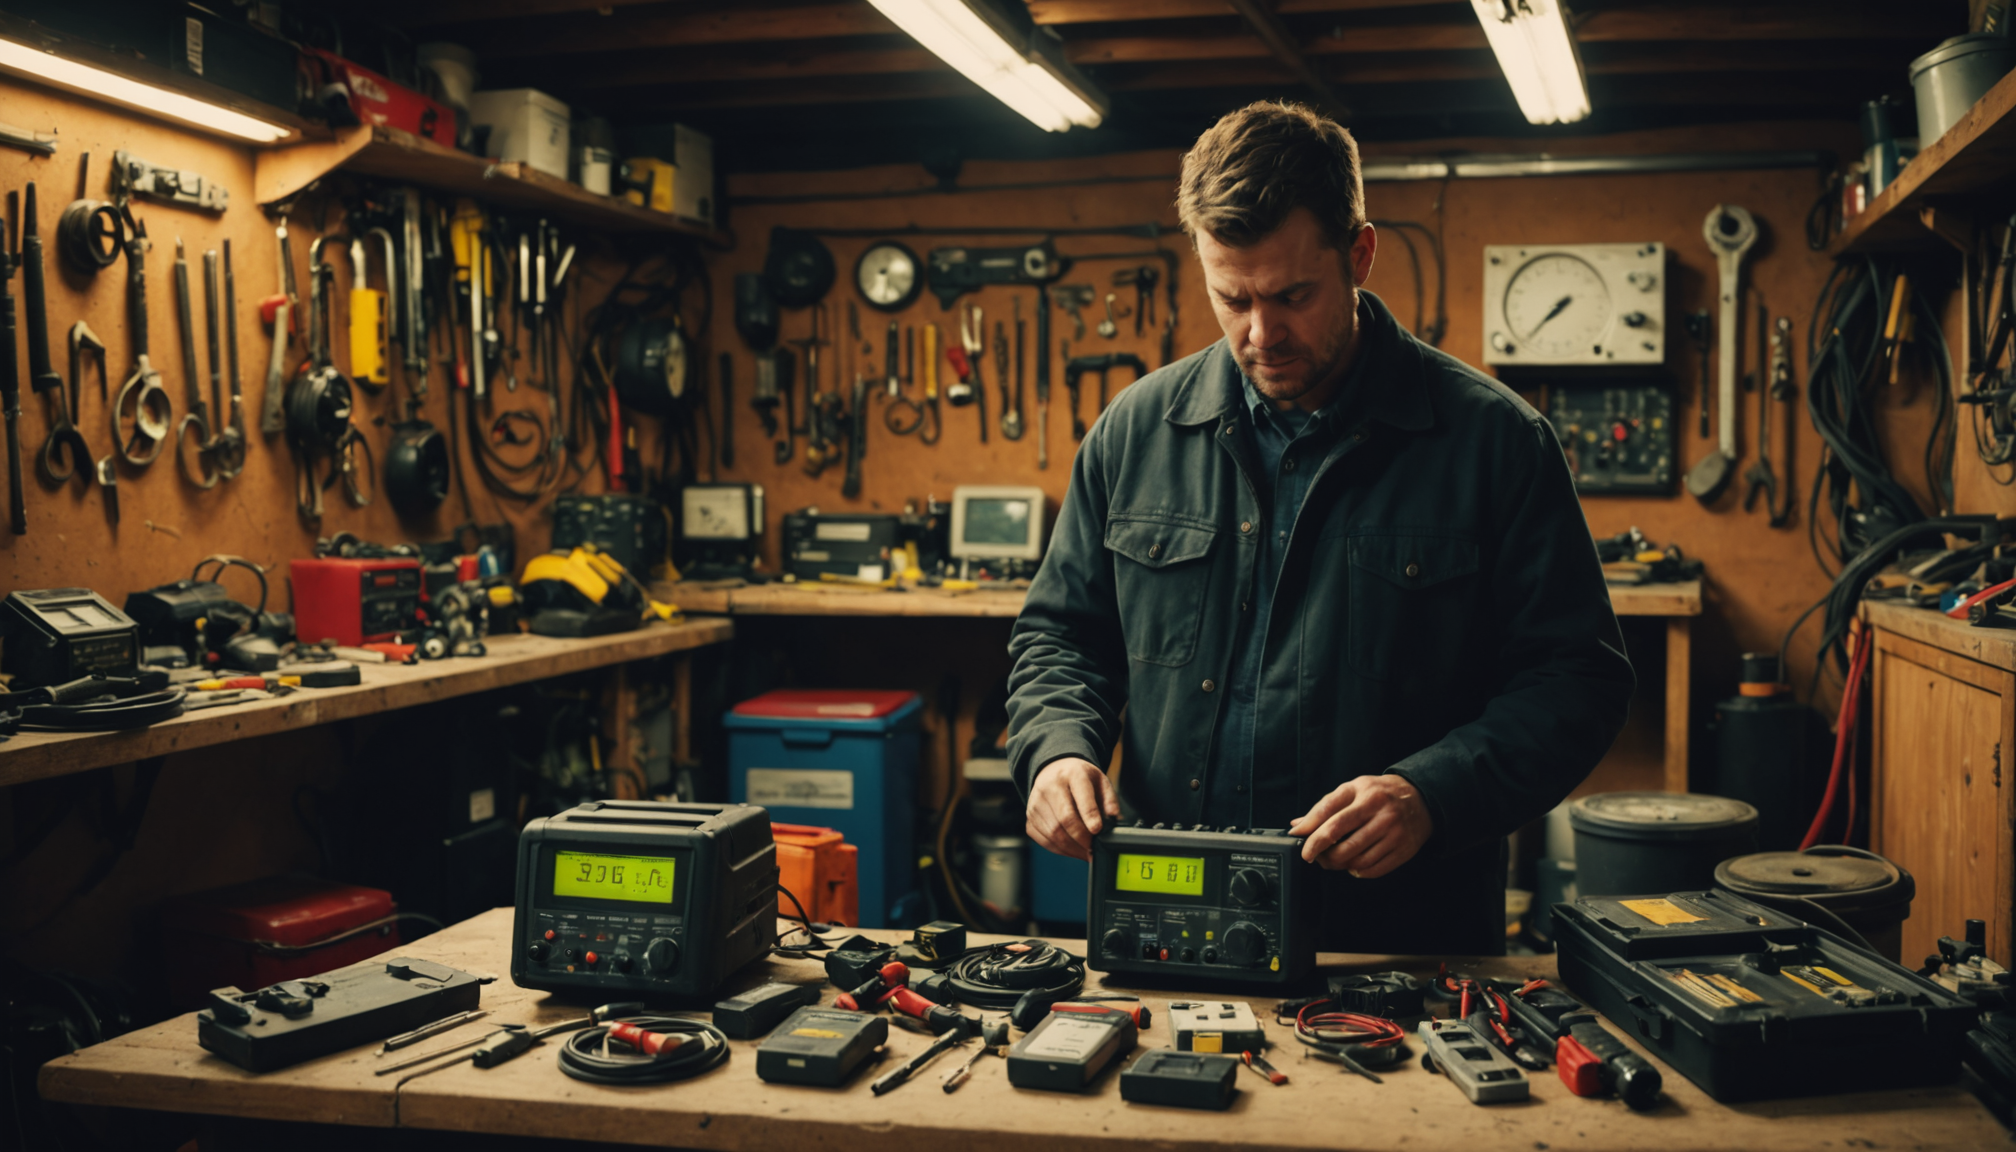
Understanding noise levels is a crucial first step in effectively soundproofing your garage. Whether you’re using your garage as a workspace, a studio, or simply as additional living space, knowing the different types of noise and their sources will guide your soundproofing efforts and ensure a successful outcome.
Noise in a garage environment generally originates from two primary sources: airborne noise and impact noise. Airborne noise includes sounds like voices, music, and engine noise, which travel through the air. Impact noise, on the other hand, results from contact, such as footsteps or the vibration of machinery against the garage floor or walls.
To achieve optimal soundproofing, it is essential to understand the decibel levels associated with common garage activities and external noise sources. Here’s a table that illustrates various noise levels encountered in a typical garage setup:
| Noise Source | Decibel Level (dB) |
| Conversation | 60-70 dB |
| Lawnmower | 85-90 dB |
| Power Tools | 90-110 dB |
| Car Engine Running | 70-90 dB |
Recognizing these noise levels helps in assessing how much soundproofing investment is necessary for your garage. For moderately noisy environments, minimizing airborne noise might suffice, while higher decibel levels demand thorough soundproofing solutions targeting both airborne and impact noises.
Modern soundproofing techniques utilize a variety of materials and methods to address these diverse noise sources effectively. By understanding the noise profile specific to your garage, you can select appropriate solutions that not only improve sound quality but also enhance the overall comfort and functionality of the space. Tailoring soundproofing efforts to your specific needs leads to better results and ensures that your garage becomes a quiet oasis, free from unwanted noise.
Selecting the right materials
When soundproofing your garage, selecting the right materials is vital to achieving effective noise reduction. The goal is to minimize both airborne and impact noises, ensuring a quieter environment. Here’s a step-by-step guide to help you choose the best materials for your soundproofing project:
1. Identify Your Needs:
– Determine the specific types of noise you need to address. Are you mainly dealing with loud equipment noise, or is the issue more to do with external sound entering the garage? Understanding your primary noise source will guide your material choices.
2. Consider Soundproof Drywall:
– Unlike regular drywall, soundproof drywall, often called sound-deadening boards, integrates multiple layers of gypsum and viscoelastic polymers to enhance noise absorption. This material is particularly effective against airborne noise.
– Installation involves replacing existing drywall or covering it with an additional layer, enhancing both mass and sound absorption properties.
3. Use Acoustic Panels for Walls and Ceilings:
– Acoustic panels can be placed strategically around your garage to absorb sound waves. These panels are made from sound-absorbing foam or fabric-wrapped materials and are designed to reduce echo and reverberation.
– Consider panels with an appropriate Noise Reduction Coefficient (NRC) rating. A higher NRC indicates better sound absorption.
4. Install Soundproof Insulation:
– Insulation materials, such as mineral wool or fiberglass, detour sound transmission and are excellent for filling wall cavities and ceilings.
– Soundproof batt insulation specifically designed for noise reduction will maximize effectiveness. Ensure the insulation fits snugly to minimize sound leaks.
5. Include Soundproofing Mats or Carpets:
– Soundproof mats or carpets are placed on the garage floor and can effectively dampen impact noise from footsteps and machinery vibrations.
– Choose dense, heavy materials with an anti-vibration membrane to boost soundproofing levels further.
6. Opt for Double-Paned Windows:
– If your garage has windows, consider upgrading to double-paned or laminated glass windows, which provide superior noise insulation compared to single-pane options.
– Ensure no air gaps around the window frames, using weather stripping if necessary, to augment soundproofing.
7. Seal Doors with Soundproofing Tools:
– Install door sweeps and seals around the garage door to reduce noise through these potential gaps.
– Consider adding a soundproof curtain or door cover for additional noise reduction, particularly if your garage door is a main noise entry point.
8. Review and Purchase Quality Materials:
– Evaluate the effectiveness, durability, and cost of different materials. While the investment might seem high, modern soundproof solutions enhance the functional value and comfort of your garage.
– Brands like QuietRock for drywall or Owens Corning for insulation are known for quality and reliability, offering long-term benefits.
Modern soundproof materials can transform your garage into a tranquil space, accommodating various uses without the disruption of unwanted noises. By selecting the appropriate materials tailored to your specific noise challenges, you can make soundproofing a worthy investment—leading to a harmoniously quiet and functional environment.
Sealing the gaps
After choosing the right materials for your soundproofing project, it’s crucial to address the gaps and seams that can severely undermine your efforts by allowing noise to leak in or out of your garage. Whether it’s the small crevices around doors or the spaces near windows and between walls, these areas need careful attention to effectively create a barrier against noise.
Start by inspecting the perimeter of your garage, especially around windows and doors, as these are common entry points for sound. Applying weatherstripping is an effective solution that can be used here to close off air gaps and prevent noise infiltration. Weatherstripping comes in various forms, such as adhesive-backed foam tape or rubber strips, and is easily applied around doorframes and window sills. Pay special attention to the bottom of garage doors as they can be a significant source of sound leakage. Using a door sweep not only aids in blocking noise but also helps in maintaining energy efficiency by keeping out drafts.
The integration of acoustic caulk is another vital measure for sealing gaps. Unlike traditional caulk, acoustic caulk remains flexible once cured, adapting to temperature fluctuations without cracking. This flexibility ensures long-term adherence and optimal sealing performance. Apply it in any cracks or seams you identify during your inspection, especially along the edges of the walls, the ceiling, and the floor junctions. The use of acoustic caulk is a small but powerful investment in your overall soundproofing strategy, as it prevents noise from escaping through minor openings.
Electrical outlets and light fixtures are often overlooked as potential sound paths. Make sure to include insulating gaskets for outlets and switches on the walls bordering noisy areas. These gaskets work to refine the airtight seal, further impeding sound travel.
Ventilation needs special attention because simply closing off vents can lead to poor air circulation and other issues. Instead, consider duct sound baffles that provide airflow but trap noise. Other advanced options include soundproof vent covers and acoustic liners.
Even with all these measures, it’s crucial to recognize the continuous role of maintenance. Over time, gaps may reappear as the building materials expand and contract with weather changes. Regular checks and touch-ups with weatherstripping and caulking will ensure that your garage maintains its soundproof qualities.
By thoroughly sealing the gaps, you capitalize on your soundproofing investment, maximizing the effectiveness of the materials and efforts already in place. This comprehensive approach not only blocks disruptive external noises but also retains the desired quiet environment you have worked to achieve. Through diligent and ongoing attention to these details, your garage will continue to serve as a modern retreat, undisturbed and free of unwanted sound interference.
Installing soundproof insulation
Once you’ve meticulously addressed the gaps and cracks that can undermine your efforts, the next step is adding a robust layer of insulation designed for soundproofing. This layer is crucial for minimizing both airborne and impact noises, effectively transforming your garage into a serene oasis.
To begin, choose the right type of insulation; mineral wool and fiberglass are popular for their exceptional sound-absorbing properties. These materials are particularly effective as they create a dense barrier that obstructs sound waves from penetrating walls and ceilings. Installing soundproof insulation demands precision and care, as the effectiveness largely depends on eliminating unintended gaps that may allow sound leaks.
Start by removing any existing drywall to expose the wall studs and cavities. This process might seem labor-intensive, but it ensures that the new insulation is installed as effectively as possible. Carefully fill these wall cavities with soundproof batt insulation. It’s essential that the insulation fits snugly, covering all areas without compressing the material, as this can reduce its soundproofing capacity.
Pay special attention to corners and junctions, where lack of proper insulation can create sound bridges. Using a spray foam insulation in these narrower or odd-shaped cavities can help achieve a comprehensive seal. Additionally, adding a vapor barrier over the insulation before replacing any drywall can protect the integrity of the insulation and maintain its soundproof qualities.
Once the insulation is in place, re-install soundproof drywall atop the insulated areas. Opt for drywall specifically designed for noise control, such as those incorporating multiple layers of gypsum and viscoelastic compounds. The density and mass of soundproof drywall are key to its ability to dampen vibrations and block sound effectively.
Don’t overlook the ceiling, as sound easily travels upwards. Install insulation and soundproof drywall here as well to ensure that noise from inside the garage is contained and external noise is kept out.
Through this installation of soundproof insulation, you make a modern investment in your garage that elevates its functional value. Not only does it become a more comfortable space for work or leisure, but the soundproofing improvements also contribute to the overall property value. In a world increasingly geared towards multifunctional living spaces, having a soundproof garage can offer unparalleled peace and productivity, free from the disturbances of modern life.
By following these detailed steps, you can effectively wield insulation as a formidable tool in your soundproofing arsenal, making your garage a modern, quiet haven suitable for any activity.
Final adjustments and testing
After installing the main soundproofing elements such as insulation, drywall, and sealants, it’s time for final adjustments and testing to ensure your garage has become the well-insulated sanctuary you envisioned. Begin with a thorough inspection of all the modifications you’ve made. Look for any immediate signs of weakness, such as small gaps in caulking or areas where weatherstripping might have loosened. Address these issues promptly to maintain effectiveness.
Next, it’s crucial to test the soundproofing quality. Even though soundproofing isn’t about creating complete silence, you should notice a significant reduction in both airborne and impact noises. To test airborne noise reduction, have a helper generate typical noise sources outside the garage, such as speaking at various volumes or playing music. From inside, assess whether the noise levels are significantly reduced compared to before the soundproofing efforts. For impact noise, try tapping or pounding lightly on the walls or floor, and observe if vibrations have decreased.
Consider using a decibel meter to quantify the improvement. Measure noise levels outside the garage while your helper creates sound, and then take another measurement inside. Compare these readings to determine the decibel reduction achieved. Ideally, there should be a noticeable drop, showcasing the effectiveness of your efforts.
If you identify areas where noise leaks persist, revisit the affected sections and apply additional layers of acoustic silicone caulk or replace weatherstripping as necessary. In some cases, you might require additional soundproofing elements, such as thick soundproofing blankets or panels over specific wall areas to further dampen vibrations.
Lighting and ventilation fixtures may need soundproof covers or additional reinforcement. Ensure that all adjustments align with safety standards and that ventilation doesn’t get compromised in the pursuit of better sound insulation. Balance is key to maintaining both a quiet and functional garage.
By meticulously fine-tuning these aspects, your garage will not only transform into a modern hub of tranquility but also elevate its value as a versatile space. Through diligent testing and timely adjustments, your soundproofing investment will yield long-lasting results, turning your garage into a practical and peaceful retreat in the midst of noise.


