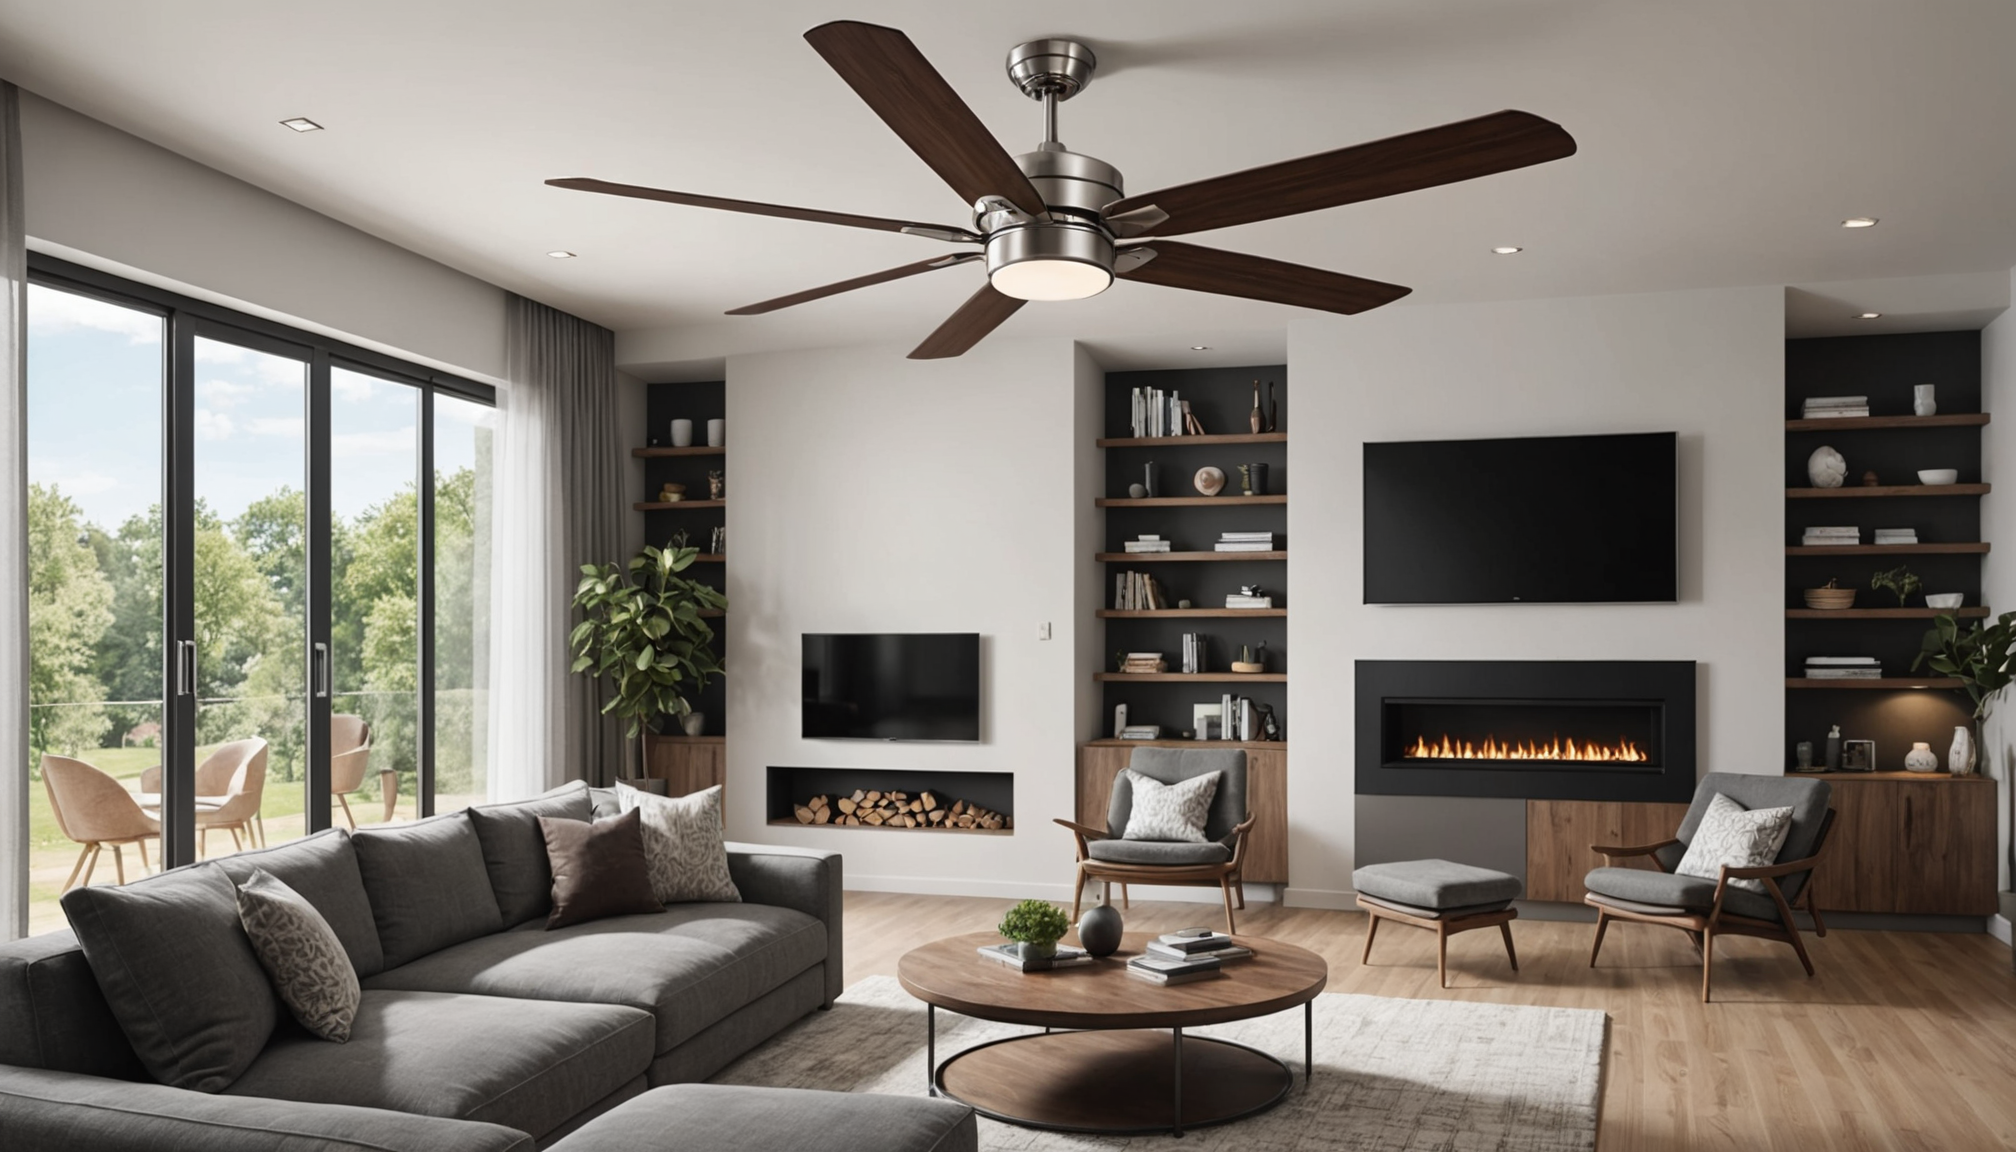
When it comes to achieving quiet comfort through fan installation, selecting the right fan is crucial. Not all fans are created equal, and the right choice will depend on a few key factors: the size and layout of the room, the desired airflow capacity, noise levels, and the aesthetics that suit your space.
First, consider the size of the room where you plan to install the fan. A fan that is too small for a large room will not circulate air effectively, while a fan that is too large for a small room might create an overpowering breeze. A fundamental rule of thumb is to choose a fan that covers a generous portion of the ceiling area, generally measured by blade span. Here is a table that outlines the recommended fan size based on room size:
| Room Size (sq ft) | Recommended Blade Span |
| Up to 100 | 36 inches or less |
| 100 – 300 | 36 to 48 inches |
| 300 – 450 | 48 to 54 inches |
| More than 450 | 54 inches or more |
Beyond size, the airflow capacity, often measured in cubic feet per minute (CFM), is a critical aspect of how effective the fan will be. Generally, the higher the CFM, the better the airflow. Consider fans with CFM ratings that match the room’s dimensions but also keep in mind your comfort preference for airflow speed.
Noise levels are another significant factor. Quiet fan operation is achieved using quality motors and materials that minimize vibration and sound. When selecting a fan, check for sound ratings, which are typically indicated in decibels (dB). Opt for fans that specify lower decibel levels, indicating quieter operation. Brushless Direct Current (DC) motors are often found in quieter models compared to traditional Alternating Current (AC) motors.
In addition to performance, the aesthetic appeal of the fan can enhance the decor of your space. Consider the style, finish, and color of the fan in relation to your room’s theme. Whether your preference lies with contemporary, traditional, rustic, or modern styles, there are numerous options available on the market.
Energy efficiency is also an important consideration given the increasing focus on environmental impact and energy costs. Look for fans with the ENERGY STAR rating, which indicates energy-efficient operation, thus saving on electricity bills and contributing to sustainability efforts.
When choosing the right fan for your space, take into account the size of your room, and airflow requirements, noise levels, aesthetic preferences, and energy efficiency. By carefully evaluating these factors, you’ll be well-equipped to select a fan that provides not only comfort and style but also quiet performance.
optimal placement for noise reduction
To achieve a quiet and efficient fan installation, the placement of the fan plays a crucial role. Proper placement not only maximizes airflow but also minimizes noise, creating an optimal environment for quiet comfort. Here’s how to effectively position your fan for reduced noise:
1. Identify the Center of the Room:
– Begin by finding the exact center of the room. This is typically the best place to install the fan for balanced airflow.
– Measure the distances from each wall to ensure the fan is equidistant from them. This central position helps distribute air evenly throughout the space and reduces uneven airflow that could cause noise.
2. Consider Ceiling Height:
– Measure the ceiling height to determine the appropriate fan height. Ideally, the fan blades should be installed 8 to 9 feet above the floor for optimal performance.
– For lower ceilings, use a low-profile mount. For higher ceilings, a downrod extension may be necessary to bring the fan to the correct height.
– Keeping the fan at the right height helps prevent the sound of air hitting walls or furniture, which can amplify noise.
3. Avoid Obstacles:
– Ensure there are no obstructions nearby, like beams, light fixtures, or high furniture, as these can interfere with the fan’s blades.
– Any nearby objects can cause the air to bounce off and create noise. Allow at least 18 inches of clearance from the tip of the blades to any adjacent obstacles.
4. Choose a Stable Mounting Surface:
– Fan noise is often exacerbated by vibrations. Secure the fan to a stable ceiling joist or beam to minimize vibrations that contribute to noise.
– On drywall or other less stable materials, consider using mounting brackets that provide additional support and vibration dampening.
5. Assess Acoustic Properties of the Room:
– If possible, install the fan in a room with sound-absorbing materials, such as carpets, curtains, or upholstered furniture. These materials can reduce noise by absorbing sound waves.
– Hardwood floors or other hard surfaces can reflect sound, increasing the perceived noise level.
6. Check the Proximity to Bedrooms or Quiet Areas:
– If installing in a home with open-plan living spaces, position the fan away from quiet zones like bedrooms or home offices where low noise levels are particularly important.
– Consider placing fans in common areas instead, where ambient noise is less problematic.
7. Trial and Evaluation:
– Once installed, run the fan at different speeds to test noise levels. Ensure there are no wobbling or rattling sounds, which indicate misplacement or imbalance.
– Make necessary adjustments based on initial noise testing, repositioning as needed to mitigate noise.
By considering these factors, you can minimize noise generation and maximize airflow efficiency. Effective placement is instrumental in achieving quiet comfort through fan installation, enhancing both the functionality and serenity of your living space.
installation tools and materials
To ensure a smooth and efficient installation process, gathering the right tools and materials beforehand is essential. Being well-prepared not only streamlines the installation but also enhances the overall safety and stability of the fan in your home. Here’s a comprehensive list of tools and materials you’ll need:
1. Tools:
– Screwdrivers: Both flathead and Phillips head screwdrivers are necessary to handle various screws encountered during installation. A magnetic-tip screwdriver can make handling screws more manageable, especially in tight spots.
– Drill and Drill Bits: A power drill can expedite the process of installing mounting hardware. Ensure you have the correct size drill bits for pre-drilling holes.
– Level: To guarantee your fan hangs evenly, a level is indispensable. A balanced fan reduces wobbling and unnecessary noise.
– Wire Strippers: Essential for preparing electrical connections by stripping insulation from the wires.
– Pliers: Useful for holding wires or screws securely, ensuring tight connections and adjustments.
– Adjustable Wrench: This tool comes in handy for tightening nuts and bolts during mounting.
– Tape Measure: Accuracy in positioning the fan is crucial, and a tape measure ensures precise measurements for optimal placement.
– Ladder: A sturdy ladder aids in reaching ceiling heights safely during installation.
2. Materials:
– Fan Mounting Kit: Most fans come with a mounting kit, but double-check that it includes all the necessary components such as brackets, screws, and anchors.
– Wire Connectors: Needed to secure electrical connections. Using the correct size ensures a safe electrical connection.
– Electrical Tape: Handy for insulating individual wires and securing wire connectors in place.
– Downrod: Depending on your ceiling height, you may need a specific length downrod to achieve the right fan height for optimal airflow.
– Support Bracket: A crucial component for installation on heavier models or when attaching to less robust structures. It provides extra stability to prevent movement that may cause noise.
– Ceiling Box: Use a fan-rated ceiling box to house electrical connections securely. Regular light fixture boxes might not support the weight or movement of a ceiling fan.
3. Safety Gear:
– Safety Goggles and Gloves: Protect your eyes from debris and your hands from sharp objects or electrical components.
– Voltage Tester: Before starting installation, ensure the power is off at the circuit breaker by using a voltage tester to confirm there is no active electrical current in the wires.
Having all these tools and materials on hand allows for a smoother, interruption-free installation process. Each item serves a specific purpose in ensuring that the ceiling fan is firmly installed, functions quietly, and provides comfort for years to come. Assembling these essentials before beginning not only saves time but also helps in identifying any potential issues that could arise, ultimately contributing to a more efficient and effective fan setup.
step-by-step installation guide
Now that you’ve gathered the necessary tools and materials and determined the optimal placement for your fan, it’s time to proceed with the installation. This step-by-step guide is here to help you navigate the process efficiently and safely, ensuring that your ceiling fan is mounted securely and functions quietly.
1. Turn Off Power:
– Begin by switching off the power at the circuit breaker to avoid any electrical hazards. Use a voltage tester to confirm that the power is completely off at the installation site.
2. Prepare the Ceiling Box:
– Make sure the existing ceiling box is rated for fan support, as it needs to withstand the fan’s weight and movement. If needed, replace it with a fan-rated box.
3. Assemble the Fan:
– Carefully unpack the fan components. Assemble the motor, blades, and other parts according to the manufacturer’s instructions. Leave the blades off for now to make installation easier.
4. Install the Mounting Bracket:
– Attach the mounting bracket provided in the fan kit to the ceiling box. Use the screws and anchors as needed, ensuring the bracket is securely fastened and level.
5. Attach the Downrod:
– If using a downrod, thread the wires through it, and fix it to the fan’s motor housing as per the instructions. Ensure all connections are tight to avoid any wobbling.
6. Hang the Fan Motor:
– Hoist the fan motor onto the mounting bracket. Most designs feature a hook or groove system that allows the motor to hang securely while you connect the wiring.
7. Connect the Wiring:
– Carefully connect the house wiring to the fan wires using wire connectors. Typically, you’ll match the black (or blue) fan wire to the black ceiling wire, white to white, and green (or bare) for grounding.
– Wrap the connectors with electrical tape for extra security.
8. Secure the Fan Motor:
– Once the wiring is complete, securely attach the fan motor to the mounting bracket using the appropriate screws or mechanisms indicated in the instructions.
9. Attach the Fan Blades:
– Once the motor is secure, attach the blades. Ensure all screws are tight, and each blade is mounted evenly to maintain balanced operation and minimize noise.
10. Install the Light Fixture (if applicable):
– If your fan includes a light, wire it according to the manufacturer’s guidelines, and secure it in place. Install bulbs and any covers or accessories provided.
11. Test for Stability:
– Turn the power back on, and test the fan at various speeds. Listen for any unusual noises or vibrations—if present, troubleshoot by adjusting the blade mounts or checking the balance.
12. Adjust and Balance (if necessary):
– If the fan wobbles or is noisy, use a balancing kit to make adjustments. This usually involves attaching weights to the blades until the operation is smooth.
By following these instructions with care, you’ll have your fan installed in no time, creating a comfortable, quiet environment in your home. Remember to refer to the manufacturer’s manual throughout the process for any specific details related to your fan model. Proper installation not only enhances performance but also extends the longevity of your ceiling fan, making it a valuable addition to your living space.
tips for maintaining quiet performance
To maintain the serene operation of your ceiling fan, regular upkeep is essential. Start by focusing on the cleanliness of the blades—dust accumulation can cause imbalance and noise. Clean the blades gently using a soft cloth or duster, avoiding harsh chemicals that might damage the finish. Scheduled cleaning every couple of months can significantly reduce wear and tear, keeping the fan running smoothly.
Periodic tightening of screws and bolts is another vital aspect. Over time, vibrations can loosen connections, leading to operational noise. Ensure that all components, from the motor housing to the blade brackets, are securely fastened. A quick check whenever you clean the fan can help maintain its quiet performance.
Lubricating the fan’s moving parts, such as bearings, is also crucial, particularly in older models. Apply a small amount of oil specifically designed for fans to ensure these parts move smoothly and quietly. However, many modern fans come with self-lubricating mechanisms, so check your manufacturer’s guidelines before proceeding.
A balance kit can help resolve persistent wobbling issues, which not only affect performance but also increase noise levels. This kit typically contains small weights that you can attach to the blades to achieve better symmetry. Follow the instructions meticulously to enhance stability.
Monitoring and maintaining the electrical connections is essential for safe and quiet operation. Ensure that all electrical wires and connectors are intact and securely fitted; this not only prevents unwanted noises but also enhances the fan’s safety. If you suspect any electrical issues, consulting a professional electrician is advisable.
Finally, it’s a good practice to run the fan in the correct direction for the season—counterclockwise in summer for a cooling breeze and clockwise in winter for gentle warm air recirculation. Setting the correct rotation means the fan works efficiently, reducing strain on the motor and noise output.
For optimal peace and comfort that lasts, these simple maintenance steps will help your ceiling fan provide ongoing quiet performance.
Ultimately, achieving the restful atmosphere you desire through fan installation requires careful consideration at every stage—from selection and placement to installation and maintenance. By choosing the right fan, positioning it strategically, and ensuring meticulous installation and ongoing maintenance, you can enjoy quiet comfort in your living space, enhancing both aesthetics and functionality while maintaining a peaceful home environment.