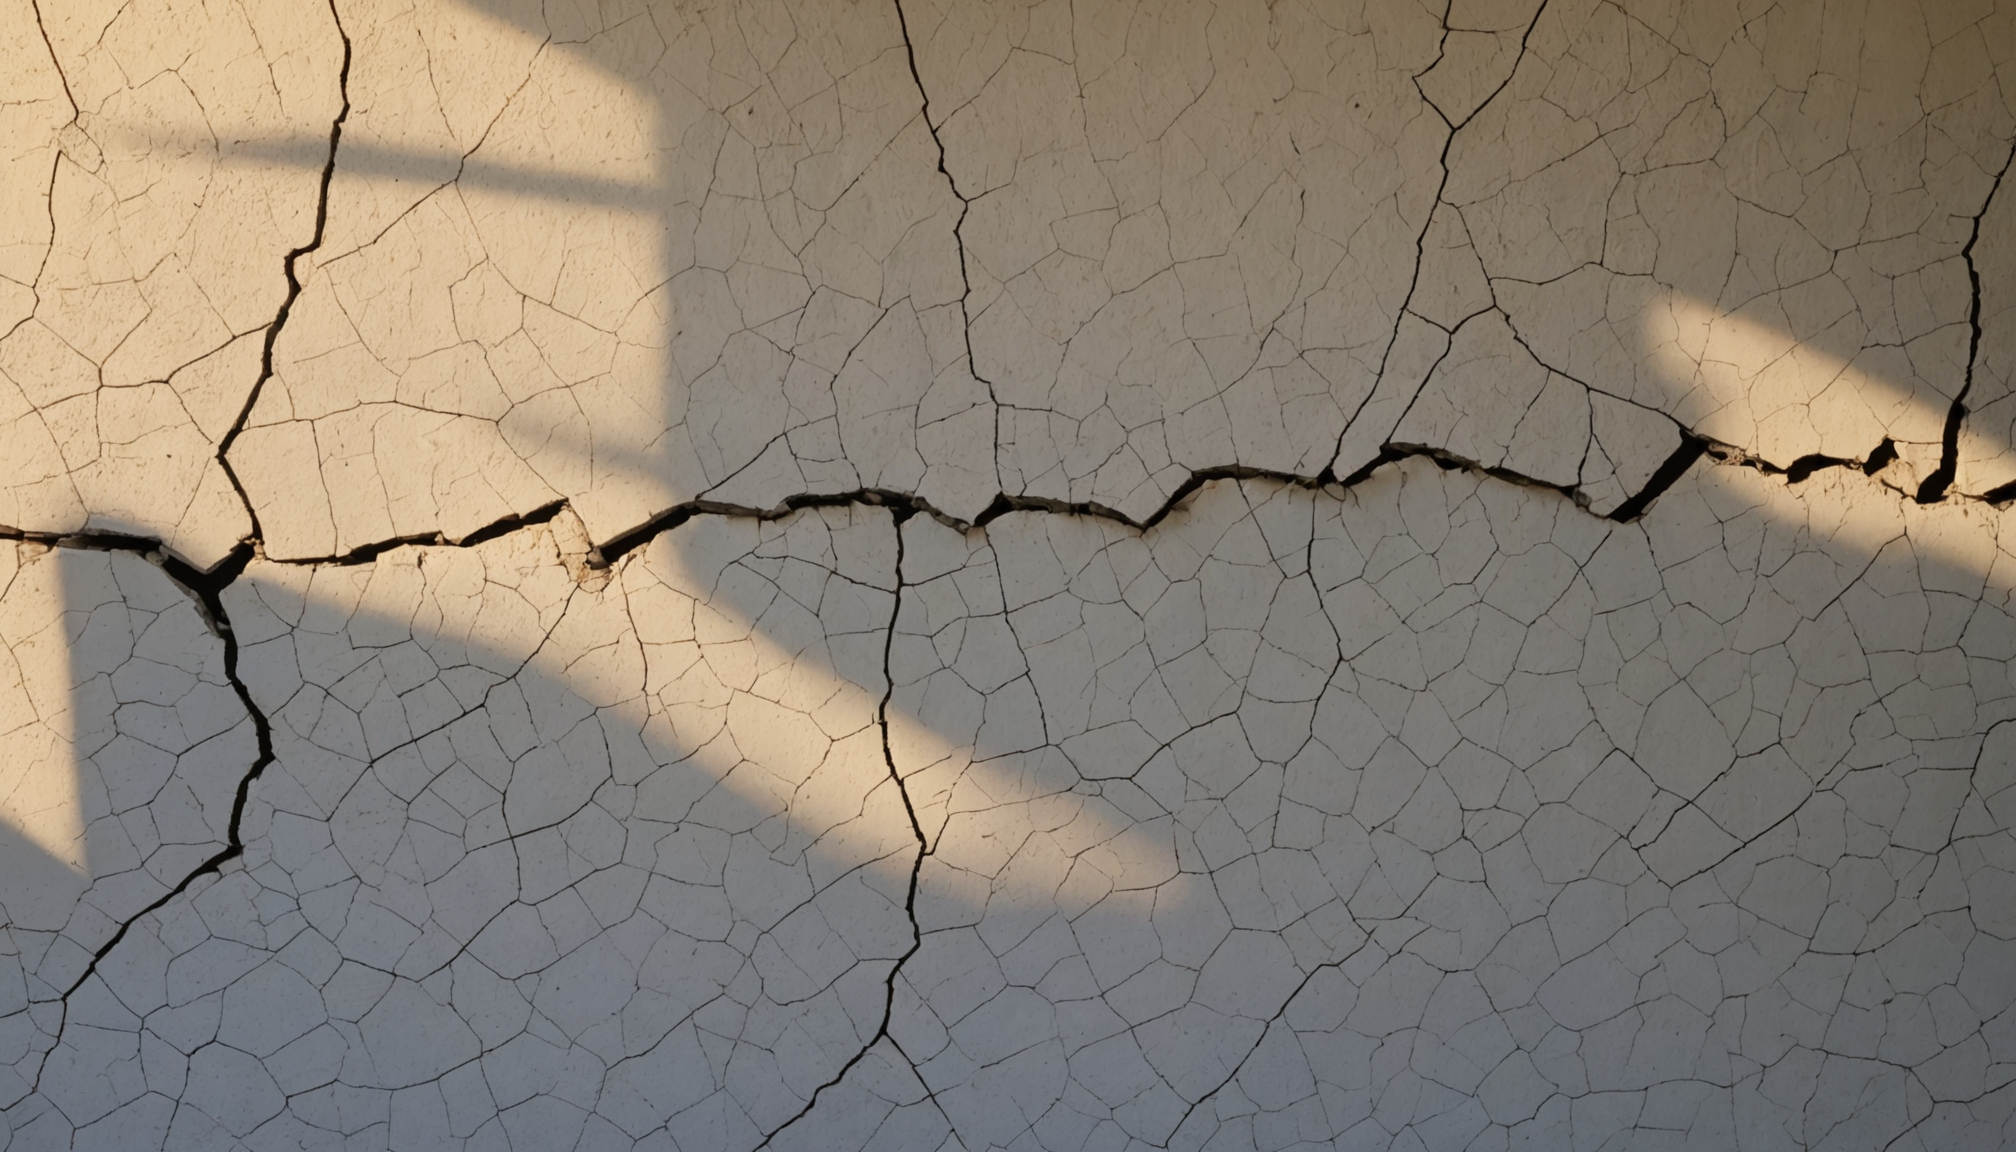
Before embarking on the journey of repairing drywall, the first critical step is identifying the type and extent of damage that needs to be addressed. Properly diagnosing the damage ensures that you apply the most effective repair technique, which can save both time and resources. The damage to drywall can vary significantly, ranging from small nail holes to large cracks or even extensive punctures caused by accidents or moisture damage.
To start, conduct a thorough visual inspection of the affected area. Look for visible signs of damage, such as dents, hairline cracks, bulges, or water stains. Each of these indicators can suggest different underlying issues, and understanding these nuances is vital for choosing the right approach for repair.
For a more in-depth understanding, here is a comparison of different types of drywall damage and their typical causes:
| Type of Damage | Typical Causes | Notes |
| Small Nail Holes | Pictures, shelves, or decorative objects being hung and later removed | Usually superficial and can often be repaired with a simple patch or filler |
| Cracks | Foundation shifts, settling of the house, temperature changes | May indicate structural issues if recurrent |
| Punctures | Accidental impact from furniture or doorknobs | Require more involved repair approaches, possibly cutting out damaged areas |
| Water Damage | Leaking pipes, flooding, or high humidity | Needs thorough drying and possibly replacement of the affected drywall sections |
| Bulges | Moisture or inadequate support behind the drywall | May indicate water damage or poorly installed drywall sheets |
If water damage is suspected, it’s crucial to assess the severity by checking for discoloration, softness, or mildew odors. In such cases, resolving the source of moisture should be a priority before attempting any repair to ensure the problem does not reoccur.
Identifying the severity of the damage also guides the decision of whether a DIY repair is feasible or if professional help is needed. Small cosmetic fixes can be handled with basic tools and materials, while structural issues or extensive water damage may warrant expert intervention to prevent future complications.
Accurate assessment at this stage prevents missteps later in the repair process, paving the way for efficient and long-lasting results. With a clear understanding of the damage, you will be better equipped to select the appropriate repair methods and materials, setting the stage for a seamless restoration of your drywall’s appearance and integrity.
Gathering necessary materials
Now that you have assessed the damage on your drywall, it’s time to gather the essential materials for an effective repair. Having all the necessary materials ready before you start will streamline the repair process and ensure you don’t encounter delays. Here’s a comprehensive list of items you will need:
- Drywall Patch Kit: Ideal for small to medium-sized holes, these kits typically include a mesh patch, lightweight joint compound, and a putty knife. Choose a patch kit that matches the size of the damage you’ve assessed.
- Joint Compound (or Spackle): For larger repairs, you’ll need extra joint compound. Opt for a lightweight, premixed compound for easy application and smoother results. Spackle can work well for filling smaller holes and cracks.
- Drywall Tape: Necessary for securing larger patches and preventing cracking along seams. Choose between self-adhesive mesh tape for ease of use or paper tape for more traditional methods.
- Drywall Screws: If the repair involves securing a patch to a stud or backing, drywall screws will hold everything in place. Ensure you have screws of appropriate length to match the thickness of your drywall.
- Putty Knife: Having a variety of sizes, such as a 4-inch and a 6-inch putty knife, can make applying and smoothing joint compound easier.
- Sandpaper or Sanding Sponge: To achieve a smooth finish, medium (around 120-grit) and fine (around 220-grit) sandpaper are necessary. A sanding sponge can help reach into corners and curves.
- Paint and Primer: After the patch is complete, matching paint and primer will help blend the repair seamlessly with the surrounding wall. Choose a primer that prevents flash and hides the repair’s texture.
- Utility Knife & Blade: Useful for cutting drywall patches and tape to size, as well as for scoring edges for a cleaner removal of damaged sections.
- Dust Mask: To protect your lungs from dust particles generated during sanding, use a good quality dust mask.
- Drop Cloth: Keeping your work area clean by laying down a drop cloth can save time on cleanup and protect flooring from dust and spills.
Before you begin the repair, double-check your list to ensure you haven’t missed any items. Being well-prepared with these materials will not only facilitate a smooth and efficient repair process but also contribute to achieving professional-quality results.
Preparing the area
Once you have gathered all the necessary materials, it’s vital to take some preparatory steps to ensure the area is ready for repair. Proper preparation is key to achieving a seamless and long-lasting fix.
Firstly, clear the workspace around the area you’ll be repairing. Remove any furniture or decorative items to avoid accidents or dust accumulation. Laying a drop cloth is an excellent way to protect your floors from debris and joint compound residue, making the cleanup process much more manageable.
Next, clean the affected drywall area using a damp cloth to remove dust, dirt, or grease that could hinder the repair materials from adhering properly. If the wall has grease stains or residue, use a mild detergent and water to clean and let it dry thoroughly. This cleaning ensures that the joint compound or patch adheres well to the drywall surface for a sturdy repair.
Check the damage and trim any loose drywall edges. A utility knife is perfect for this job. Carefully cut away jagged edges around holes or cracks, which helps to create a more uniform surface for patch application. If there are any protruding pieces or torn paper on drywall, remove these with the knife or sand them down gently, ensuring the surface is smooth.
If the damage involves water infiltration, it’s critical to ensure the area is completely dry before proceeding. Any moisture trapped behind the drywall could lead to further damage or mold growth, undermining the integrity of your repair.
For larger holes that require a backing, add a piece of wood or drywall support behind the hole. This structure allows you to secure the patch firmly. Use drywall screws to attach the support across the back of the hole, making sure it’s flush with the existing wall. This step is essential for creating a strong foundation for the patch, particularly for medium to large holes that need more than just compound to fill.
If the repair involves using drywall tape, inspect the existing seams for any old or peeling tape. Remove any deteriorating tape to ensure that the new tape adheres properly and provides a smooth transition over the repaired section.
Applying painter’s tape around the repair area can protect adjacent sections of the wall and help ensure sharp lines when painting over the repair. This tape acts as a buffer, preventing the compound and paint from spreading to unaffected areas.
Finally, ensure you are equipped with safety gear, such as a dust mask and safety goggles. Both sanding and cutting drywall produce fine dust particles that can be harmful if inhaled or if they get into your eyes. By being attentive during this preparatory stage, you lay down the groundwork that will significantly impact the quality and durability of your drywall repair.
Applying the drywall patch
With the area prepared and your materials close at hand, it’s time to carefully apply the drywall patch. This step demands precision and patience to ensure a seamless repair. Begin by selecting the patch that best matches the size and type of damage. For small holes, a mesh patch can be directly adhered over the area. Center the patch over the hole to ensure it covers the entirety without overlap sticking out. Press firmly to make sure it’s securely attached.
For larger holes, you might need to create a custom patch. Use the utility knife to cut a piece of drywall slightly larger than the hole. Hold the new piece over the hole and trace its outline on the wall. Cut along this line to ensure a snug fit. Securely attach the drywall cut-out to the backing support using drywall screws, making sure they are flush with the wall surface.
Once the patch is in place, it’s time to apply a layer of joint compound. Use a putty knife to spread a thin coat over the patch and any visible seams, feathering the edges to blend them smoothly with the existing wall surface. The key here is to keep the compound as smooth and even as possible to minimize the need for excessive sanding later.
Next, cover the joints and edges of the patch with drywall tape. If you’re using self-adhesive mesh tape, simply press it into place; if using paper tape, embed it into the wet compound, and then add another thin layer of compound over the top. This layer acts as the first coat, embedding the tape and patch, and should be allowed to dry completely.
Once dry, inspect the dried compound for any bumps or uneven areas. Lightly sand these areas using medium-grit sandpaper to ensure a smooth transition from the patch to the existing wall. Clean away the dust, then apply a second thin layer of joint compound over the patch and tape, feathering out further to create a seamless blend with the wall. Let this layer dry thoroughly.
Repeat the sanding and cleaning process once more, taking care to achieve a smooth finish. If needed, a third layer of compound can be added, with each layer extending further out, ensuring each subsequent layer is thinner and better blended with the wall. The goal is to end with a flat surface that blends imperceptibly with the surrounding wall.
Once you are satisfied with the smoothness and evenness of your patched area, you’re ready to move on to the finishing touches. With the bulk of the patching completed, you can begin to envision the seamless repair blending beautifully with the rest of your wall. The quality of your application at this stage will significantly determine how well your repair holds up over time, so take the time needed to ensure a professional-grade finish.
Finishing touches and cleanup
After applying the patch and ensuring it is smooth and well-blended with the surrounding wall, the next step is to give your repair the final touches and tidy up the workspace. Begin by applying a coat of primer over the entire patched area. The primer seals the joint compound and creates a uniform surface that ensures the paint adheres properly and is consistent in color. Choose a primer that matches the type of paint you’ll use and spread it evenly using a brush or roller.
Allow the primer to dry completely, which may take a few hours, depending on the manufacturer’s instructions and the room’s humidity. Once the primer is dry, paint the patched area with a matching wall color. Depending on your paint type and the wall’s color, you may need to apply multiple coats for a perfect match. Use a good-quality brush or roller for a smooth application, and ensure each coat dries before applying the next.
As the paint dries, it’s time to clean up your tools and work area. Start by removing any painter’s tape you may have placed around the repair site. Proceed to clean your tools, including the putty knife, brushes, and any containers used, with warm soapy water to ensure they are ready for future use. Roll up the drop cloth carefully to avoid spreading dust and debris and dispose of or store it appropriately.
Finally, inspect your repair one last time for any touch-ups that may be necessary. Check that the paint is even and that there are no visible seams or texture differences. If everything looks good, return any moved furniture or decorations back to their original places, and take a moment to admire the smooth, seamless finish of your newly repaired drywall.
In conclusion, repairing a hole in drywall quickly and effectively involves a few strategically planned steps. By carefully identifying the damage, gathering the right materials, preparing the area, and applying the drywall patch with precision, you can achieve professional-quality results. Don’t forget the importance of thorough finishing touches and cleanup to ensure the repair is seamless and long-lasting. With patience and attention to detail, your drywall can look as good as new, restoring both the appearance and integrity of your space.


