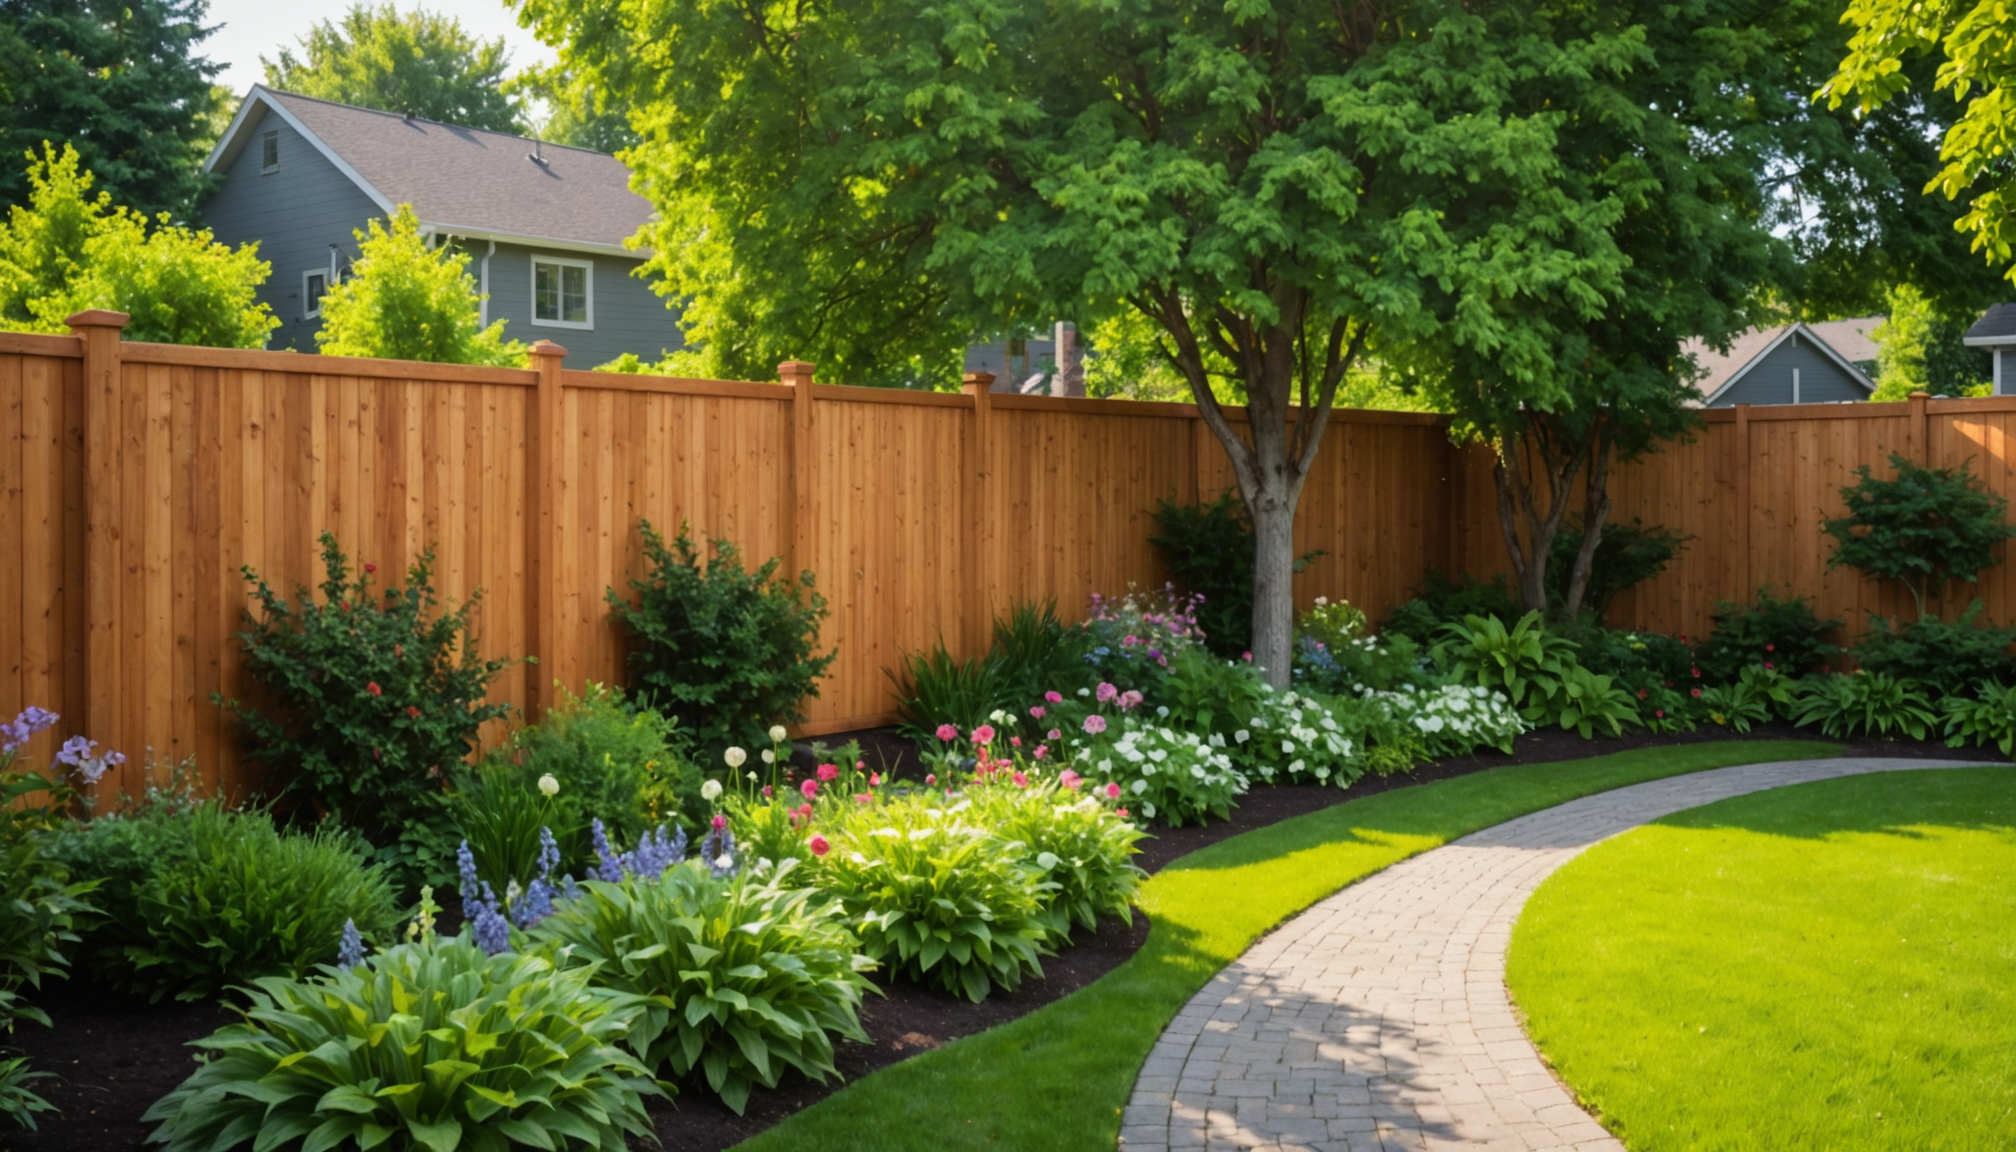
Insulating your fence can offer numerous benefits that extend beyond simply providing additional privacy. By installing insulation, homeowners can enhance the functionality and lifespan of their fence, while also addressing several environmental and cost-related concerns.
Firstly, one of the primary advantages of fence insulation is the improved thermal regulation it provides. Insulated fences can help maintain more consistent temperatures in your outdoor spaces by acting as a barrier against harsh weather conditions. Whether it’s scorching heat during summer or biting cold winds in winter, an insulated fence can moderate the microclimate of your backyard, making it a more comfortable and usable space throughout the year.
Moreover, an insulated fence significantly reduces noise pollution, which is particularly beneficial for those living in busy urban areas or near highways. The acoustic properties of modern insulation materials can absorb a considerable amount of ambient noise, creating a quieter and more peaceful environment in your yard, enhancing your quality of life. This feature becomes especially valuable in residential settings where peace and tranquility are a priority.
Structural integrity and durability are also enhanced when you insulate your fence. Insulation materials can protect the fence from moisture, which is a leading cause of damage in both wood and metal fences. By preventing water ingress, insulated fences are less susceptible to rot, rust, and corrosion, thereby extending their lifespan and reducing the need for frequent repairs or replacements.
From a cost perspective, insulating your fence can lead to long-term savings. The extended life of your fence means fewer repair and replacement costs. Additionally, by improving thermal efficiency, landscape heating or cooling requirements may decrease, resulting in lower energy bills, thereby adding an eco-friendly advantage.
In terms of safety, an insulated fence can enhance security by acting as a deterrent to potential intruders. The added barrier makes fences harder to climb and adds an extra layer of protection compared to non-insulated or thinner fencing options. This attribute is particularly vital for homes located in areas where security is a primary concern.
The table below provides a comparison of key benefits of insulated versus non-insulated fences:
| Attribute | Insulated Fence | Non-Insulated Fence |
| Thermal Regulation | Excellent | Poor |
| Noise Reduction | Effective | Minimal |
| Durability | High | Moderate |
| Cost Savings Over Time | Yes | No |
| Security | Enhanced | Standard |
Understanding the multifaceted advantages of insulating your fence is essential for making an informed decision that aligns with both your practical needs and aspirations for a modern outdoor living space.
selecting the right insulation materials
When it comes to choosing the right materials to insulate your fence, there are several factors to consider that will ensure both effective insulation and enhanced durability. Start by assessing the specific needs of your fence and the environmental conditions it faces. This evaluation will guide you in selecting materials that offer the best performance.
1. Evaluate Climate Conditions:
– Consider the climate in your area. If you experience cold winters, materials with high thermal insulation properties will help prevent heat loss. In contrast, for hotter climates, look for materials that reflect heat to keep your outdoors cool.
2. Material Options:
– Foam Boards: Rigid foam boards are excellent for thermal insulation. They are lightweight, moisture-resistant, and easy to cut to fit various fence designs.
– Fiberglass Batts: Known for their superior thermal performance, fiberglass batts are a great option if your fence structure allows for packing them into the panels, especially useful in colder regions.
– Reflective Insulation: This type of insulation uses reflective metal foils to deflect radiant heat. Ideal for hot climates, it serves well in keeping the fenced area cooler.
– Bubble Wrap Insulation: Featuring layers of plastic bubbles sandwiched between reflective material, this insulation can efficiently control temperature and is water-resistant, adding a layer of protection against moisture.
3. Consider Acoustic Properties:
– If noise reduction is a primary concern, opt for materials specifically designed for soundproofing. Dense materials such as rock wool or mass-loaded vinyl can effectively dampen urban noise or traffic sounds.
4. Moisture and Pest Resistance:
– Make sure the insulation materials are resistant to moisture to prevent mold and mildew growth. Some materials come with pest-resistant properties, crucial if you live in an area prone to termites or other pests.
5. Sustainability and Eco-friendliness:
– For environmentally conscious choices, consider eco-friendly insulation options made from recycled materials or sustainable sources. Some modern insulations are designed to be both effective and sustainable.
6. Local Building Codes and Regulations:
– Check local building codes and homeowner association guidelines to ensure the chosen insulation materials comply with regional standards.
7. Cost Considerations:
– Compare the cost of materials against their performance benefits. While some options might have a higher initial cost, their long-term savings and advantages in thermal regulation or noise reduction can justify the investment.
8. Installation Compatibility:
– Ensure the materials you select are compatible with your fence structure and easy to install. Some materials might require professional installation, while others could be suitable for a DIY approach.
By carefully selecting the appropriate insulation materials, you can maximize both the functional and aesthetic benefits of an insulated fence in your outdoor space. Consider these guidelines to make informed choices that align with your environmental needs and personal preferences.
preparing your fence for insulation
To proceed with the insulation project effectively, it is crucial to prepare your fence thoroughly. The preparation stage lays the foundation for a successful insulation job, ensuring that the materials adhere properly and provide optimal protection and efficiency. Here’s a detailed look into how you can set the stage for insulating your fence:
Inspecting the Fence Structure:
Start by checking the overall condition of your fence to determine if any repairs are needed before insulation. Look for signs of damage such as cracks, rotting wood, rust on metal, or loose boards. It’s important that your fence is stable and in good repair as any existing issues can compromise the effectiveness of your insulation efforts and potentially worsen after insulation due to trapped moisture or weight.
Cleaning the Surface:
A clean surface is essential for the insulation material to adhere properly. Use a power washer or a strong garden hose to remove dirt, grime, mildew, and old paint or finish from the fence’s surface. For stubborn stains, consider using a mild detergent or a designated fence-cleaning solution. Allow the fence to dry completely, as moisture can negatively impact the insulation’s performance and lead to issues like mold growth or reduced thermal efficiency.
Treating for Pests and Mold:
Before proceeding with insulation, it’s vital to apply treatments for pests and mold, especially if your fence is made of wood. Use appropriate pest control solutions to prevent termites and other insects from damaging your fence’s structural integrity. A fungicide or mold-resistant treatment can also be applied to prevent fungal growth, which can severely compromise both the fence and insulation materials.
Sealing Gaps and Cracks:
Inspect your fence for any gaps or cracks and seal them with the right materials such as caulk or wood filler. This step is particularly important for enhancing the thermal and acoustic benefits of the insulation by preventing air and noise leakage. Fill in all small openings to create an even surface that also deters pests and weather elements from penetrating the insulation layer.
Priming the Surface:
If your fence is made of wood, consider applying a coat of primer to create a smooth, adhesive-friendly surface for the insulation material. Primer can also add an additional weather-resistant layer, offering extra protection against the elements. For metal fences, a rust-preventative primer may be necessary to protect against future corrosion, enhancing the longevity and safety of your insulated structure.
Setting Up a Moisture Barrier:
To protect your fence from moisture ingress, install a moisture barrier before adding insulation. This can be a polyethylene sheet or another waterproofing material that serves as the first line of defense against water penetration. This layer not only prolongs the life of the fence but also keeps the insulating material dry and functional, ensuring long-term efficiency in maintaining temperature regulation and reducing noise.
By thoroughly preparing your fence for insulation, you establish a strong base that maximizes the effectiveness of the insulation materials and extends the fence’s durability. Following these preparatory steps not only enhances the safety and functionality of your fence but also ensures that your investment in modern insulation will yield sustainable benefits for years to come.
step-by-step insulation process
Once you have selected the appropriate materials and prepared your fence, it’s time to bring your insulation project to life with a methodical step-by-step process. This approach will ensure your fence insulation is applied effectively, optimizing both performance and longevity.
Start by gathering all necessary tools and materials. These may include your chosen insulation material, cutting tools, adhesive or fasteners, a staple gun or nails, a utility knife, a measuring tape, and protective gear such as gloves and safety goggles.
Measure and cut the insulation material to fit the segments of your fence. Depending on the type of insulation selected, this might require precision cutting to ensure a snug fit. Accurate measurement is crucial to avoiding gaps that could lead to reduced thermal efficiency or compromise noise reduction capabilities.
Attach the insulation to the fence securely. Begin at a corner or one end of the fence, using the adhesive to bond the insulation material to the treated and primed surface. In cases where mechanical fastening is required, use a staple gun or compatible fasteners to ensure the material stays in place. Attach the insulation as tightly as possible to avoid sagging, which could lead to inefficient performance.
For fences with individual slats or panels, ensure that each piece of insulation is carefully fitted and adjusted to cover any seams or gaps. Overlapping the edges slightly can prevent air leaks and maximize energy efficiency. If using reflective insulation, make sure it faces the correct direction to effectively manage heat transfer.
Install an additional protective barrier over the insulation if recommended for your chosen materials. This can involve adding a layer of rigid board or applying a weather-resistant membrane to protect against environmental wear and tear. Reinforcing the insulation with this layer not only enhances weather resistance but also contributes to the overall safety and strength of the fence structure.
Reapply any decorative or protective finishes to maintain the aesthetic and weather-resistance of the fence. This final touch will help blend the insulated sections seamlessly with the existing fence structure and restore its original appearance.
Throughout the process, regular checks for structural integrity are recommended. Make sure that the installation is progressing smoothly and that the fence maintains its stability. Any issues identified during installation should be promptly addressed to prevent complications in the future.
Completing the insulation process methodically ensures that your fence provides the desired levels of thermal control, sound dampening, and structural safety. By following these steps, you achieve a modern upgrade to your outdoor spaces, combining aesthetics with functionality to create a comfortable environment that meets your privacy and efficiency needs.
maintaining your insulated fence
To keep your insulated fence functioning effectively and looking good for years to come, regular maintenance is essential. Start by scheduling periodic inspections to check for any damage or wear that might compromise the insulation’s efficacy. Look for signs of moisture ingress, such as discoloration or mold growth, which can indicate that your moisture barriers are not performing as expected. Address these issues promptly to prevent deterioration of the fence structure and the insulation materials.
Regular cleaning is crucial to maintaining both the aesthetic appeal and the functionality of your fence. Use a gentle detergent and water to wash away dirt and debris that can accumulate over time. For more resilient stains or mold, a fungicidal wash might be necessary to protect the integrity of the materials and prevent long-term damage.
Ensure that the insulated areas are still securely attached and that there are no gaps or areas where the insulation is sagging or pulling away from the fence. Over time, environmental factors such as heavy rains and strong winds can shift the insulation, creating vulnerabilities in thermal or acoustic protection. Use additional fasteners or adhesives to re-secure loose sections, and seal any emerging gaps to maintain efficiency.
Inspect and treat your fence for pests regularly, particularly if it’s constructed from wood. Pests such as termites can void any efforts to insulate your fence by compromising its foundation. Utilize suitable pest control treatments that are safe for use around insulation to fortify the fence against infestations.
If your fence’s insulation includes reflective components, ensure these are kept clean and free from dust or grime, as accumulated dirt can reduce their effectiveness. Simply wiping down these sections as part of routine maintenance can help maximize their reflective capabilities, contributing to optimal thermal regulation.
Additionally, it’s important to monitor and maintain any coatings or finishes applied to your fence after insulation. Reapply paint or sealants as necessary to protect the fence from weathering and to uphold its appearance and protective capabilities. This not only preserves the aesthetic qualities of your fence but also helps maintain the overall condition of the insulation by guarding against environmental damage.
By investing time in regular maintenance, you ensure that your fence continues to offer optimal benefits in terms of insulation, aesthetic appeal, durability, and safety. A well-maintained insulated fence not only enhances your property’s privacy and comfort but also prolongs the life of your investment.
In conclusion, insulating your fence is a practical and effective way to enhance your outdoor living space, offering benefits that include improved thermal regulation, noise reduction, and increased longevity. By carefully selecting appropriate materials and following a detailed installation process, you can achieve a modern upgrade with substantial functional and aesthetic enhancements. With ongoing maintenance, you can ensure your insulated fence continues to meet your needs, providing a safe, comfortable, and efficient environment for years to come.