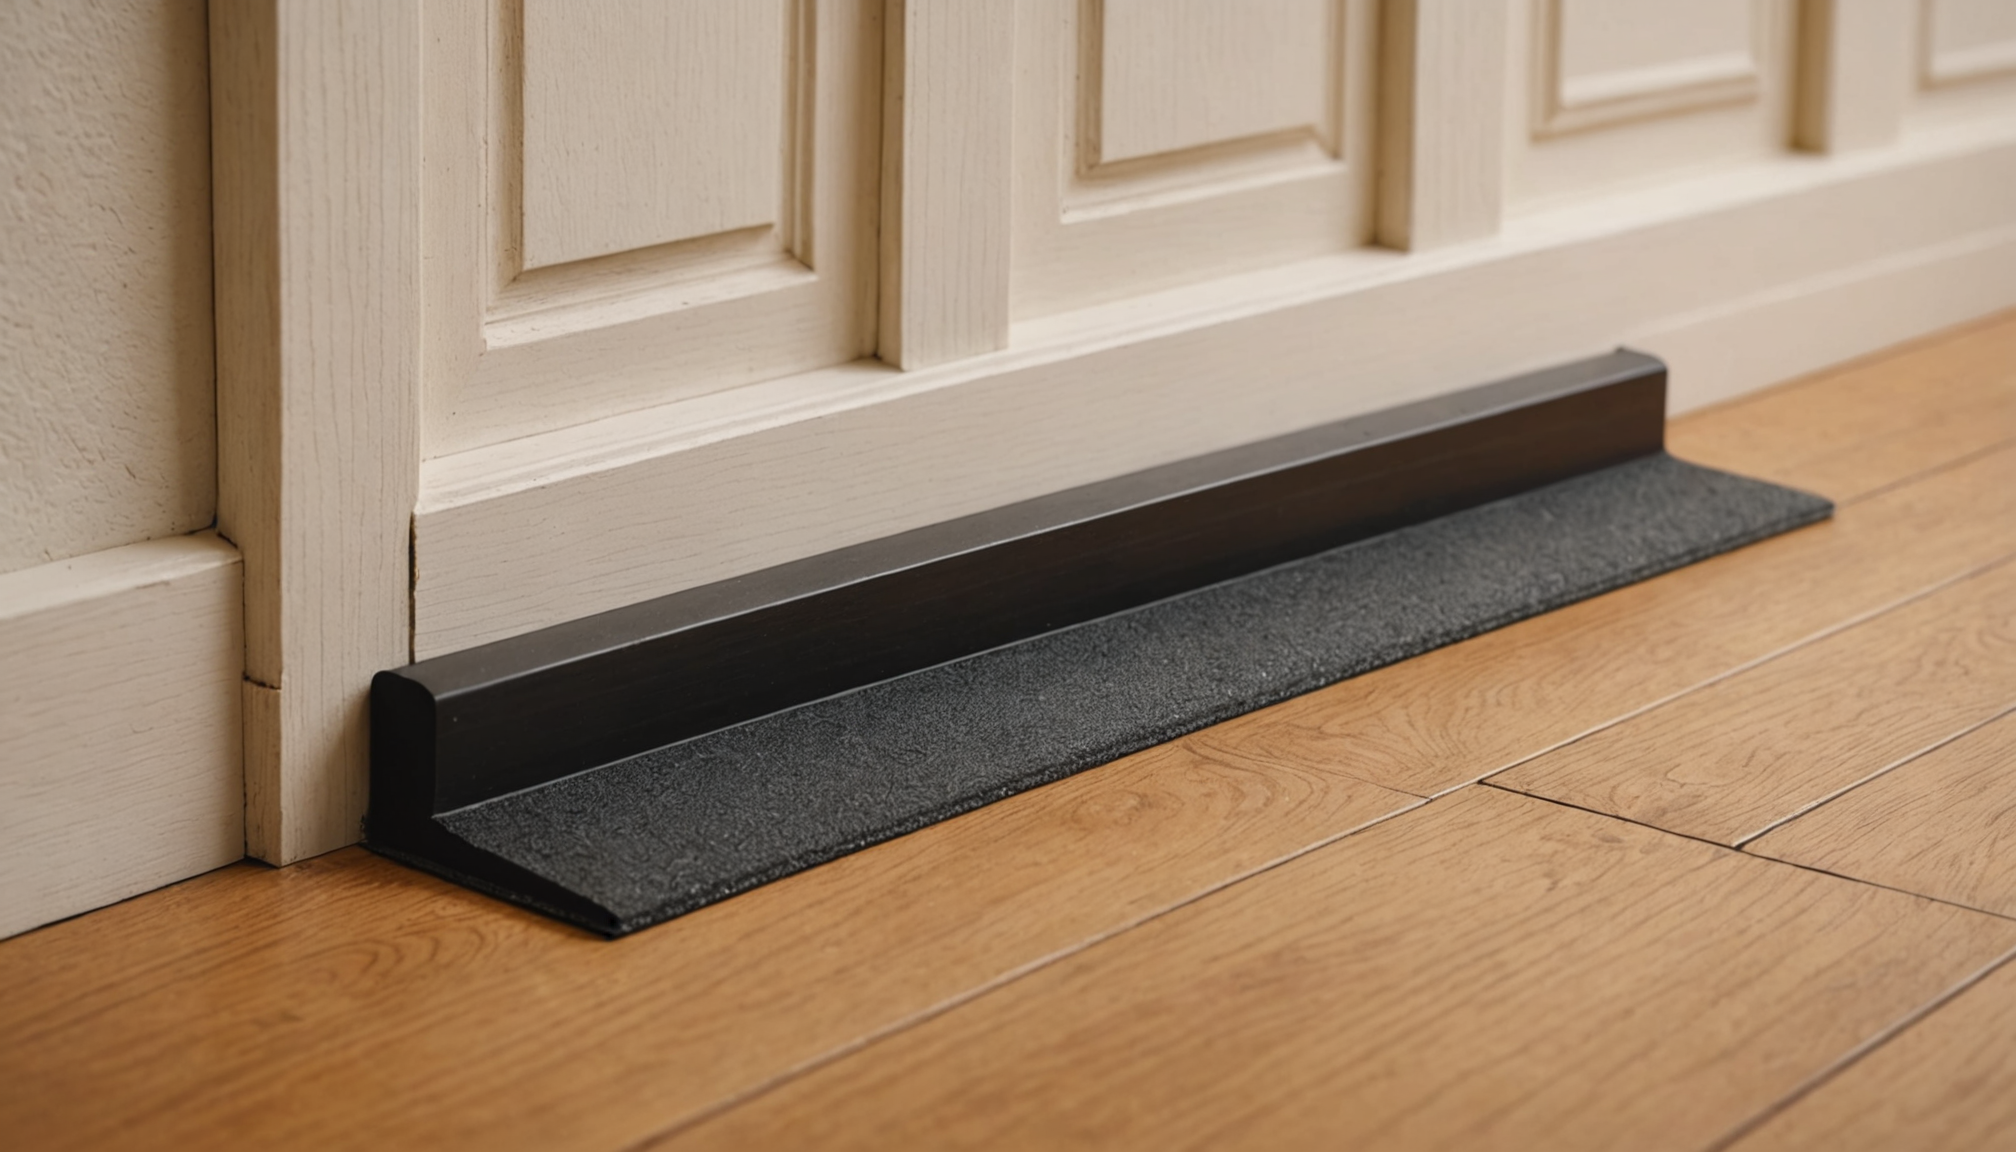
One effective method to enhance the soundproofing of your doors involves installing a door sweep. This simple yet impactful addition can significantly reduce the amount of noise that seeps through the gaps at the bottom of your doors, making it a crucial step in your soundproofing strategy.
Door sweeps are designed to seal the space between the bottom of the door and the floor, preventing the passage of not only sound but also air, dust, and pests. When choosing a door sweep, it’s essential to consider the door type and the materials used in your space. They come in various forms, including adhesive, slide-on, and screw-on, making it important to select the type that best fits your installation capabilities and material requirements.
Installing a door sweep is straightforward and generally doesn’t require hiring pros, but a few tools will be necessary, such as a screwdriver or drill for screw-on types. Begin by measuring the width of the door to ensure the sweep covers the entire bottom. For the best results, select a sweep that matches the width of your door to ensure full coverage.
If your primary focus is soundproofing, opt for door sweeps with rubber or silicone seals, as these materials are more effective at dampening sound. Not every door sweep is alike, so here’s a comparison to help guide your selection:
| Type of Door Sweep | Material | Soundproofing Efficiency | Ease of Installation |
| Adhesive | Rubber/Silicone | High | Very Easy |
| Screw-on | Metal with Rubber Seal | Very High | Moderate |
| Slide-on | PVC with Vinyl Sweep | Medium | Easy |
When it comes to maintenance, door sweeps require minimal attention, but regular checks can ensure they remain effective. Over time, the seal may wear or become damaged, particularly in high-traffic areas such as garages or entryways, so it’s advisable to replace it if it starts showing signs of wear.
Incorporating a door sweep into your soundproofing plan not only blocks out unwanted noise but also contributes to energy savings and improved air quality, making it a cost-effective and versatile solution. Whether you’re dealing with noise from neighbors, traffic, or even within your own home, installing a high-quality door sweep can make a noticeable difference in creating a quieter and more comfortable environment.
apply acoustic sealant
To enhance the soundproofing of your doors, applying acoustic sealant is a highly effective measure. This specialized sealant is particularly designed to cope with sound vibrations by filling the gaps around the door frame where the door itself might not fully meet the jamb. Unlike regular caulking, acoustic sealant remains flexible and does not harden over time, ensuring that it maintains its efficacy in soundproofing.
Here’s a step-by-step guide to correctly applying acoustic sealant to ensure optimal noise reduction:
1. Gather Your Materials:
– Acoustic sealant (available at most home improvement stores)
– Caulking gun
– Utility knife or a scraper
– Clean cloth or sponge
– Safety gloves
– Masking tape (optional)
2. Prepare the Area:
– Ensure that the edges around your door frame are clean and free from dust or old caulking material. Use a scraper or utility knife to remove any existing caulk.
– Wipe down the area with a damp cloth to eliminate any remaining dust or debris, and then let it dry completely.
3. Protect Surrounding Surfaces:
– If desired, apply masking tape around the edges where you will be applying the sealant. This will help you achieve a neat, clean line and protect the surrounding areas from excess sealant.
4. Load the Caulking Gun:
– Place the tube of acoustic sealant into the caulking gun. Cut the tip of the tube at a 45-degree angle to allow for better control of the application.
5. Apply the Sealant:
– Hold the caulking gun at a consistent angle and slowly squeeze the trigger to apply a continuous bead of sealant along the gaps between the door frame and the wall.
– Move slowly and steadily to avoid gaps or uneven application, which can compromise soundproofing efficiency.
6. Smooth the Sealant:
– Once the sealant is applied, use a damp finger or smoothing tool to gently shape the sealant into the crevice for an even application and to ensure it fills the gap completely.
– Be sure to work quickly before the sealant starts to dry.
7. Clean Up:
– Wipe away any excess sealant with a clean cloth before it sets, creating a tidy finish.
– Remove the masking tape before the sealant begins to cure entirely to achieve a clean edge.
8. Allow for Curing:
– Review the manufacturer’s instructions regarding curing time. Most acoustic sealants require several hours to fully cure, and it’s important to avoid disturbance during this time.
By filling the perimeter gaps with acoustic sealant, you’re fortifying your door’s soundproofing capabilities without the need to hire pros, ensuring a quieter home environment. The maintenance of acoustic sealant is minimal, as its flexible nature withstands wear and fluctuations in temperature, preserving its soundproof properties over the long haul. This step is not only crucial in noise reduction but also enhances energy efficiency by reducing air leakage—making it an excellent addition to any comprehensive soundproofing strategy.
use weatherstripping tape
Enhancing the soundproofing of your doors with weatherstripping tape is an efficient and cost-effective solution that delivers significant results. Weatherstripping is designed to seal the gaps and seams around doors, preventing the infiltration of unwanted noise. This technique works by blocking sound waves from penetrating the cracks that typically occur between the door and its frame.
The primary benefit of using weatherstripping tape for soundproofing is its ease of application. Unlike more complex soundproofing methods, installing weatherstripping tape does not require the expertise of hiring pros, making it an ideal do-it-yourself project. All you need are some basic materials and a few simple tools to get started.
Here’s how you can effectively use weatherstripping tape:
1. Select the Right Material:
– Weatherstripping tapes come in various materials, including foam, rubber, and vinyl. Foam tape is a popular choice for soundproofing doors due to its excellent sound absorption properties and its ability to conform to irregular surfaces. Be sure to choose a tape that fits the specific dimensions of the gaps you aim to seal.
2. Measure the Gaps:
– Before purchasing the tape, measure the length and thickness of the gaps around your door frame. Accurate measurements ensure that you select a suitable width of tape for maximum effectiveness.
3. Prepare the Door Frame:
– Clean the door frame thoroughly to remove dust, dirt, and greasy residues that might prevent the tape from adhering properly. Use a damp cloth and a mild cleaner, if necessary, to achieve a clean surface.
4. Apply the Tape:
– Starting at the top of the door frame, press the tape firmly along the edge, ensuring it sticks well to the surface. For the sides, cut the tape to match the length of the frame and press firmly into place. Finish by sealing any remaining gaps at the base of the door.
5. Check the Seal:
– After application, close the door to check that the tape creates a snug seal, blocking out any drafts and noise. Adjust the placement if needed to ensure comprehensive coverage.
The use of weatherstripping tape not only boosts the soundproofing capabilities of your doors but also provides additional benefits such as improved energy efficiency. By sealing gaps that let in drafts, you’ll notice lower heating and cooling costs, contributing to a more environmentally friendly home.
Maintenance is minimal, but inspection is advisable. Over time, the tape may wear down or peel away due to frequent use or environmental conditions. Regularly check the tape for signs of wear and replace it as needed to maintain optimal soundproofing performance.
Employing weatherstripping tape as part of your soundproofing strategy is a smart choice for those looking to enhance their home’s comfort without making a substantial financial investment. It’s a versatile option that pairs well with other soundproofing techniques, creating a comprehensive barrier against unwanted noise from garages, busy streets, or neighboring properties.
hang soundproof blankets
When looking for an efficient way to reduce noise transmission through doors, hanging soundproof blankets is a practical and versatile solution. Soundproof blankets, often referred to as acoustic blankets, are designed to absorb and dampen noise, creating a more peaceful environment without the complexity of permanent installations or the necessity of hiring pros. These blankets are typically made from dense materials such as fiberglass, wool, or specialized sound-blocking fabrics, providing an added layer of sound insulation around your doors.
One of the main advantages of using soundproof blankets is their adaptability. They can be easily installed or removed as needed, making them an ideal choice for renters or for spaces where long-term modifications might not be feasible. Whether for a home office, garage, or entertainment room, soundproof blankets can significantly reduce the noise entering or leaving a room.
To effectively use soundproof blankets on your doors, follow these straightforward steps:
1. Choose the Right Blanket:
– Select a blanket that is specifically designed for soundproofing. Check the material’s density and thickness, as heavier options generally offer better sound reduction. Make sure the blanket size is sufficient to cover the entire door and overlap the edges.
2. Install Using Rods or Hooks:
– Attach a curtain rod or hooks above the door frame. If you prefer a more temporary setup, consider using removable adhesive hooks. This approach avoids damaging the walls or door frame, preserving the space for future changes.
3. Hang the Blanket:
– Once the rod or hooks are secured, drape the blanket over them, making sure it covers the door from top to bottom. The blanket should fully cover the width of the door to ensure optimal sound blocking.
4. Ensure a Tight Seal:
– To maximize the soundproofing effect, press the blanket tightly against the door or overlap multiple blankets if needed. This will help prevent sound from creeping through narrow gaps.
5. Fold and Store as Needed:
– If you need to access the door frequently, consider folding the blanket to one side when not in use. Soundproof blankets are designed for flexibility, allowing you to adjust them as needed without any fuss.
Using soundproof blankets delivers immediate improvements in noise reduction, making spaces more comfortable whether you’re trying to minimize sounds from a busy street, a neighboring apartment, or a loud garage. Additionally, the reversible nature of this solution requires minimal maintenance. Simply wash or dust the blankets as part of regular cleaning to keep them in good condition. This solution complements other soundproofing methods and can significantly enhance overall effectiveness when combined with other recommendations you’d find throughout this guide.
By considering both functionality and aesthetics—some soundproof blankets even come in decorative designs—you can seamlessly integrate them into your living space, enhancing the soundproofing of your doors without sacrificing style.
add a solid-core door
Switching to a solid-core door is a highly effective step in soundproofing your space. Unlike hollow-core doors, which are filled with a cardboard or paper core, solid-core doors are constructed from wood or composite materials that provide superior density and mass, crucial for blocking sound waves. This change can dramatically reduce sound transmission, particularly in high-noise environments like a garage or rooms adjacent to busy streets.
To successfully implement this upgrade, consider the following:
1. Select the Right Door:
– Choose a solid-core door that fits the existing door frame in your home. Ensure that its dimensions match precisely to avoid unnecessary gaps that could compromise soundproofing efficiency. Solid-core doors come in a variety of materials, with options like bamboo, solid wood, or even metal, lending different aesthetic and functional qualities.
2. Installation Process:
– While installing a solid-core door can be done independently, it often requires precision and may be best handled by hiring pros, especially if modifications to the frame or trim are necessary. Accurate measurements and correct mounting are vital to ensuring a perfect fit that optimizes sound reduction.
3. Additional Considerations:
– Pay attention to the door’s finish and sealing. A well-finished door not only boosts the aesthetic appeal of your home but also adds an additional barrier against sound. Consider painting or staining the door to match existing decor. Ensure all edges are sealed effectively to prevent sound leaks.
4. Enhance With Accessories:
– Combine the new door with other soundproofing accessories like weatherstripping or acoustic sealant around the frame for a comprehensive solution that tackles noise from all angles. These additions can help maximize the effectiveness of your solid-core door, reducing both airborne and impact noise.
Upgrading to a solid-core door requires a higher initial investment than some simpler soundproofing methods, but the benefits can be substantial. This improvement not only cuts down on noise but also adds value to your property, contributing to a more peaceful and appealing living environment. With minimal maintenance, such as occasional checks for warping or reapplication of seals, solid-core doors provide long-lasting performance.
In conclusion, soundproofing your doors doesn’t have to be a daunting task. With options ranging from simple fixes like installing door sweeps and applying acoustic sealant to more substantial changes like adding solid-core doors, achieving a quieter home is within reach. Each approach offers its own set of benefits, costs, and complexities, allowing you to tailor your soundproofing efforts to your specific needs and constraints. Combining these strategies can significantly reduce unwanted noise, whether it’s from bustling streets, loud neighbors, or even a busy garage in your own home. With thoughtful planning and a bit of effort, you can transform your living space into a peaceful retreat, free from the disruptions of the outside world.