Before embarking on any cleaning task for your deck, it is essential to first assess the current condition of the structure. This step is crucial, as it helps identify any specific problems or issues that need to be addressed, ensuring both safety and the effectiveness of your cleaning efforts. An efficient assessment will protect your investment and prolong the life of the deck.
Start by thoroughly inspecting the surface and the structure below. Look for common signs of wear such as splintering, cracking, or discoloration, which may indicate underlying issues. Areas with excessive wear might require more than just a standard cleaning—consider whether repairs or replacements are necessary. Pay special attention to areas that are prone to moisture retention, as these can lead to mold, mildew, or rot if not cleaned and maintained properly.
Next, check for any signs of mildew or algae growth, especially in shaded or damp areas of your deck. Spotting these issues early is vital because, if left unattended, they can compromise the integrity of the wood. It is also wise to assess for any loose or protruding nails and screws, which can be a safety hazard, especially in high traffic areas or if children frequently use the deck.
- Splintering: May require sanding and refinishing.
- Cracking: Consider filling or replacing boards.
- Discoloration: Could indicate water damage or sun bleaching, requiring treatment.
In addition, inspect the structural elements of the deck such as the joists, posts, and beams, particularly if your deck is elevated. Look for signs of rot or erosion at the joints, which are critical for the deck’s safety and stability. Addressing these concerns might involve consulting a professional to ensure that the deck remains a safe and secure space.
As part of your assessment process, delineate between areas that can simply benefit from a thorough cleaning and those that might demand more intensive restoration efforts. Take note of the construction materials used—whether wood, composite, or synthetic—as this will influence the type of cleaning solution and method you’ll use. Moreover, consider the potential for environmental impact on the deck from nearby trees, garages, or bodies of water, which might lead to increased exposure to dirt, pollen, or pollutants.
| Issue | Potential Solution |
| Mildew Growth | Apply an appropriate mildew cleaning solution |
| Loose Boards | Secure with deck screws, replace if necessary |
| Discoloration | Consider using deck brighteners or stains |
By conducting a comprehensive assessment of the deck’s current state, you lay a solid foundation for subsequent cleaning and maintenance steps. This careful scrutiny not only helps preserve the deck’s aesthetic appeal but also ensures it remains a safe and enjoyable space for years to come.
choose the right cleaning solution
 Selecting the appropriate cleaning solution is a vital step in maintaining the longevity and appearance of your deck. With a myriad of products available, choosing the right one depends on several factors, including the deck’s material, condition, and specific stains or growths that need addressing. Here’s a step-by-step guide to help you make an informed decision:
-
Identify the Deck Material: The first step is to determine whether your deck is made of wood, composite, or another synthetic material. Each type requires distinct cleaning solutions. For instance:
- Wood Decks: Typically require wood-specific cleaners that can effectively remove dirt and mildew without harming the wood fibers.
- Composite Decks: Use cleaners specifically designed for composites, often labeled as eco-friendly, to avoid discoloration or damage.
-
Evaluate Specific Needs: Next, consider any specific issues highlighted during your initial assessment, such as stubborn stains or mildew. Different cleaners are formulated to tackle unique problems:
- Mildew and Mold: Opt for solutions with mold and mildew inhibitors to enhance safety and prevent regrowth.
- Oily or Greasy Stains: Choose a deck cleaner with degreasing agents to effectively break down and remove hydrocarbons.
- Consider Environmental Impact: Many conventional cleaning products contain harsh chemicals that may harm surrounding vegetation or seep into nearby water sources. Prefer biodegradable solutions that safely clean your deck while minimizing environmental impact.
- Check Product Compatibility: Ensure that your chosen product is compatible with any existing deck finishes or sealants. Some cleaners are known to strip protective layers, demanding a follow-up application of new protection measures.
- Read Reviews and Labels: Before purchasing, read product labels and customer reviews online. Labels will provide critical information on the product’s effectiveness, coverage area, and dilution ratios. Reviews can often highlight real-world performance and results from users who have faced similar deck cleaning challenges.
By carefully selecting a cleaning solution tailored to your deck’s needs, you not only address immediate cleaning concerns but also contribute to its long-term investment value and overall safety. This precaution ensures a cleaner, more visually appealing deck that can withstand the elements and regular use, maintaining a beautiful and functional outdoor space.
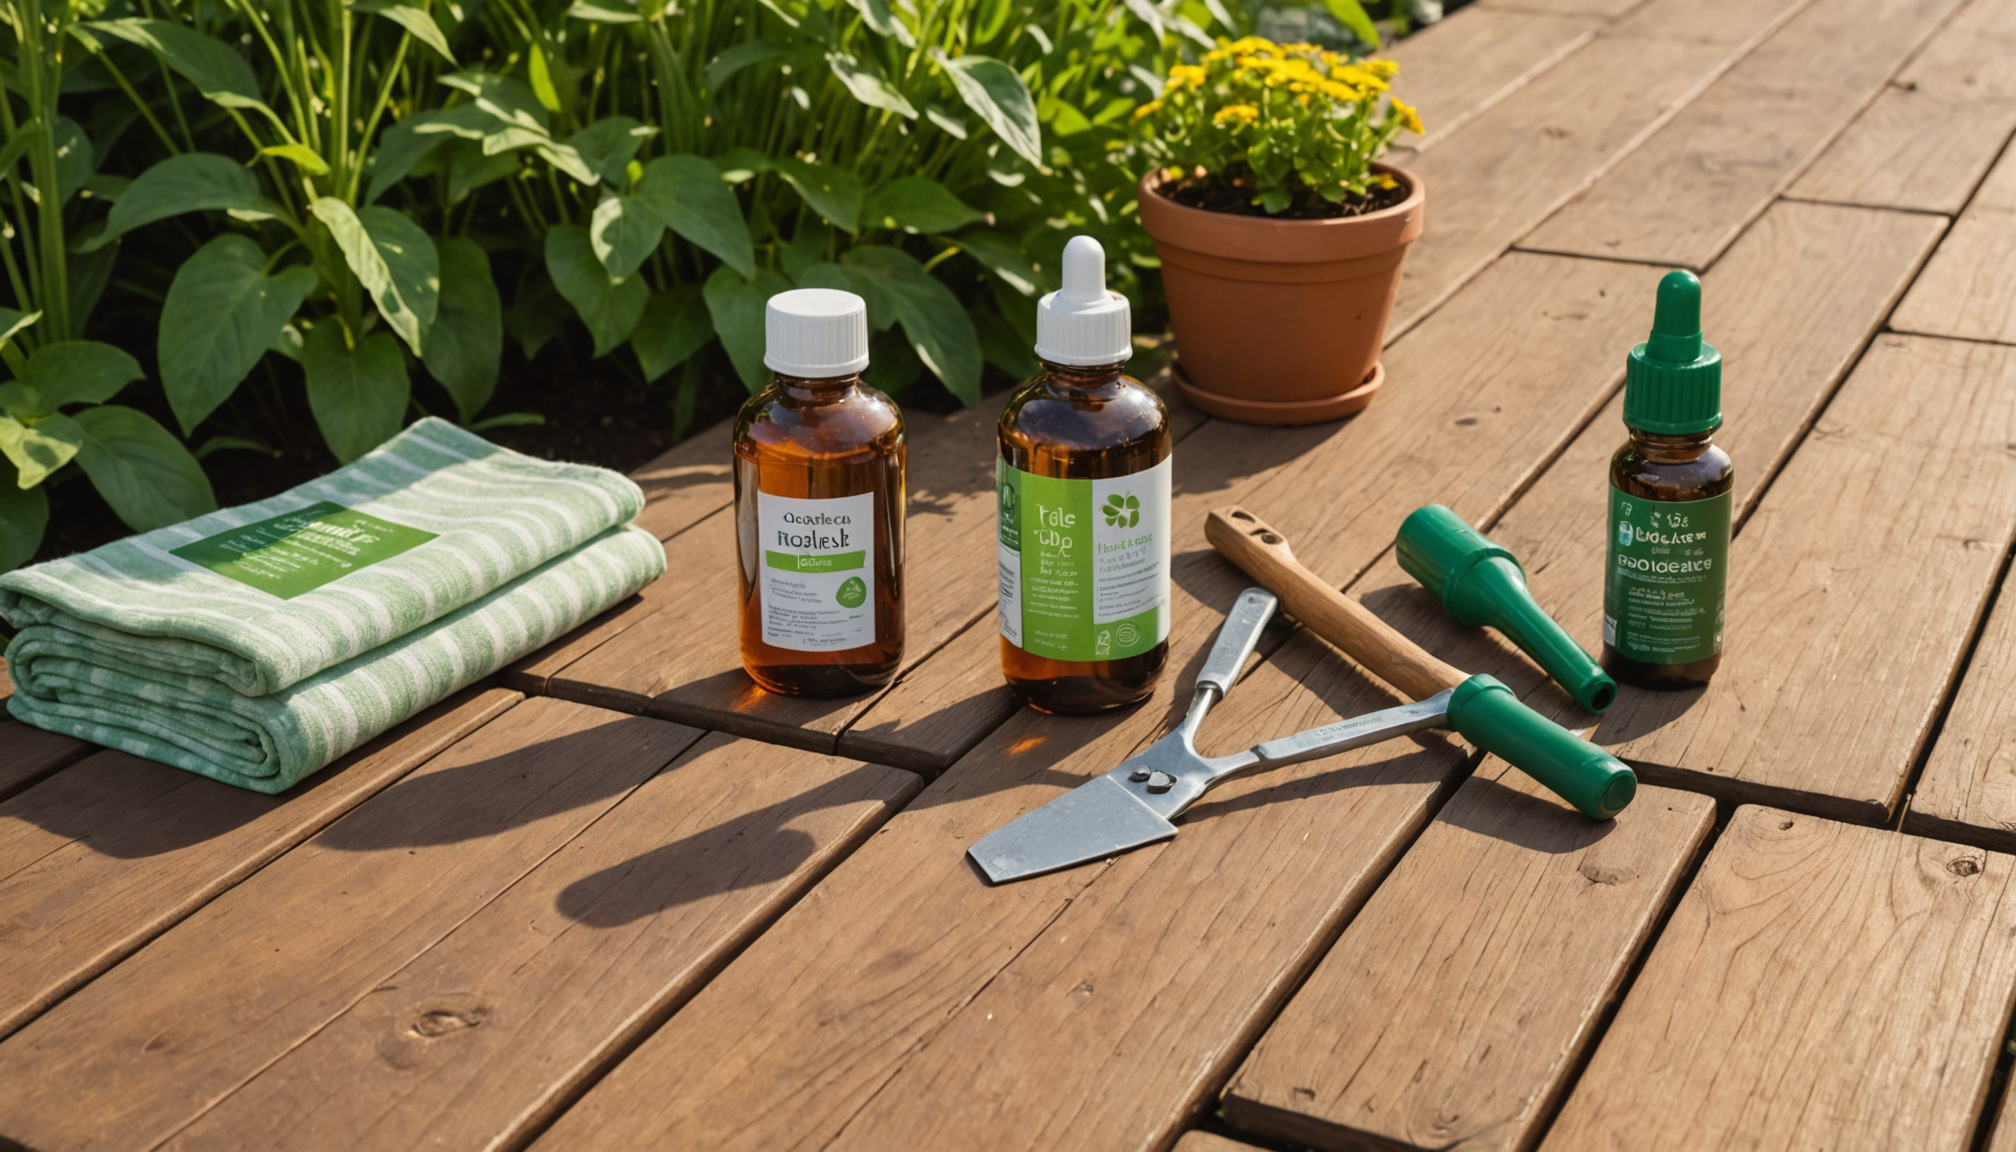
gather necessary tools and materials
Gathering the necessary tools and materials is a crucial step in effectively cleaning your deck. A well-prepared approach not only streamlines the cleaning process but also enhances safety, ensuring you achieve the best results without unnecessary delays or setbacks. As you prepare for this task, here’s a breakdown of what you need to assemble:
First on the list is personal protective equipment (PPE). Cleaning a deck can sometimes involve exposure to chemicals and debris, so it’s important to ensure your safety with items such as gloves, safety goggles, and a dust mask. These will protect you from potential irritants, especially if you’re using a cleaning solution with strong chemicals or dealing with mold spores.
Next, select an appropriate deck brush or push broom. These tools are indispensable for scrubbing and loosening dirt from the deck surface. Opt for a brush with stiff bristles if your deck is particularly grimy. The long handle of a push broom can make the work less strenuous, allowing you to cover larger areas without excessive bending or kneeling.
If your deck has tough stains or hard-to-reach spots, a handheld scrub brush will be handy. This smaller tool allows for targeted cleaning, ensuring that stubborn spots receive the attention they need without damaging the entire surface.
Invest in a pressure washer or garden hose with a high-pressure nozzle, especially for removing surface dirt and mildew. A pressure washer is more efficient at cleaning deeper grime, thanks to its powerful water jets, but it must be used carefully to avoid damaging the wood fibers. Always start on a low setting and gradually increase the pressure as needed, keeping the nozzle at a safe distance from the deck.
Alongside these tools, gather cleaning solutions tailored to your deck’s needs. Whether it’s a commercial cleaner recommended for your deck material or a home-made solution like a mixture of vinegar and baking soda for eco-friendly cleaning, having the right cleanser is essential. Ensure any solution you use is biodegradable to protect the environment, particularly if you have vegetation nearby or if runoff might enter local waterways.
A few essential extras can make the task more manageable. These might include buckets for mixing solutions, extension cords if you’re using electric-powered tools, and tarps or plastic sheeting to protect nearby plants and furniture from overspray and cleaning chemicals.
By assembling all the necessary tools and materials beforehand, you make the cleaning process more efficient and less stressful, ultimately ensuring that your deck not only looks pristine but also continues to serve its purpose as a welcoming and beautiful outdoor space. Understanding the specific demands of your deck and preparing accordingly underscores your investment in its longevity and aesthetic appeal.
master the cleaning technique
With your cleaning solution and tools at the ready, it’s time to dive into the actual cleaning process. Starting off strong with the right technique will ensure that your deck ends up looking as good as new while aiding in its long-term preservation. First, sweep the entire area using your deck brush or push broom to remove loose dirt, leaves, and debris. This initial cleaning sets the stage for the more detailed work to come by helping your chosen cleaning solution penetrate more effectively.
Once the surface is clear of loose debris, you can move on to applying the cleaning solution. Mix the solution according to the manufacturer’s instructions, paying careful attention to dilution ratios to avoid damaging the deck material. Use a sprayer or a garden watering can to evenly distribute the cleaner across the entire surface, focusing particularly on high-traffic areas or spots identified during your assessment as having excessive grime or mildew.
Allow the cleaning solution to sit for the recommended time, usually around 5-10 minutes, giving it sufficient time to break down mold, mildew, or dirt. Doing so maximizes the effectiveness of the clean, particularly against stubborn stains. Remember not to let the solution dry on the deck, as this can cause streaking or lead to surface etching.
Following this, grab your deck brush and scrub the surface gently yet firmly. Use a circular or scrubbing motion to lift dirt and grime, paying particular attention to grooves and corners where debris tends to accumulate. In tight areas or detailed spots, switch to your handheld scrub brush to give more precise and robust attention.
For a deeper clean, particularly if your deck is made of wood, using a pressure washer can accelerate the cleaning process. Make sure you calibrate the pressure washer appropriately to avoid any damage. Position the nozzle about 12 inches above the deck surface and use broad strokes, maintaining a consistent distance to wash away the loosened debris.
After scrubbing and washing, give the deck a thorough rinse to remove all traces of the cleaning solution. A garden hose with a high-pressure nozzle can be quite effective for this task. Starting from one end, methodically rinse towards the exit point for a cohesive finish, ensuring no cleaner is left that could lead to discoloration or attract further dirt.
Once the cleaning cycle is complete, allow the deck to dry completely. Depending on weather conditions, this could take from a few hours to a full day. It’s crucial to let it dry fully if you’re planning on applying any protective finishes afterward. During this time, take a moment to admire your clean deck—it isn’t just about the visual appeal, but also the investment in safety and longevity of your outdoor oasis.
apply protective finishes
Once your deck is thoroughly clean and dry, it’s time to focus on preserving its beauty and durability through the application of protective finishes. This step is critical not only for enhancing the deck’s aesthetic appeal but also for safeguarding your investment against elements like sun, rain, and daily wear. Applying a protective finish fortifies the deck by creating a barrier that resists moisture, prevents UV damage, and reduces the risk of mold and mildew growth, thereby maintaining both safety and longevity.
Start by choosing an appropriate finish that complements the type of material used in your deck. For wood decks, consider using a high-quality wood stain or sealant. Wood stains enhance natural wood patterns, available in varied opacity levels, depending on whether you want to keep a natural wood look or add color. A clear sealant, on the other hand, is ideal for moisture resistance while preserving the original wood tone. Whichever product you choose, ensure it offers UV protection to combat the sun’s harsh impact.
For synthetic or composite decks, ensure to select finishes specifically formulated for these materials. These finishes are designed to prevent fading and resist scratching without interfering with the composite integrity. Always follow the manufacturer’s guidelines to get the best results.
Before applying any finish, check the weather forecast. Aim for a dry day with moderate temperatures to avoid complications like streaking or poor adhesion. Use a paintbrush or roller for smaller areas and edges, and a sprayer for more extensive surface areas to ensure even distribution. Apply the finish following the wood grain, taking care not to over-apply or let the product pool, which can lead to an uneven surface and affect drying.
Once the application is complete, allow ample drying time as per the manufacturer’s instructions. During this period, it’s wise to keep foot traffic at bay and protect the deck from debris or unexpected rain. Consider using temporary covers or ropes to mark the area off to others, ensuring the finish has adequate time to cure without interruption.
Reapplying a protective finish on a regular basis, generally every couple of years, will greatly enhance your deck’s resilience to the elements. This effort not only extends its lifespan but also ensures ongoing safety and enjoyment for everyone using the space, creating a welcoming and well-maintained outdoor environment for countless occasions.
In conclusion, taking the time to clean and appropriately maintain your deck will pay off in both immediate enjoyment and long-term returns. By assessing its condition, selecting the right cleaning solution, gathering the necessary tools, mastering the cleaning technique, and finally applying protective finishes, you lay the groundwork for a deck that remains not only beautiful but also a safe haven, ready to withstand the test of time and use. These investments in care and maintenance will ensure your deck continues to be a central hub for relaxation and outdoor enjoyment.

