When it comes to your basement, paint selection plays a vital role not just in aesthetics but also in the longevity and healthiness of the environment. Choosing the right paint involves understanding the specific needs of basement walls, which often face different challenges compared to other parts of your home. Given the unique atmosphere in basements, including potential humidity and lesser natural light, selecting appropriate paint helps in enhancing durability and maintaining safety.
Firstly, consider the moisture levels typically associated with basements. It’s crucial to opt for paint that can withstand damp conditions. Basement walls, whether they’re concrete or drywall, benefit from moisture-resistant, mildew-resistant paint options. This choice fosters a healthier environment by reducing the risk of mold growth, which is not only a concern for the longevity of the surfaces but also for the air quality within your living space.
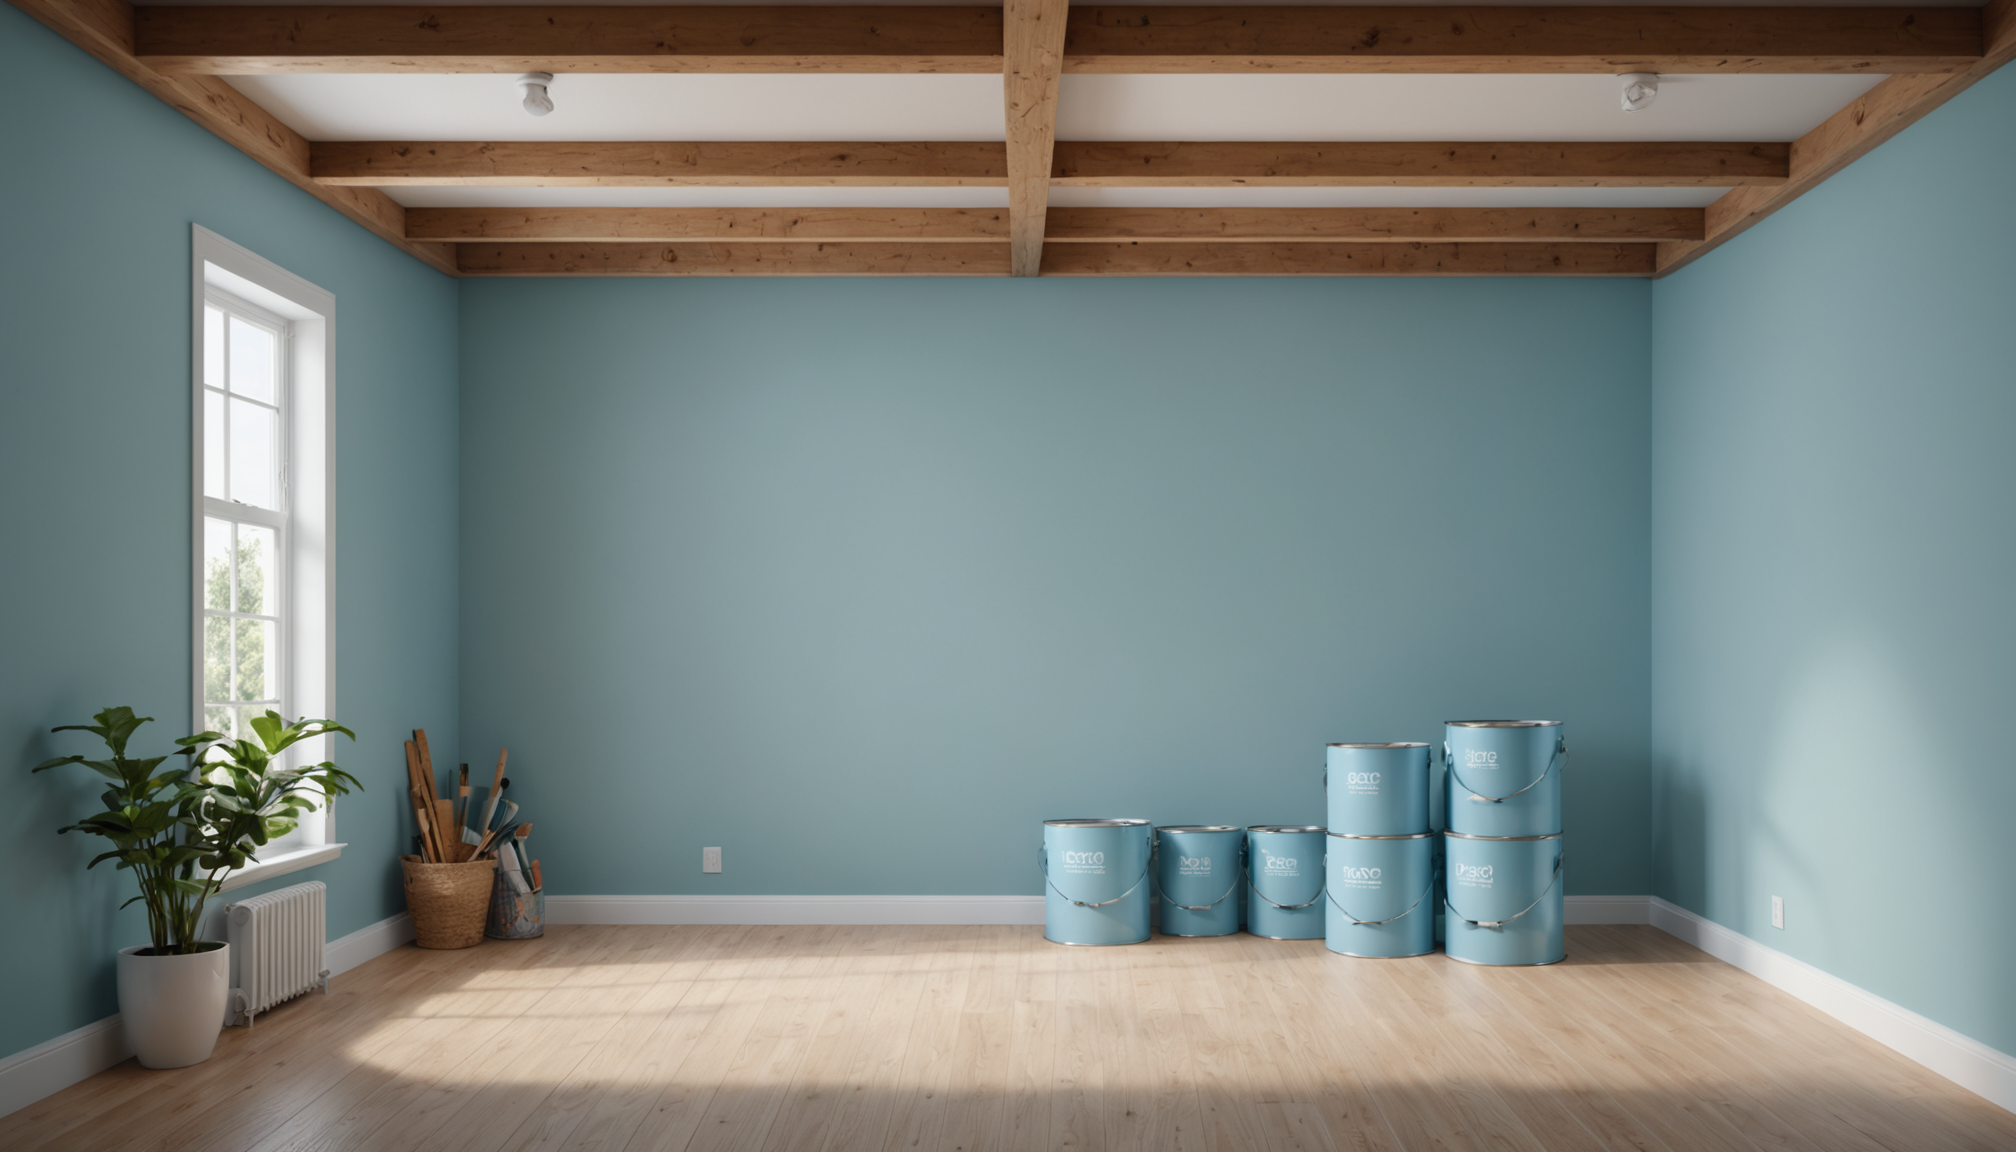
The sheen of your paint is another important aspect. While flat paints might work well for walls in other parts of the home, a satin or semi-gloss finish is often better suited for basement walls. These finishes are more water-resistant and can be wiped clean more easily, making them practical choices for an area potentially exposed to moisture or spills.
In addition to moisture concerns, insulation properties of paint can benefit basement walls. Some paint options are designed to offer additional thermal insulation, helping maintain a stable temperature and potentially reducing energy costs. This could be especially beneficial in environments where insulation may be lacking or inadequate.
Let’s compare some popular types of paint:
| Type | Benefits | Ideal Use Case |
| Epoxy-based Paint | Highly durable, moisture and chemical resistant | Perfect for concrete floors and walls |
| Latex Paint | Easy to apply, dries quickly, and offers some moisture resistance | Suitable for ceilings and drywall |
| Acrylic Paint | Mold-resistant and available in different finishes | Good for walls that may face moisture but need aesthetic appeal |
Finally, choosing an eco-friendly paint is another consideration for environmentally conscious homeowners. Low-VOC (Volatile Organic Compounds) paints are available and preferred for indoor projects due to their reduced chemical emissions, contributing to safer indoor air quality.
Selecting the right paint for your basement involves balancing factors like moisture resistance, insulation properties, ease of maintenance, and environmental impact. Homeowner tips suggest consulting with professionals or paint specialists to ensure that your choice aligns with your specific basement conditions and overall home improvement goals.
Preparing your basement walls
 To ensure a successful painting project in your basement, thorough preparation of the walls is crucial. Proper preparation not only facilitates better adhesion of the paint but also enhances the durability of the finish. Follow these detailed steps to prepare your basement walls appropriately:
1. Inspect for Damage:
– Cracks and Holes: Begin by examining the walls for any cracks, holes, or signs of water damage. Pay special attention to corners and areas around windows and pipes.
– Leaks and Dampness: Identify any leaks or seeping water, as these will need to be addressed before painting to prevent future damage.
2. Repair and Seal:
– Fix Cracks: Use a concrete patch for bigger cracks or joint compound for drywall issues. Ensure that the surface is even after the repair.
– Waterproofing: Apply a waterproof sealant on any area known for moisture penetration. This step is critical for concrete walls as it prevents future dampness from affecting the paint layers.
3. Clean the Walls:
– Dust and Cobwebs: Remove all dust, dirt, and cobwebs using a soft brush or a vacuum cleaner with a brush attachment.
– Grease and Grime Removal: Wipe the walls with a solution of water and mild detergent, especially if there are oil stains or grease marks. Rinse well and allow to dry thoroughly.
4. Mildew and Mold Treatment:
– Mold Removal: If you’ve identified mold, treat it with a solution of one part bleach to three parts water. Wear protective gloves and ensure good ventilation. Scrub the surface with a brush and rinse thoroughly.
– Preventive Measures: Post-cleanup, consider using a mold-resistant primer to inhibit future growth and enhance paint adhesion.
5. Sand the Surface:
– Smooth Out Imperfections: Lightly sand the walls to remove any irregularities or leftover old paint. This step ensures a smooth base for the new paint to adhere to.
– Cleaning Post-Sanding: Wipe down with a damp cloth to remove dust from sanding.
6. Prime the Walls:
– Choosing the Right Primer: Select a primer that suits your specific wall type and the paint you have selected. For moisture-prone areas, a moisture-resistant primer is recommended.
– Application: Apply an even coat of primer, allowing it to dry completely. This step will significantly improve the paint’s longevity and overall appearance.
By diligently following these steps, you are creating a foundation for your paint to adhere properly and remain vibrant and durable over time. Thorough preparation ensures not only the safety and appearance but also the insulation properties of the basement, creating a comfortable and inviting space.
Essential tools and materials
For any basement painting project, having the right tools and materials on hand is essential to ensuring both efficacious results and long-term durability. As you prepare to tackle this home improvement task, investing in quality tools can make the process smoother and elevate the final outcome. Here’s a comprehensive list of the must-have tools and materials and their benefits:
Start with a sturdy, extendable paint roller and an assortment of high-quality paint brushes. Rollers are indispensable for covering large areas efficiently, while brushes are perfect for cutting in around edges and achieving detail work. Opt for brushes specifically designed for your chosen paint type, whether it’s water-based latex or oil-based varieties, to ensure a smooth application.
Ensure you have a durable paint tray with a metal grid for loading your rollers effectively. This tool will help control the paint distribution on the roller, facilitating even coverage of your basement walls. Additional items like painter’s tape can be crucial for protecting borders and creating clean edges, while drop cloths or plastic sheeting guard your floors and furniture against unwanted drips and spills.
A high-quality primer is another fundamental component to include. This forms a critical base, enhancing the paint’s adhesion and promoting the longevity of your project. Depending on your basement conditions, you might need a mildew-resistant or moisture-blocking primer to improve the overall safety and sustainability of your environment.
To keep your space well-protected and efficient, include utility items such as ladders, stepladders, or extension poles, especially if your basement has high ceilings or hard-to-reach areas. Sandpaper or a sanding block is also essential for smoothing out any imperfections and preparing your walls before the first coat of paint.
Moreover, ensure you have a sturdy caulking gun and sealant for filling gaps or joints, particularly in areas that might be prone to moisture intrusion or require additional insulation. Pairing this with suitable caulk for your specific material will seal potential entry points for water, boosting the longevity and resilience of your paint job.
For those dealing with mold concerns, stock up on a good quality mold remover and protective gear such as gloves and masks. These will protect you during the preparation work, especially in ensuring that your basement remains a safe and healthy environment.
Don’t underestimate the usefulness of a paint stirrer and a bucket, which will help mix your paint thoroughly, ensuring a uniform color and consistency. This step is crucial for large areas where inconsistencies in the paint mixture can lead to visible differences once dried.
Lastly, a strong lighting setup will be invaluable throughout the process, allowing for precise application and proper inspection of the work, especially in typically dim basements.
By assembling these essential tools and materials before beginning your basement painting project, homeowners can enjoy both the practical and aesthetic benefits of a newly painted home space, where insulation improvements and safety considerations have been effectively prioritized. Equip yourself properly to ensure a result that not only looks fantastic but stands the test of time.
Step-by-step painting process
Before you begin transforming your basement with a fresh coat of paint, it’s critical to embark on the process with a methodical approach. This will ensure you achieve an even, professional-looking finish that lasts. Whether you’re a seasoned DIY-er or a beginner, having a clear step-by-step plan will help guide you through painting your basement walls efficiently.
Start by ensuring that the area is well-ventilated, as this can not only aid the drying process but also enhance your safety by minimizing the fumes. Open any basement windows and consider using a fan to enhance airflow. If your basement doesn’t have windows, invest in a good air purifier to reduce paint odor and fumes.
Begin painting by cutting in around the edges of the walls using a high-quality brush. This involves painting a few inches from the edges inward, near the ceiling, baseboards, corners, and around any fixtures like windows and doors. This step is crucial for achieving clean lines and making it easier to cover larger areas with a roller later on.
Once the edges are done, move on to the main wall surfaces. Utilize an extendable paint roller for this task, which will help you cover a broader area quickly and evenly. Start from the top and work your way down in a ‘W’ or ‘M’ pattern. This technique helps distribute the paint more uniformly and prevents streaks. Be sure to maintain a wet edge as you work. This involves keeping the edge of the paint you’re applying moist, helping to blend new sections seamlessly into the ones you’ve already covered.
If your basement walls are textured or if you’re painting over a darker color, you might need to apply a second coat for complete coverage. Allow the first coat to dry thoroughly, following the manufacturer’s recommended drying times on your paint can, before applying the second layer. Remember, patience in drying can enhance both the coverage and durability of the paint.
It’s often a good idea to take breaks to review your work. Stepping back at intervals allows you to spot any missed patches or uneven areas more easily, leading to a more professional finish. Use this time to assess whether corners or sections require touch-ups or an extra coat.
For homeowners particularly concerned about maintaining temperature control and possibly reducing energy costs, now is also a fitting moment to evaluate whether your walls are providing adequate insulation. Consider using paint that’s integrated with insulating properties on top of your existing wall surfaces. This can enhance both the energy efficiency and comfort of your basement.
Once you’ve applied the final coat and are satisfied with the coverage, remove any painter’s tape carefully before the paint fully dries to prevent peeling away any fresh paint layers. Though this may seem a small step, it makes a big difference in achieving those sharp, clean lines that denote a meticulously completed project.
Allow the final coat to dry completely, which could take a day or two depending on your basement’s airflow and humidity levels. During this time, continue to ventilate the space to ensure any lingering paint odor dissipates, contributing to a healthier, and more breathable environment.
Completing your basement’s transformation through these conscientious steps not only rejuvenates the space with fresh aesthetics but also contributes positively to your home’s safety and insulation qualities. By following these steps diligently, you ensure that the paint job not only appears professional but also stands resilient against the test of time in your home’s subterranean space.
Tips for long-lasting results
To achieve enduring results and maintain your basement’s freshly painted look, there are several tips that every homeowner should consider. First and foremost, maintaining proper ventilation in your basement is critical after painting. This minimizes moisture build-up, ultimately protecting your paint from peeling or chipping prematurely. Consider installing a dehumidifier if humidity is a recurring issue; this will help control moisture levels and thereby preserve both the integrity of your paint and the overall basement environment.
Investing in a quality dehumidifier is also beneficial for insulation, enhancing the comfort of the basement while maintaining a stable environment for your new paint. For those with limited natural light or ventilation, using a high-quality semi-gloss or satin finish, which reflects light well, will help keep the space looking bright and inviting despite its subterranean nature.
Regular cleaning can significantly extend the life of your paint job. Use a soft, damp cloth to wipe down the walls periodically, effectively removing dust and cobwebs without compromising the paint’s finish. This simple step will not only keep your basement looking fresh but also uphold the paint’s protective qualities.
In addition, conduct routine inspections for any signs of wear or damage caused by potential water intrusion or mold growth. Promptly addressing such issues by resealing and repainting affected areas will prevent minor problems from becoming larger, more expensive repairs.
Consider incorporating insulation upgrades if you haven’t already. This addition will not only save on energy costs by maintaining a consistent temperature but will also aid in maintaining the condition of your paint by avoiding temperature-induced stresses. These homeowner tips emphasize the importance of a comprehensive approach to maintaining your basement.
Lastly, remember that the right maintenance goes hand-in-hand with choosing the correct materials. If your basement experiences significant foot traffic or use, apply an additional layer of protective sealant over high-use areas post-painting. This layer acts as a buffer against scuffs and scrapes, prolonging your paint’s pristine appearance.
By incorporating these strategies, you can ensure the vibrant appearance of your freshly painted basement lasts for years, adding not only aesthetic value but also enhanced insulation and safety to your home space.
In conclusion, painting your basement can transform it from a neglected area into a functional, beautiful part of your home. By selecting appropriate paint, preparing thoroughly, using quality tools, following a meticulous application process, and adopting maintenance strategies, your painted basement will remain both visually appealing and structurally sound over time. Incorporating homeowner tips on insulation and safety optimizes both the comfort and efficiency of this valuable household space, ensuring it complements your home’s overall environment harmoniously.