When it comes to selecting a color palette for your bedroom, the choices you make can significantly impact the ambiance and mood of the space. Whether you’re looking to create a serene retreat, a vibrant haven, or a cozy nook, the right combination of colors can transform how you feel whenever you step into the room.
A good starting point is to consider the overall theme or style you wish to achieve. If your goal is to maintain a modern aesthetic, opting for a neutral base color with bold accents can be a striking choice. Shades such as gray, beige, or white provide a clean, sophisticated backdrop that allows your accessories or focal points like artwork or an accent wall to pop.
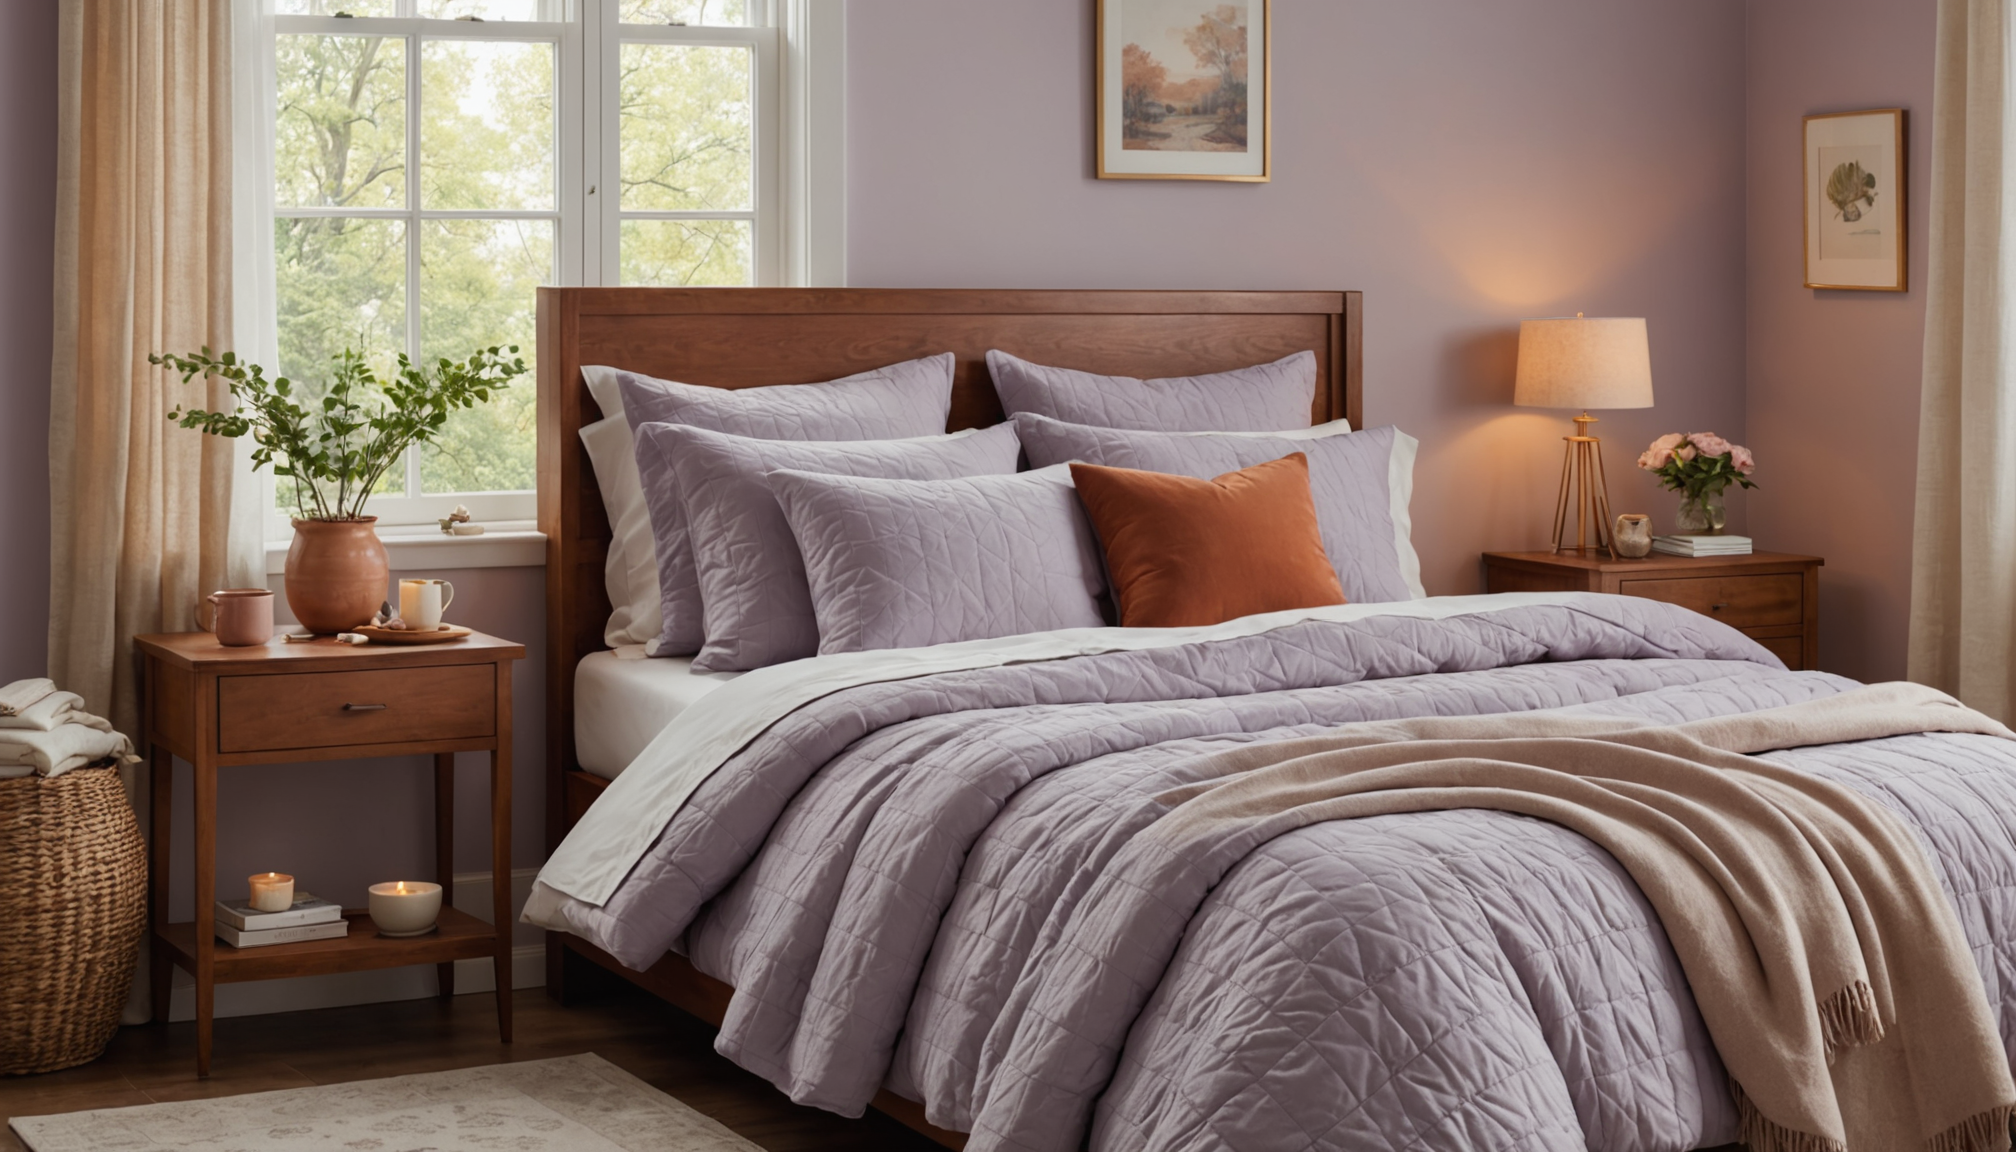
If you’re painting a bedroom shared with family, incorporating soft, warm tones can foster an inviting and comforting environment. Think along the lines of muted terracottas, soft blushes, or cool lavenders, which offer tranquility and warmth, ideal for spaces intended for relaxation.
Choosing the right color palette also involves understanding color psychology and the effects different shades have on mood and perception. For instance, blue can evoke calmness and can be particularly soothing in a bedroom setting, while yellows and greens are known to promote happiness and energy. Consider how much natural light comes through your windows, as this will affect how colors appear at different times of the day. Rooms with plenty of sunlight can handle cooler shades, while dimmer spaces might benefit from warmer undertones to enhance the coziness.
In addition to these considerations, it’s crucial to think about the size and shape of your bedroom. Light colors can make a room feel larger and more open, which is beneficial if space is limited. Conversely, darker colors can create a feeling of intimacy and can be dramatically appealing in larger spaces.
Here’s a quick comparison of popular color choices and their perceived impacts:
| Color | Emotion/Effect | Ideal Usage |
| Blue | Calm, Relaxation | Bedrooms, Spaces with natural light; pairs well with white windows trimming |
| Yellow | Happiness, Energy | Accents in rooms for stimulation and creativity |
| Green | Balance, Renewal | Family spaces using plant accents for a natural look |
| Gray | Sophistication, Modernity | Base color for a modern touch with vibrant accents |
Ultimately, the best color palette for your bedroom will resonate with your personal tastes and the functional needs of the space. Keep testing paint samples on your walls under different lighting conditions before making the final decision. This ensures the colors you choose align with your vision and harmonize with both the natural and artificial light streams through your windows.
Essential tools and materials
 To embark on your bedroom painting project successfully, having the right tools and materials is essential for achieving a flawless finish and smooth process. Gathering everything you need before starting ensures you can focus on the task without unnecessary interruptions. Here’s a comprehensive list of tools and materials to prepare:
- Paint: Choose a high-quality interior paint suitable for bedrooms. Depending on your color palette, select the appropriate finish—matte, eggshell, satin, or semi-gloss—considering the desired aesthetic and durability.
- Primer: A good primer is crucial for covering any imperfections and ensuring the paint adheres well to the walls. If your bedroom walls have never been painted or if you’re drastically changing colors, a primer will prevent blotchiness and enhance the final color’s vibrancy.
- Paint Brushes: Invest in both angled and flat brushes. Angled brushes are perfect for cutting in around windows, trim, and corners, while flat brushes are ideal for smaller touch-ups.
- Paint Rollers and Trays: Use a paint roller with a medium nap for smooth coverage on drywall or textured surfaces found in bedrooms. The paint tray should have a slope to evenly distribute paint on the roller.
- Paint Roller Extension Pole: A telescoping pole helps you reach higher areas without a ladder, making the painting process quicker and safer.
- Painters Tape: High-quality painter’s tape is essential for protecting trim, baseboards, and edges where you want a neat line. Ensure the tape is firmly pressed to prevent paint bleeding under it.
- Drop Cloths: To protect furniture and flooring, use canvas or plastic drop cloths. Canvas is ideal for reuse and better at preventing slipping, whereas plastic is more budget-friendly for single-use.
- Putty Knife and Spackle: Before painting, inspect the bedroom walls for any holes or cracks. Use a putty knife to apply spackle to fill and smooth these imperfections, ensuring a smooth surface for painting.
- Sandpaper: Different grits will be necessary to smooth wall surfaces after applying spackle and before applying paint. A sanding block can also help for even smoothing.
- Clean Cloths and Buckets: Keep damp cloths handy for quick clean-ups of spills or drips. A bucket will help with washing brushes and for preparing cleaning solutions.
- Safety Gear: Always use safety goggles and a dust mask when sanding walls or applying primers and paints to prevent inhalation of dust or fumes.
Gathering these tools and materials will set you up for a successful painting project, ensuring that you have everything you need at your fingertips. Start prepping your bedroom with confidence, knowing that with the right equipment, you’re one step closer to transforming your space with modern flair and precision.
Preparing your walls and space
Before you begin applying the first brush stroke, the preparation of your walls and surrounding space is a pivotal stage that will directly impact the final finish. Achieving a professional-grade paint job necessitates attention to detail and careful planning during this preparatory phase.
Start by ensuring your beloved items are safe and secure. Remove items such as pictures, mirrors, and fixtures from the walls and relocate furniture temporarily to a different room if possible. If this isn’t feasible, group the furniture in the center of the room and cover it with sturdy drop cloths or plastic sheeting to protect against paint splatters and dust. Pay particular attention to the flooring; a well-placed drop cloth is essential to prevent accidents and will save you cleaning time afterward.
Before addressing the walls, inspect and protect the structural features of your space. Use painter’s tape to carefully cover moldings, baseboards, window frames, and door handles to create crisp, clean lines. Be meticulous when applying the tape to ensure it adheres fully and doesn’t lift during painting—this will prevent paint from bleeding into areas it shouldn’t.
With furniture and architectural elements secure, focus on the walls themselves. Begin with a thorough inspection, looking for any cracks, holes, or dents. Small imperfections can disrupt an otherwise smooth finish, so fill any indentations with spackle using a putty knife. Once dried, gently sand the areas down until they’re flush with the wall surface, using varying grades of sandpaper as needed for a seamless touch. This step is crucial, as it ensures the longevity and aesthetic appeal of your paint, especially in a high-traffic bedroom or family space.
Ensure that the walls are dust and debris-free before painting. Dust can affect how well paint adheres, so a comprehensive cleaning process is beneficial. Use a damp cloth or sponge to wipe down the walls, removing any dust, grease, or dirt, and then allow them to fully dry. If your bedroom walls have a greasy residue, particularly near windows or high-contact areas, a little soapy water may be necessary to ensure a pristine surface.
Consider applying a coat of primer, especially critical when transitioning to a lighter paint color on your walls or if stains and color variations are present. Primer provides a stable base that helps paint bond better, enhancing the vibrancy and durability of the final coat.
Finally, ensure adequate ventilation during the process. Open the windows to keep the area well-ventilated, allowing vapors to dissipate and the primer—and later the paint—to dry efficiently. Adequate airflow will also help in achieving a smoother, even coat.
With all these preparatory steps carefully completed, your walls and space will be expertly ready to receive the final transformative touch of color. This meticulous groundwork sets the stage for achieving a professional-quality finish in your modern bedroom sanctuary.
Techniques for professional results
Achieving professional results with your bedroom painting project involves employing techniques that can elevate your work from amateur to expert level. It’s not just about applying paint to the walls; it’s about mastering methods that ensure even coverage, clean lines, and a flawless finish that enhances your room’s overall aesthetic.
Begin by addressing the edges and corners of your bedroom walls, a task known as “cutting in.” This requires a steady hand and attention to detail, as it’s where you’ll lay the groundwork for a polished appearance. Use an angled brush to carefully apply paint along the edges at the ceiling, corners, and around window frames and baseboards. The key here is precision, so don’t rush this step. Maintain a slow and steady pace to ensure that the brush lines remain neat and sleek.
Next, focus on the main body of the walls. A paint roller is your best ally here. For a bedroom, a medium-nap roller is often ideal, providing smooth and even coverage without leaving a textured finish. Begin rolling in a ‘W’ pattern, working in manageable sections. This technique helps distribute the paint evenly across the wall and prevents roller marks. Remember to lightly overlap the edges with your brushwork to seamlessly blend these areas.
Understanding how to manage the amount of paint on your brush or roller is crucial to avoid drips and runs. Always tap off any excess paint back into the container or tray to prevent loading too much onto the wall. It’s better to apply multiple light coats than attempt to cover everything in one heavy coat, which can result in uneven surfaces.
Consider the condition of your bedroom’s lighting and take advantage of natural light from the windows when available. Good lighting allows you to spot inconsistencies or missed spots more easily. Painting strategically during daylight hours ensures colors appear vibrant and true, helping to maintain the modern look you envision for your space.
In addition to these techniques, pay attention to the drying times between coats. Rushing this process can lead to paint peeling or trapping moisture beneath the surface, which can mar the finished look. Follow the manufacturer’s guidelines on the paint can for accurate drying times, and use a fan if needed to facilitate air circulation, particularly in a family bedroom or smaller modern space with limited airflow.
Achieving professional results also means being adaptable. As you work, periodically step back to view your progress from different angles, ensuring that the coverage is consistent and uniform. This holistic approach lets you spot any discrepancies early and address them with touch-ups as needed.
By employing these professional techniques, you’ll transform your bedroom into a masterpiece of modern interior design. Whether you’re embracing a sleek minimalist ethos or crafting a cozy family retreat, these practices will help make your vision a reality, resulting in an inviting space that feels expertly crafted.
Finishing touches and clean-up
As you near the completion of your painting project, it’s essential to focus on those finishing touches that make all the difference in achieving a polished, professional result. Begin by carefully removing any painter’s tape while the paint is still slightly damp. Doing this gently and at a 45-degree angle helps prevent the paint from peeling off with the tape, ensuring that your trim lines remain crisp and clean.
Once the tape is removed, inspect the painted areas in your bedroom for any imperfections. Look for any spots where paint may have dripped or pooled and use a small brush to carefully touch up these areas. This final touch-up process is crucial for achieving a seamless finish, especially in areas around your windows where the light might highlight any discrepancies.
Pay special attention to the cleanliness of your paint job to prevent any dust or debris from marring the surface. Use a microfiber cloth to gently dust off dried paintwork, particularly around the corners and edges, ensuring that your modern bedroom maintains its sleek and pristine look.
Once satisfied with the walls, it’s time to address the clean-up of your tools and workspace. Clean your brushes and rollers as soon as you finish painting, using warm, soapy water for water-based paints or mineral spirits for oil-based products. Properly cleaned tools will remain in good condition for future projects and ensure consistent results in every use.
Remove all drop cloths carefully. If you used canvas, shake them outside to eliminate dust and debris; if you opted for plastic sheeting, dispose of it responsibly. Return furniture to its rightful place in the room, ensuring it is clean and free of any paint droplets. Rehang your artworks, mirrors, and light fixtures, taking care to avoid scratching or damaging your freshly painted walls.
Finally, ensure your space is well-ventilated to help any remaining paint odors dissipate. Open the windows and allow fresh air to circulate through your family bedroom, providing a clean and inviting atmosphere that accentuates your hard work and creativity.
With your bedroom now complete, you can admire the transformation. The combination of precise color choices, meticulously applied professional techniques, and attentive finishing touches have turned your vision into a reality, creating a modern sanctuary that reflects your personal style and enhances the overall feel of your home.